Appearance
Setup a grid layout for collection pages
This guide describes how to apply Cascade's grid template to a Collection page.
By default, Cascade's collection pages use a Cascading layout. But Cascade also provides a template that applies a "standard" grid layout to Collection pages. Complete this guide to apply the grid to a collection.
Important
This guide assumes that your published theme is Cascade theme.
If your published theme is not Cascade theme
If your published theme is not Cascade theme, we recommend that you publish your version of Cascade.
Alternatively, if you're not ready to publish, complete the following steps before you proceed:
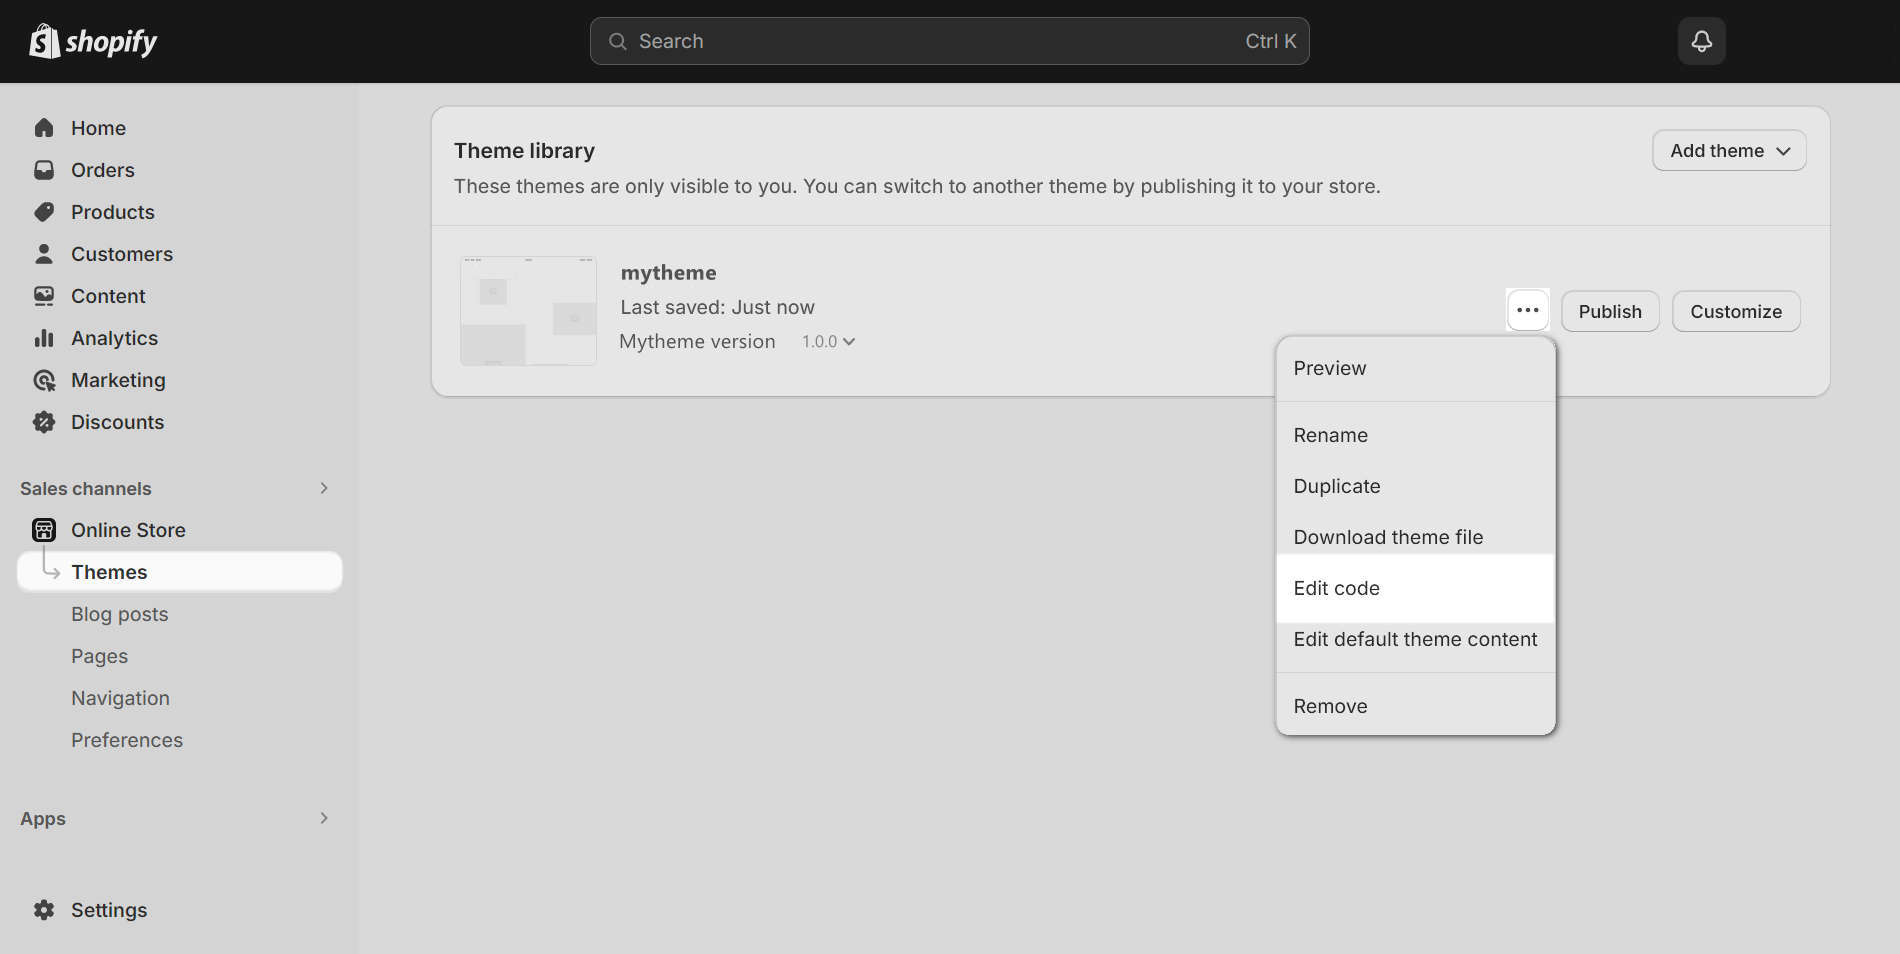
In your Shopify admin, select Online store > Themes.
In the Themes pane, locate your published theme.
Beside your published theme's name, select the ellipsis icon "...", and then select Edit code to open Code editor.
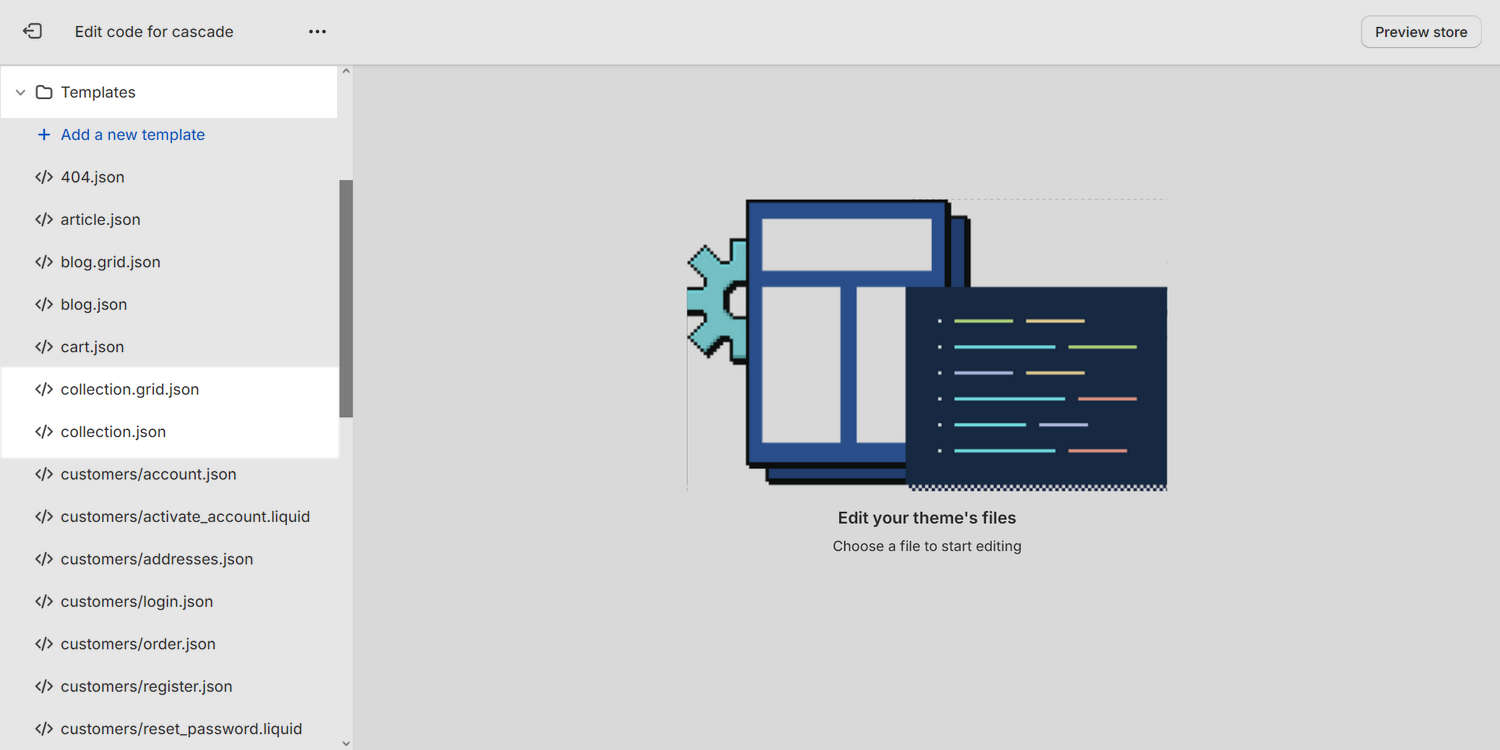
In Code editor, expand the Templates directory, and then select Add a new template.
In the New template pane, use the Template type dropdown to select Collection, and then select JSON.
In the File name field, enter grid, and then select Done.
Your completed filename should be collection.grid.json.

Note
If your published theme already includes a template file named collection.grid.json, you cannot create a new file with the same filename. As a workaround, apply an alternative filename to your theme's original collection.grid.json file, and then create a new collection.grid.json file by following the previous steps.
Follow the next steps in this guide to Apply the grid to a collection.
Apply the grid to a collection
To apply the grid template to a collection, complete the following steps.
In your Shopify admin, select Online store > Themes.
In the Themes pane, locate the Cascade theme you want to customize.
Beside the theme's name, select Customize to open Theme editor.
In Theme editor, use the dropdown at the top of the page to select the Collections > Grid page.
In Theme editor's section menu, select the Collection - grid section.
Review how Theme editor displays your collection with the grid layout applied.
Note
Theme editor displays the grid applied to your current collection. Alternatively, to display the grid with a different collection in Theme editor, choose Change, select your required collection, and then choose Select if necessary.
[Optional] Adjust the Collection - grid section's settings to suit your requirements, and then select Save. For information about the section, refer to Collection grid.
To apply the grid to the current collection, follow the Preview link at the top of Theme editor's section menu.
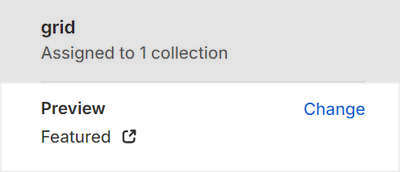
Following the link opens your Shopify admin's Products > Collections page. On the Collections admin page, use the Theme template dropdown to select grid, and then choose Save.
A note about limitations
If your collection currently uses the default collection template, completing this step applies the grid template to the collection (instead of the default template). Saving this change affects the collection in your published and unpublished themes.
If you prefer your published theme's collection to use the default collection template, while your unpublished theme's collection uses the grid:
- Skip this step in your Shopify admin, and do not set your collection to use the grid template.
- Edit the code for your unpublished theme only, by renaming the templates/collection.grid.json file to collection.json, and vice versa.
Then, all collections in your unpublished theme assigned to the default collection template will use the grid, and unpublished collections assigned to the grid template will use the default template. To configure the grid in Theme editor, select the Collections > Default collection page, and then select the Collection - grid section.

[Optional] To preview how the grid displays your collection in your browser outside of Theme editor:
In your Shopify admin's Online store > Themes pane, beside the name of the Cascade theme you want to preview, select the ellipsis icon "...", and then select Preview.

Select Share preview, and then select Copy link.

In your browser, open the link you copied, navigate to your collection page to verify that the preview displays the grid layout correctly, and then select Close preview.
Note
If you're sharing your preview link, copy the full URL from your browser. The URL you copy should be similar to:
https://aaaaa0a000000aa0-00000000000.shopifypreview.com/collections/collection-name
For information about applying templates to collections, refer to Shopify help: Apply a new template to a collection.
Set the grid template as default
To set the grid template as the default template for collection pages, complete the following steps.
In your Shopify admin's Themes pane, locate the Cascade theme you want to customize.
Beside the theme's name, select the ellipsis icon "...", and then select Edit code to open Code editor.

In Code editor, expand the Templates directory.
Inside the Templates directory, open the files named collection.json and collection.grid.json.
In the collection.json file:
Replace the line:
"type": "main-collection",with the following:
"type": "main-collection-grid",In the collection.grid.json file:
Replace the line:
"type": "main-collection-grid",with the following:
"type": "main-collection",Rename the collection.grid.json file to collection.json, and then rename your original collection.json file to collection.grid.json.
Save your changes.