Appearance
Password
This guide describes setting up the Password section.
Use the section on (password) protected store pages to provide "Opening Soon" information about store content that's pending release. Refer to Shopify help: Password protection for your online store.
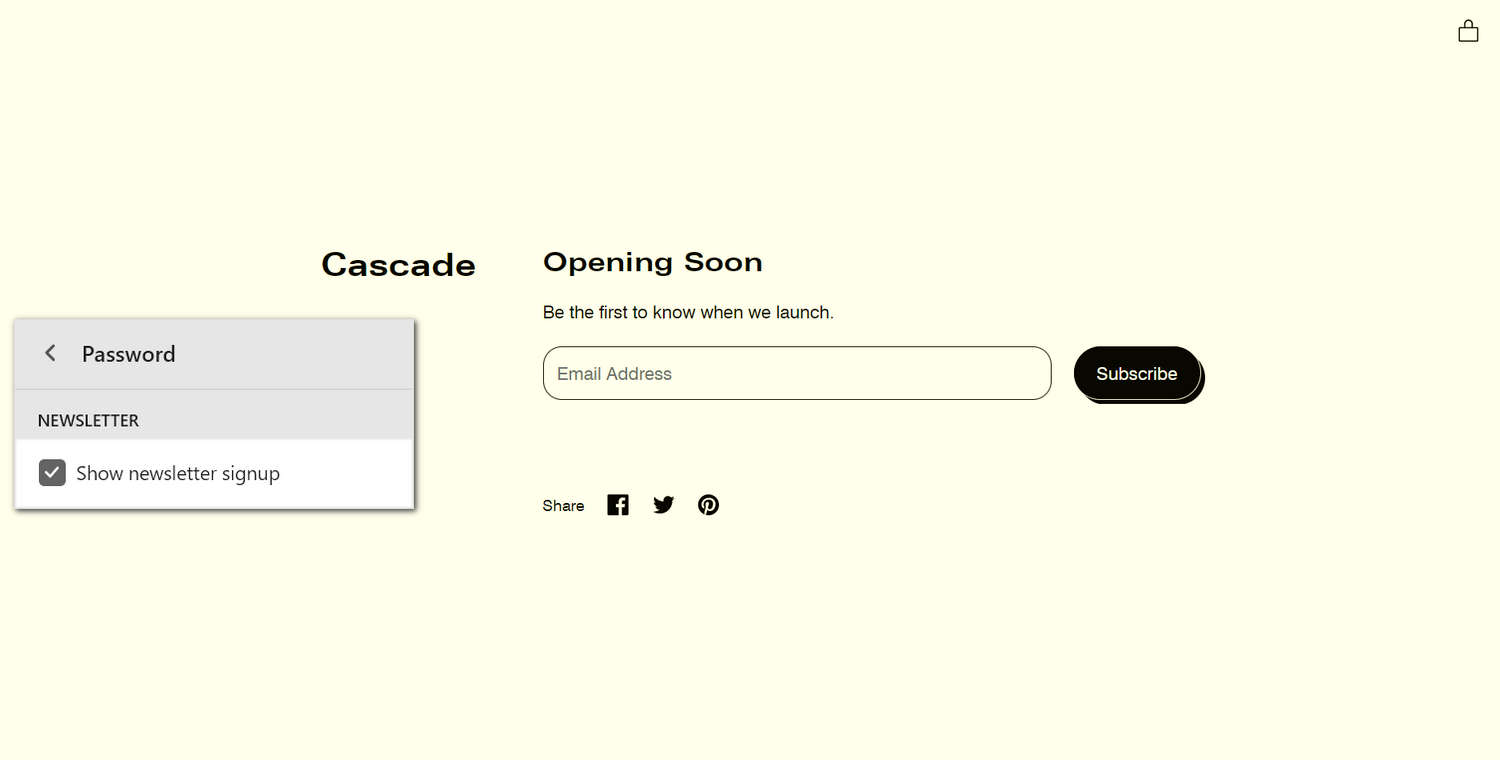
The previous image shows a Password section on a store's Password page. In the center left, part of Theme editor's section menu is displayed. The menu's Show newsletter signup checkbox is set to on. This setting displays the form, inside the section, that prompts customers to subscribe to the store's newsletter.
For general guidance with modifying sections, refer to Sections overview, and Shopify help: Sections and blocks.
Set up a password section
To set up a Password section:
Go to Customize theme.
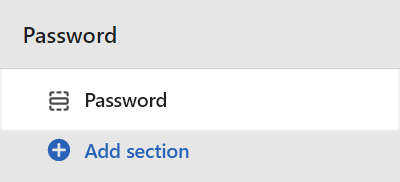
In Theme editor, at the top of the page, use the dropdown to select Password.
Note
The section is available only on Password pages.
From the side menu, select Password.
- Select a setting described in the following table.
| Setting name | Description |
|---|---|
| Logo image | Use the Logo image selector options to set up an image to use as a logo, inside the section. Refer to Edit an image inside a section or block. |
| Logo image > Connect dynamic source | To display a logo image from a dynamic source, if available, select the Connect dynamic source icon beside the Logo image selector, and then choose a metafield to add. Refer to Shopify help: Metafields. |
| Custom logo width | Adjust the Custom logo width slider to set a size for the image inside the section between 20 px and 450 px (pixels). |
| Heading | In the Heading box, enter text to display as title text inside the section. |
| Heading > Connect dynamic source | To display heading text from a dynamic source, if available, select the Connect dynamic source icon beside the Heading box, and then choose a metafield to add. Refer to Shopify help: Metafields. |
| Background image | Use the Background image selector options to set up an image to use as a background, inside the section. Refer to Edit an image inside a section or block. |
| Background image > Connect dynamic source | To display a background image from a dynamic source, if available, select the Connect dynamic source icon beside the Background image selector, and then choose a metafield to add. Refer to Shopify help: Metafields. |
| Newsletter > Show newsletter signup | Select the Show newsletter signup checkbox to show/hide a "signup" form inside the section. The form prompts customers to subscribe to your store's newsletter by submitting an email address. |
| Newsletter > Newsletter form heading | In the box Newsletter form heading, enter text to display as a title for the section's newsletter form. Format the text, and/or add links, using the Text editor pane. |
| Newsletter > Newsletter form heading > Insert dynamic source | To display form heading text from a dynamic source, if available, select the Insert dynamic source icon beside the Newsletter form heading box, and then choose a metafield to add. Refer to Shopify help: Metafields. |
| Newsletter > Tell your visitors about a launch day discount | Follow the link Tell your visitors about a launch day discount to open a Shopify blog post about using discounts for marketing and promotion. |
| Newsletter > Newsletter placeholder text | In the Newsletter placeholder text box, enter text to display as a placeholder label for the email address entry field, inside section's newsletter form. |
| Newsletter placeholder text > Connect dynamic source | To display a placeholder label text from a dynamic source, if available, select the Connect dynamic source icon beside the Newsletter placeholder text box, and then choose a metafield to add. Refer to Shopify help: Metafields. |
| Newsletter > Newsletter button text | In the Newsletter button text box, enter text to display as a label for the (subscribe) button, inside section's newsletter form. |
| Newsletter placeholder text > Connect dynamic source | To display a label text for the (subscribe) button from a dynamic source, if available, select the Connect dynamic source icon beside the Newsletter button text box, and then choose a metafield to add. Refer to Shopify help: Metafields. |
| Social sharing > Show social media sharing buttons | Select the Show social media sharing buttons checkbox to show/hide a Share list area, inside the section. Store visitors use the list to share links to your store's pages on social media. Refer to Social media. |
| Color > Color scheme | Use the Color scheme options to select a color scheme for the section. Refer to Colors. |
| Theme settings | If available, select Theme settings to access additional settings for the section. Refer to Section theme settings menu. |
| Custom CSS | Select Custom CSS. In the box, enter custom CSS styles to apply only to the current section. Refer to Shopify help: Add custom CSS. To apply custom styles to your entire online store, refer to Theme settings > Custom CSS. |