Appearance
Rich text
This guide describes setting up the Rich text section.
Use the section to add an area with formatted (body) text, a heading, and a hyperlinked button, to a store page.
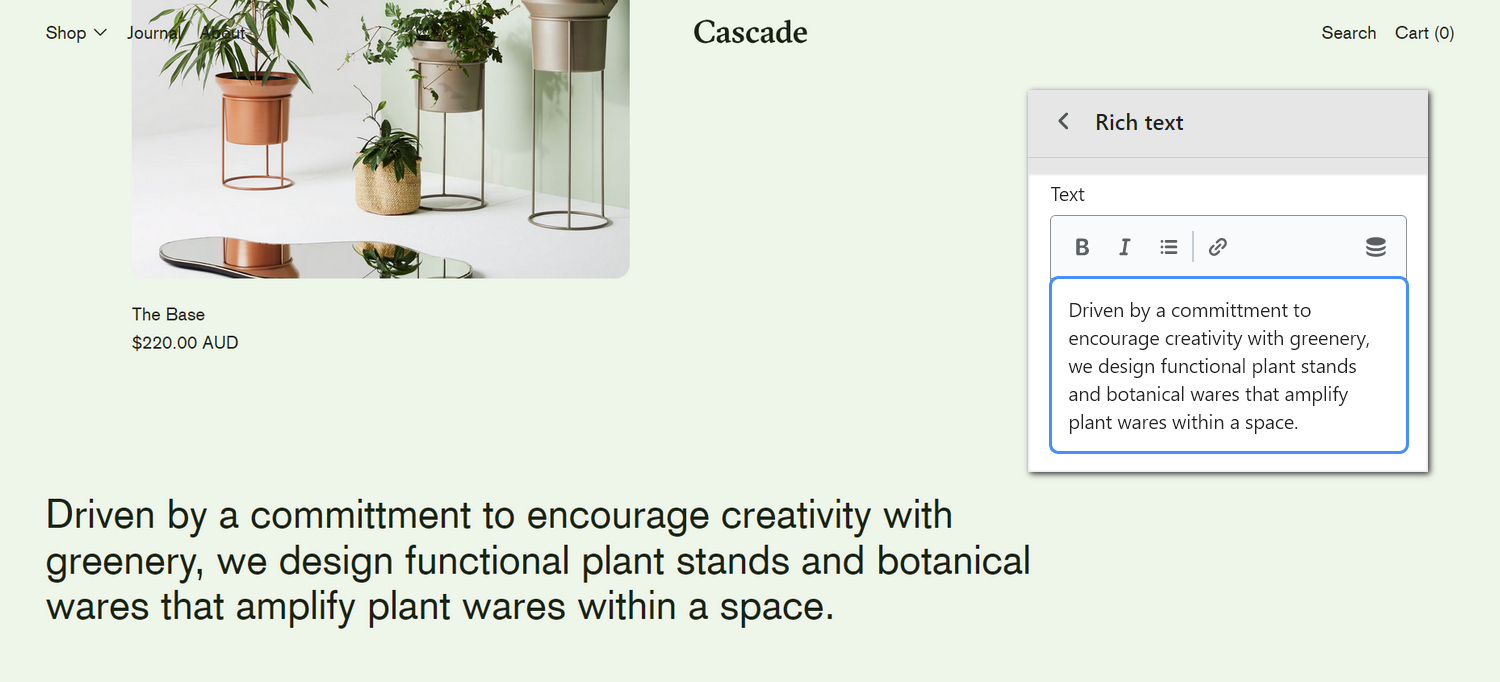
The previous image shows a Rich text section on a store's home page. On the right, part of Theme editor's section menu is displayed. The menu's Text box contains a description of the store. Below the section menu, the description is displayed as text inside the section.
For general guidance with modifying sections, refer to Sections overview, and Shopify help: Sections and blocks.
Set up a rich text section
To set up a Rich text section:
Go to Customize theme.
In Theme editor, at the top of the page, use the dropdown to select a page that contains a Rich text section.
Note
The section can be added into any page, except Checkout and Giftcard pages. To add the section into the current page, select Add section > Rich text. Refer to Shopify help: Add a section.
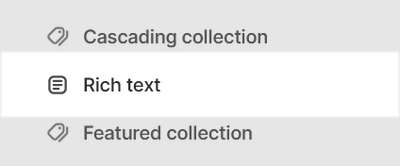
From the side menu, select Rich text.
Select a setting described in the following table.
| Setting name | Description |
|---|---|
| Heading | In the Heading box, enter text to display as a heading (title) inside the section. |
| Heading > Insert dynamic source | To display heading text from a dynamic source, if available, select the Insert dynamic source icon beside the Heading box, and then choose a metafield to add. Refer to Shopify help: Metafields. |
| Text | In the Text box, enter text to display as (body) text inside the section. Format the text, and add links, using the Text editor pane. |
| Text > Insert dynamic source | To display (body) text from a dynamic source, if available, select the Insert dynamic source icon beside the Text box, and then choose a metafield to add. Refer to Shopify help: Metafields. |
| Text font | Select the Text font radio buttons to apply the Body or Heading font to text inside the section. |
| Text size | Use the Text size options to set a size for text inside the section. Set the section's text to use the same size as Standard heading, Feature heading or Base text. |
| Text alignment | Use the Text alignment options to align text inside the section to the Left, Center, or Right. |
| Call to action > Link | In the Link box, enter a URL or select a link to a store page. The link opens when a store visitor selects the link's button. To remove a link, select the X icon inside the text box. |
| Call to action > Link > Insert dynamic source | To display a link from a dynamic source, if available, select the Insert dynamic source icon beside the Link box, and then choose a metafield to add. Refer to Shopify help: Metafields. |
| Call to action > Label | In the Label box, enter text to display as label for the link. To use this setting, add a link into the Link box. |
| Call to action > Label > Insert dynamic source | To display link label text from a dynamic source, if available, select the Insert dynamic source icon beside the Label box, and then choose a metafield to add. Refer to Shopify help: Metafields. |
| Call to action > Button style | Use the Button style setting to apply a Solid or Border button style to the section's "Call to action" link. |
| Desktop layout > Width | Use the Width options to set a width for the section. The options are Full, Two thirds, and Half width. This setting applies to desktop display devices. |
| Desktop Layout > Position | Use the Position options to display the section to the Left, Center, or Right. This setting applies to desktop display devices. |
| Color > Color scheme | Use the Color scheme options to select a color scheme for the section. Refer to Colors. |
| Color > Disable transition | Select the checkbox Disable transition to turn on/ off overriding the color transitions set in the section's theme settings. Setup defaults for this setting in Theme Settings > Colors. |
| Spacing > Remove top padding | Select the checkbox Remove top padding to add/remove the spacing (padding) that's displayed above the section. Refer to W3 Schools: CSS Padding. |
| Spacing > Remove bottom padding | Select the checkbox Remove bottom padding to add/remove the spacing (padding) that's displayed below the section. Refer to W3 Schools: CSS Padding. |
| Custom CSS | Select Custom CSS. In the box, enter custom CSS styles to apply only to the current section. Refer to Shopify help: Add custom CSS. To apply custom styles to your entire online store, refer to Theme settings > Custom CSS. |
| Remove section | Select Remove section to delete the section from the current page. |