Appearance
Newsletter
This guide describes how to set up the Newsletter section.
Use the section to display a newsletter sign-up form on a store page. A newsletter provides your customers with up-to-date information about your store. Customers who sign up for your newsletter will have a Shopify account created for them. Refer to Shopify help: Add a newsletter signup

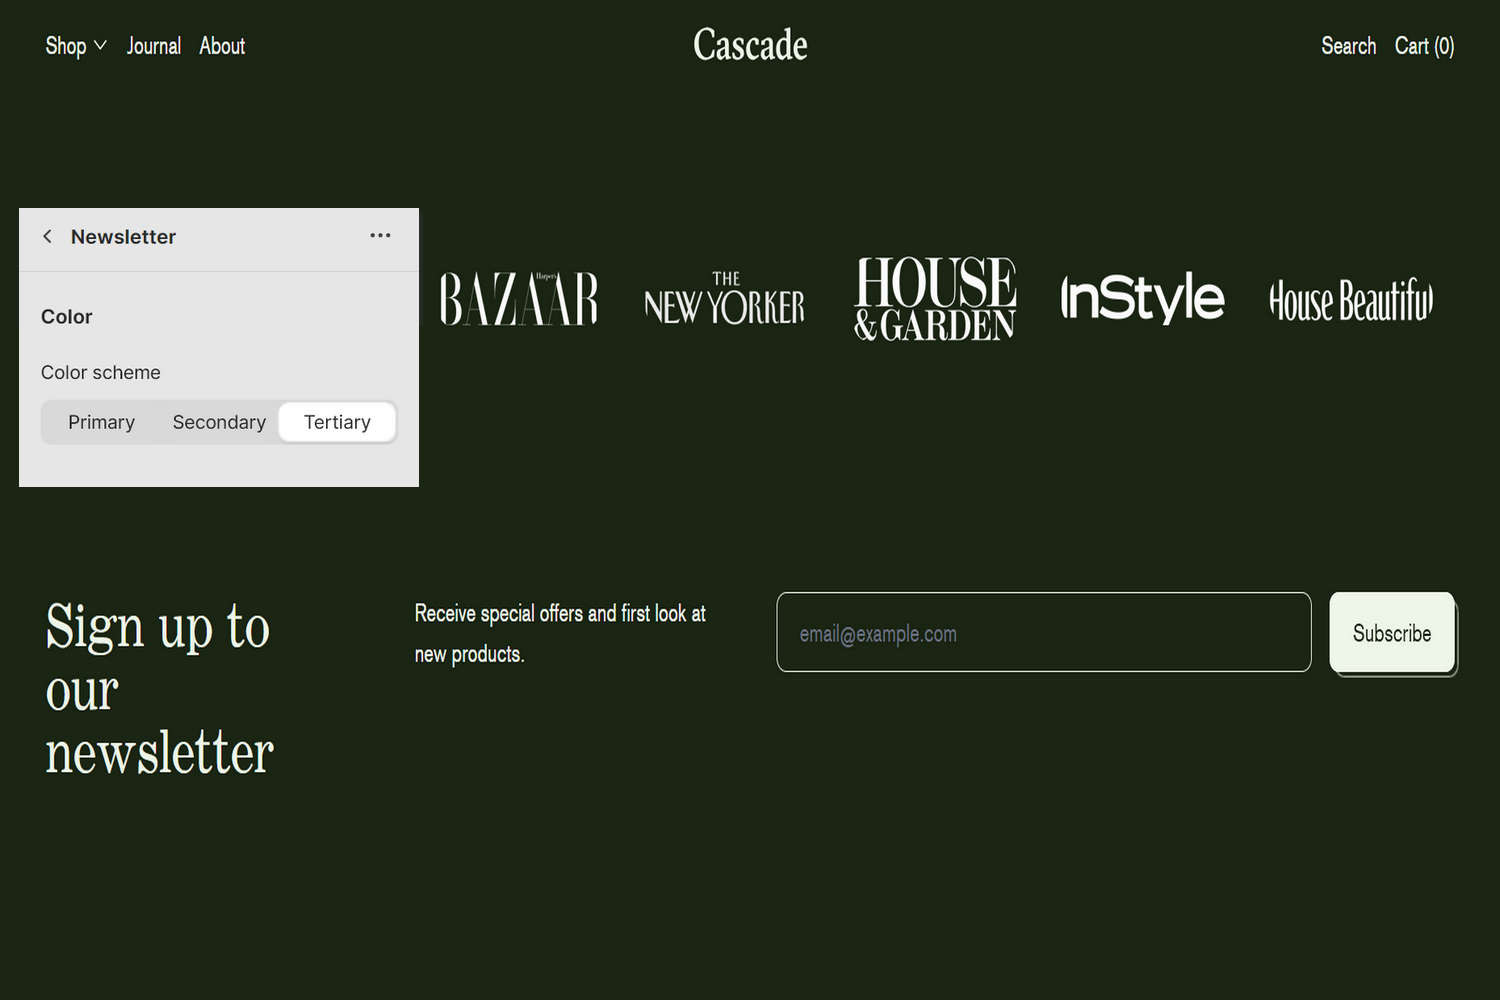
The previous image shows a Newsletter section on a store's home page. In the center-left, in the section menu, the Color scheme option is set to Tertiary. Below the section menu, the Tertiary color scheme is applied to the section.
For general guidance with modifying sections, refer to Sections overview, and Shopify help: Sections and blocks.
Set up a newsletter section
To set up a Newsletter section:
Go to Customize theme.
In Theme editor, at the top of the page, use the dropdown to select a page that contains a Newsletter section. For example, select the Home page.
Note
The section can be added into any page, except Checkout and Giftcard pages. To add the section into the current page, select Add section > Newsletter. Refer to Shopify help: Add a section.
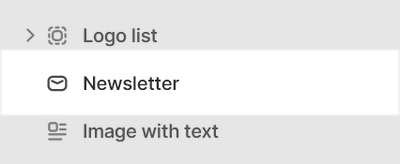
From the side menu, select Newsletter.

Select a setting described in the following table.
| Setting name | Description |
|---|---|
| Heading | In the Heading box, enter text to display as a heading (title) inside the section. |
| Text | In the Text box, enter (body) text to display inside the section. Format the text, and add links, using the Text editor pane. |
| Text > Insert dynamic source | To display (body) text from a dynamic source, if available, select the Insert dynamic source icon beside the Text box, and then choose a metafield to add. Refer to Shopify help: Metafields. |
| Customer list | Follow the Customer list link to open the Customers page in your Shopify admin. From the customers page, manage customers' information and view customers' purchase history. Refer to Shopify help: Customers. |
| Color > Color scheme | Use the Color scheme options to select a color scheme for the section. Refer to Colors. |
| Color > Disable transition | Select the checkbox Disable transition to turn on/ off overriding any color transitions set in the section's theme settings. Setup defaults for this setting in Theme Settings > Colors > Transitions. |
| Spacing > Remove top padding | Select the checkbox Remove top padding to add/remove the spacing (padding) that's displayed above the section. Refer to W3 Schools: CSS Padding. |
| Spacing > Remove bottom padding | Select the checkbox Remove bottom padding to add/remove the spacing (padding) that's displayed below the section. Refer to W3 Schools: CSS Padding. |
| Theme settings | If available, select Theme settings to access additional settings for the section. Refer to Section theme settings menu. |
| Custom CSS | Select Custom CSS. In the box, enter custom CSS styles to apply only to the current section. Refer to Shopify help: Add custom CSS. To apply custom styles to your entire online store, refer to Theme settings > Custom CSS. |
| Remove section | Select Remove section to delete the section from the current page. |