Appearance
Display inventory status per-location
This guide describes how to configure Label to display an inventory status for store products across multiple inventory locations.
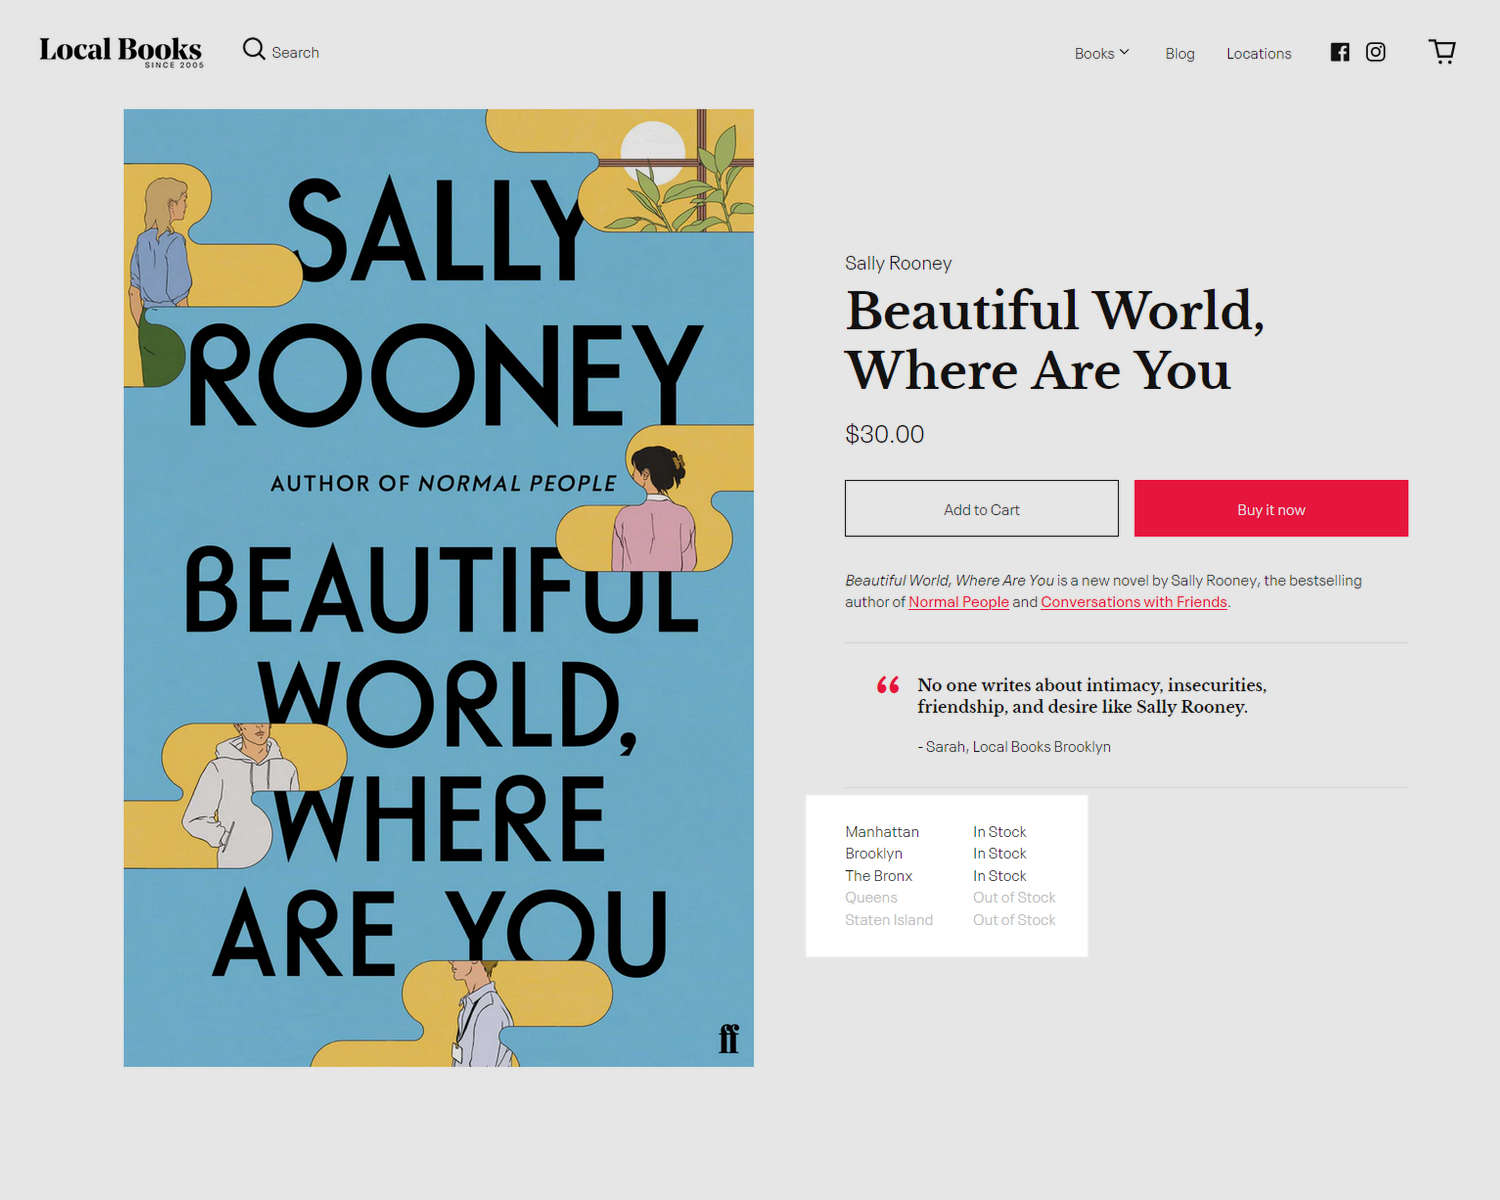
The previous image shows a store's Product page. In the lower right, an inventory status is displayed for the product in multiple inventory locations.
To display inventory across multiple inventory locations, complete the following steps.
- Add multiple inventory locations
- Assign multiple inventory locations to a product
- Specify product quantities in each inventory location
- Display multi-location inventory in a Product section
Add multiple inventory locations
To add multiple inventory locations to your store, complete the following steps.
Note
Refer to Shopify help: Add a location.
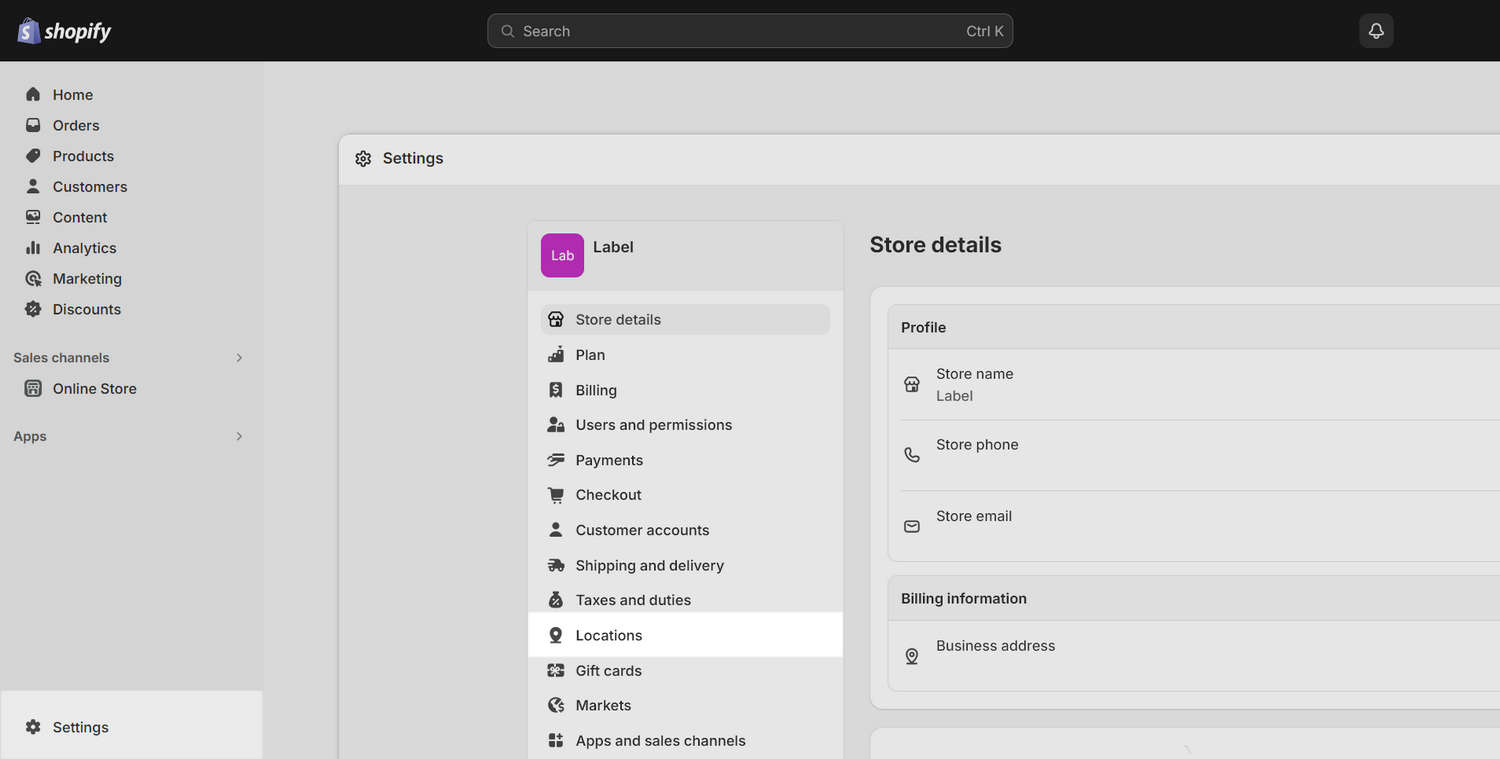
In your store's Shopify admin, select Settings > Locations, and then select Add location.
On the Add location page, enter a name and address for the new location into the Location name and Address fields.
To make the location's inventory available for online purchases, select the Fulfill online orders from this location checkbox.

Select Save.
Repeat the previous steps for each new inventory location you want to add.
Assign multiple inventory locations to a product
To assign multiple inventory locations to a product, complete the following steps.
In your store's Shopify admin, select Products.
From the Products list, select a product to be stocked at multiple inventory locations.
If you're setting up inventory for a variant, select the required variant.
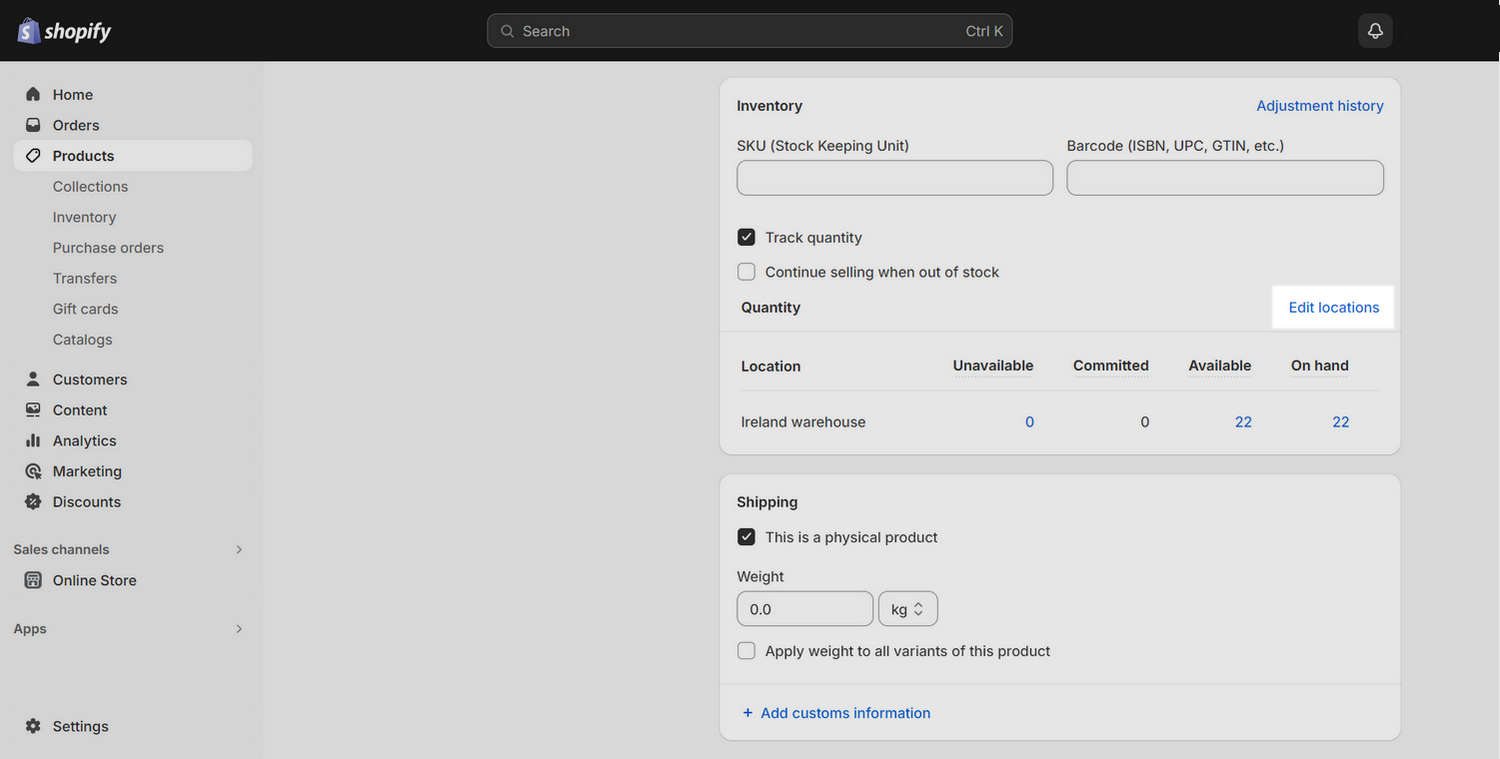
On the Inventory pane, select Edit locations.
Use the checkboxes to specify the inventory locations that stock your selected product.
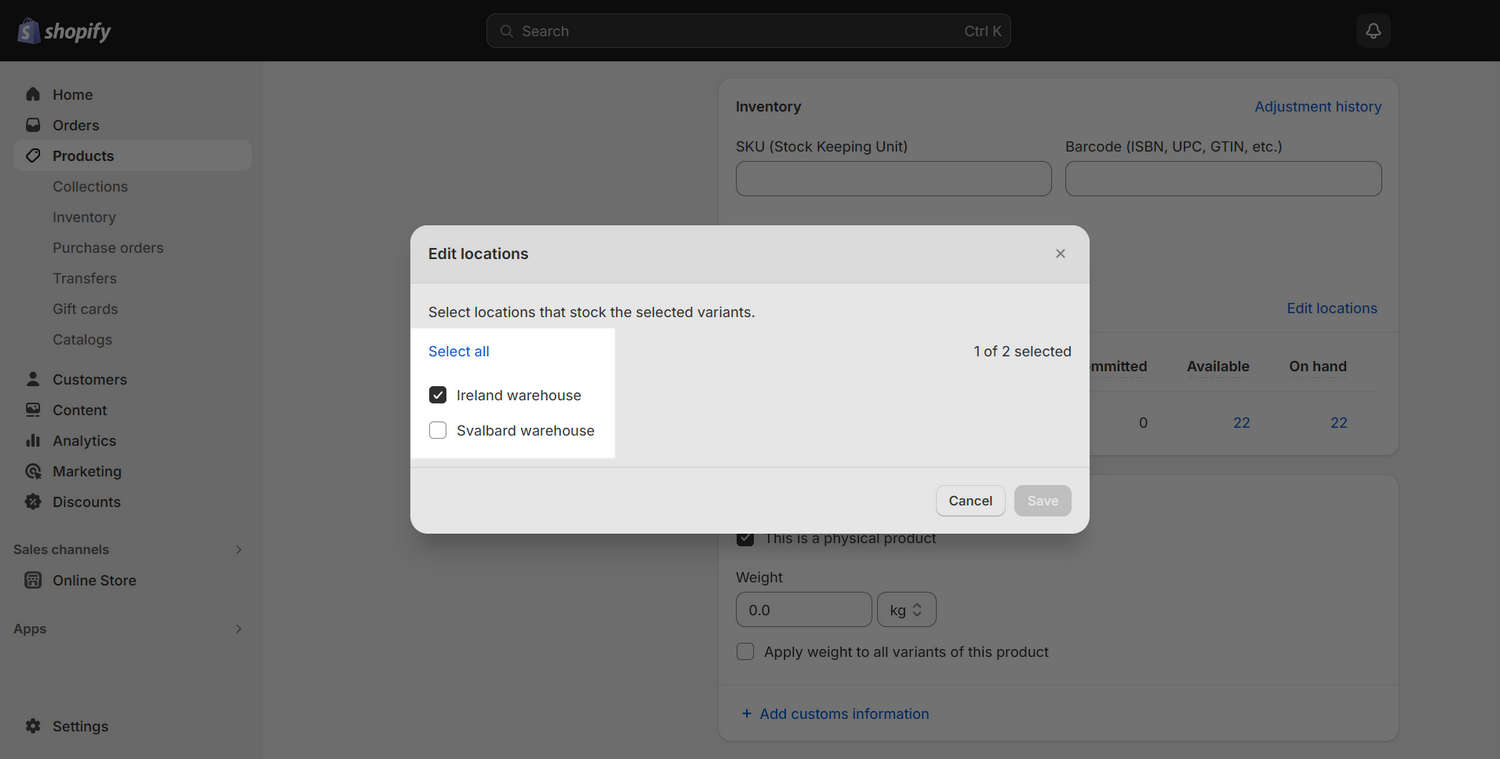
Select Save.
Repeat the previous steps for each product with multiple inventory locations.
Specify product quantities in each inventory location
To specify product quantities in each inventory location, complete the following steps.
In your store's Shopify admin, select Products > Inventory.
At the top of the page, use the Inventory drop-down menu to select your required inventory location.
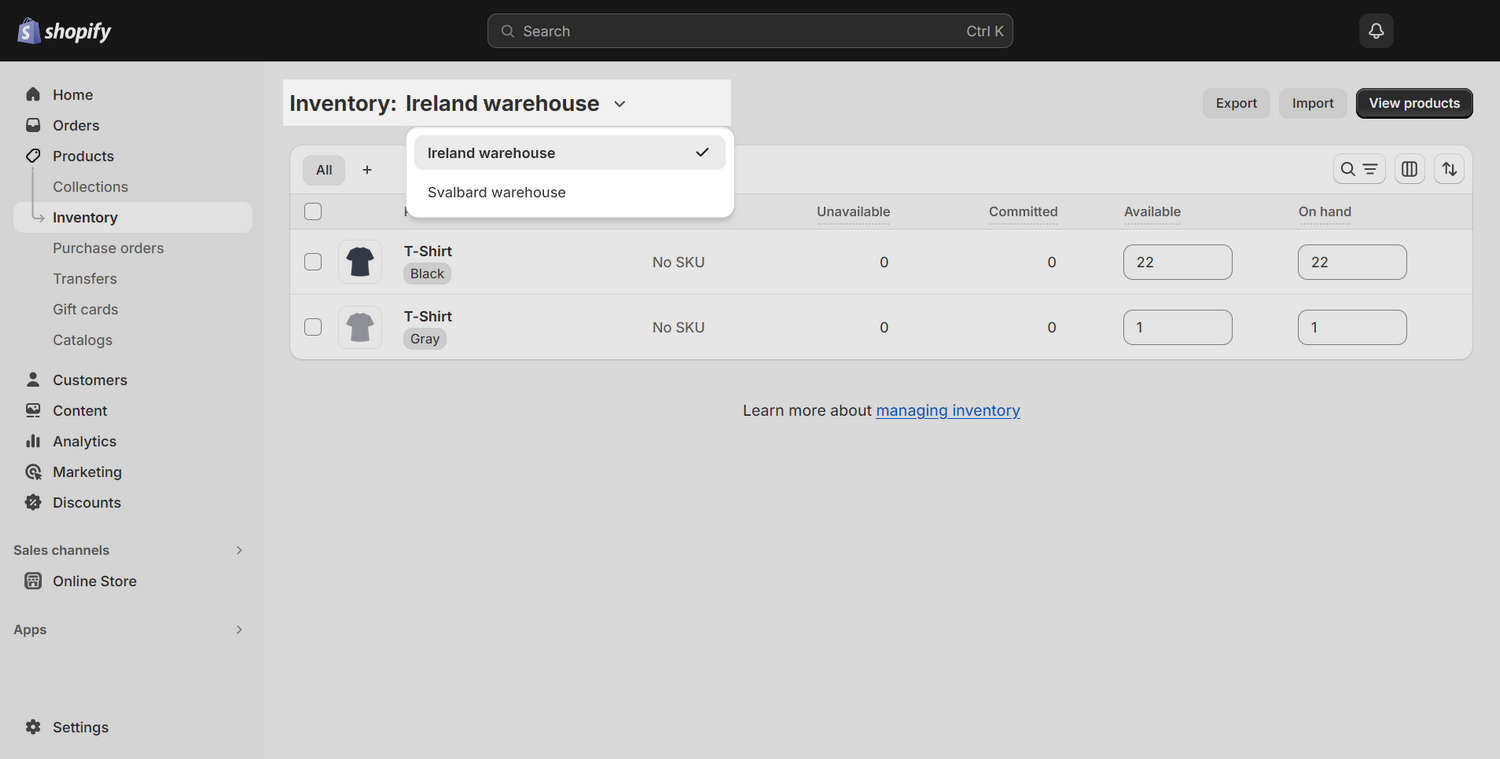
Locate the product or variant you want to modify.
In the corresponding On hand or Available column, enter the required quantity.
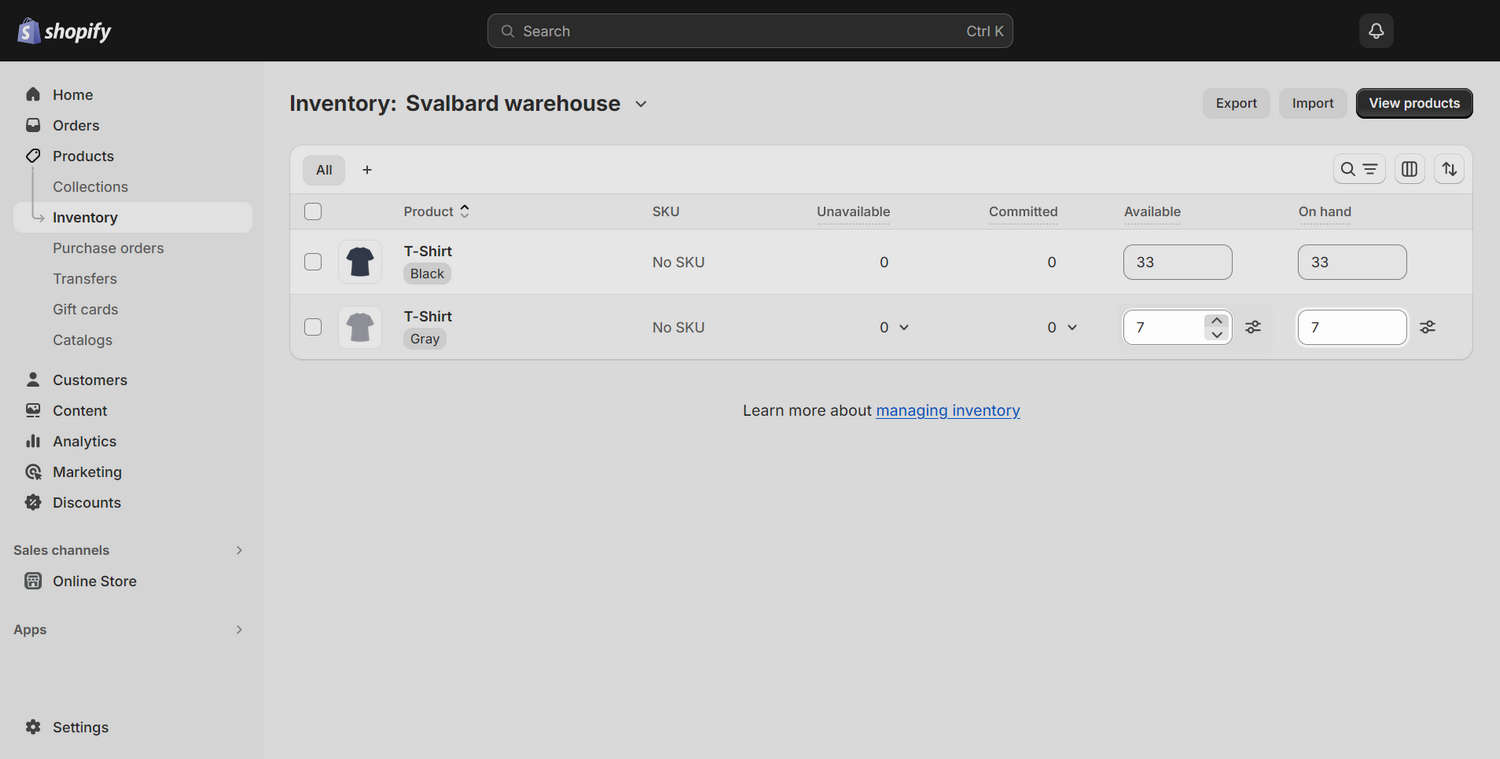
Select Save.
Repeat the previous steps for each store product or variant you want to modify.
Display multi-location inventory in a Product section
To display a product's inventory status across multiple locations in a Product section, complete the following steps.
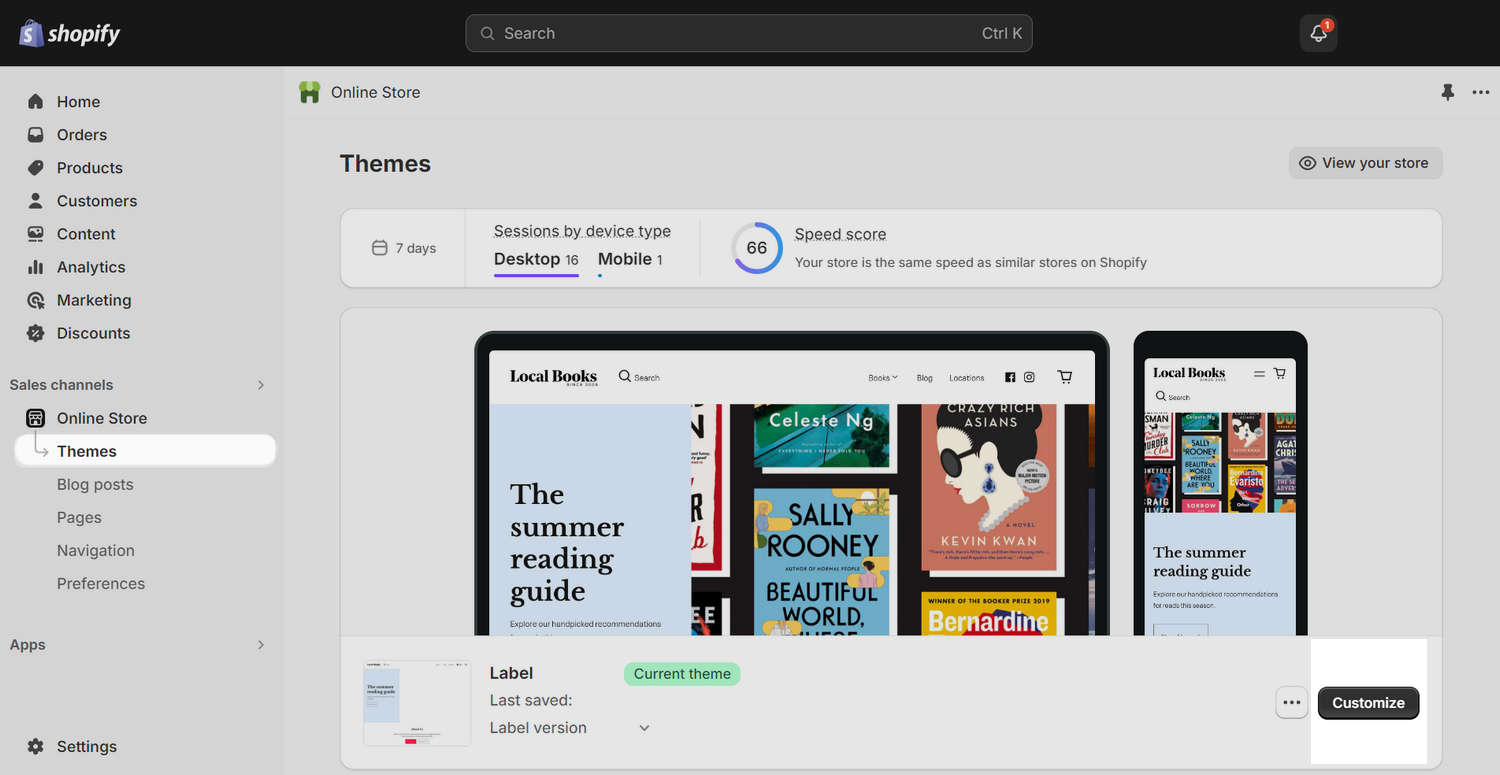
On your store's Shopify admin page, on the side menu, select Sales channels > Online store > Themes.
In the Current theme or Theme library area, locate the version of Label you want to modify, and then select Customize to open Theme editor.
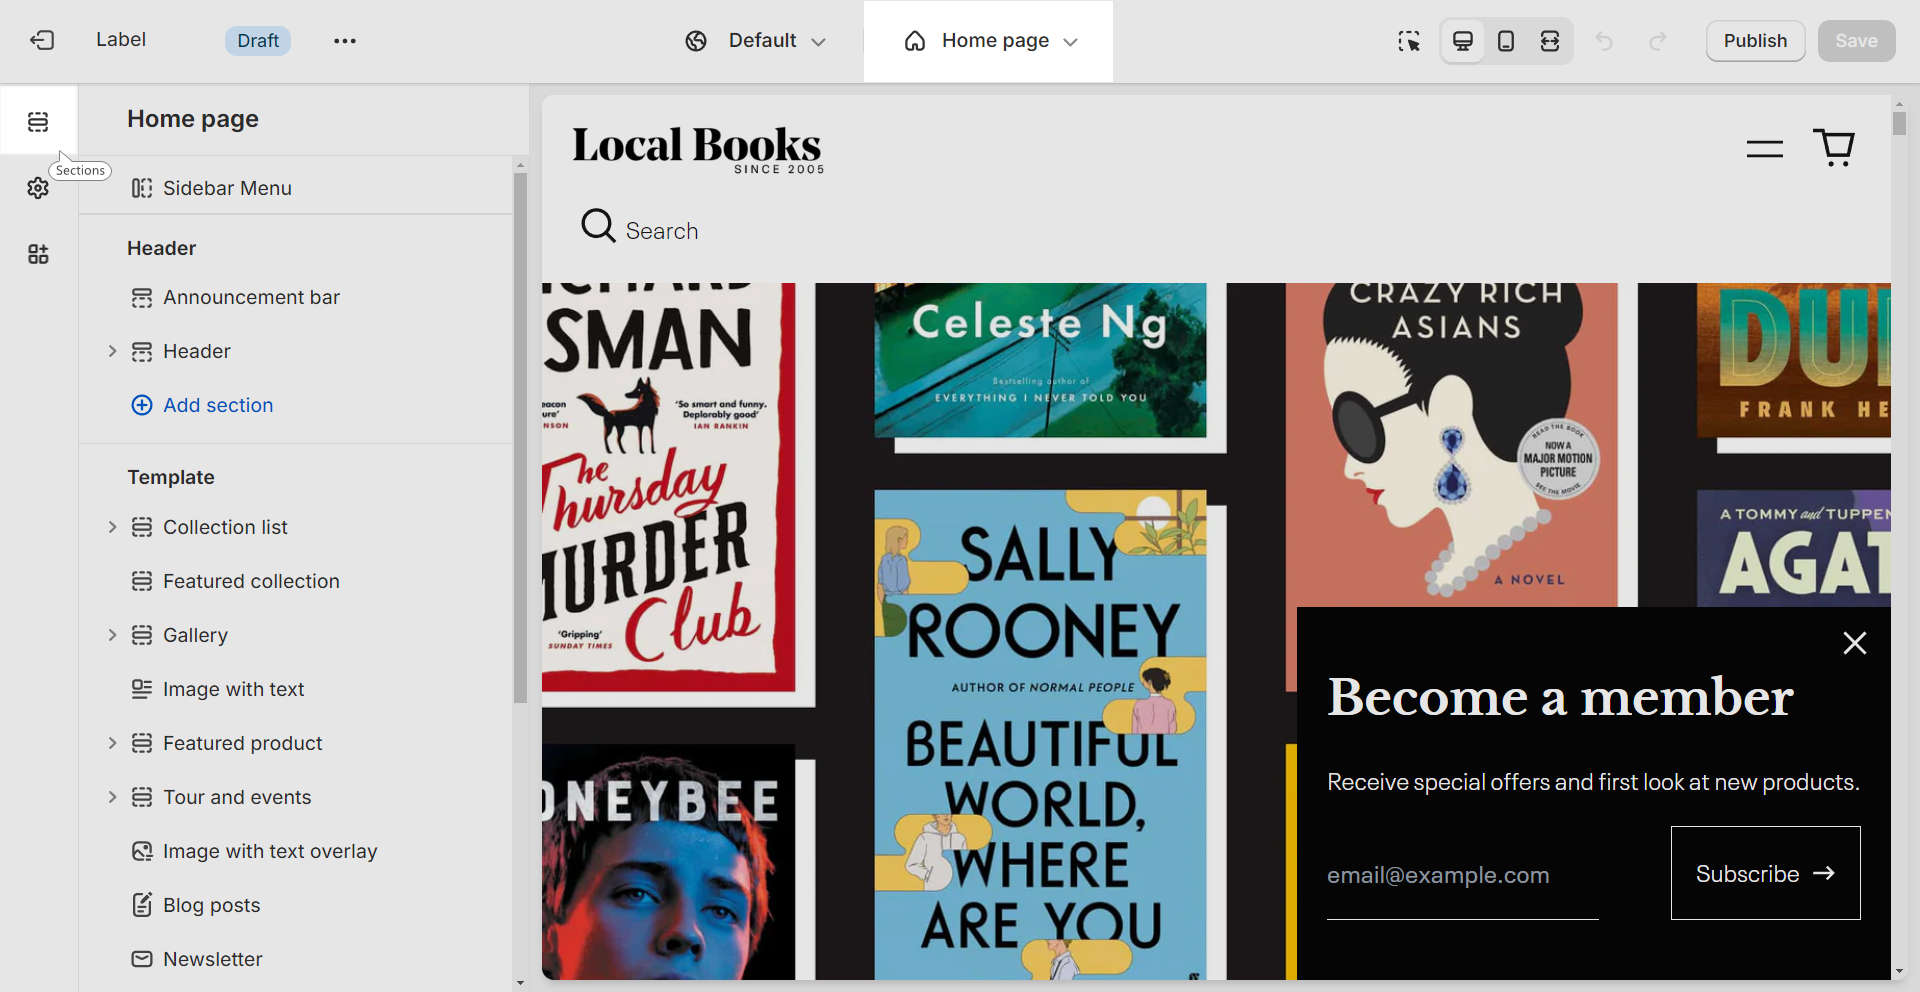
In Theme editor, from the side menu, select Sections.
Use the dropdown menu, at the top of the page, to select a page template that supports sections with Location inventory status blocks.
For example, select the Homepage or the Products > Default product page.
Note
You can add an Location inventory status block into the following sections:
Product pages section on Default product, Book, Fashion, Music, and Preorder product pages.
Featured product section on any page, except Checkout and Giftcard pages.
Collection with product section on Pages > Artist pages.
This guide adds a Location inventory status block into a Featured product section on the homepage. Adapt the steps to suit your particular requirements.
Select the required section to expand the section's settings menu.
For example, expand the homepage's Featured product section menu.
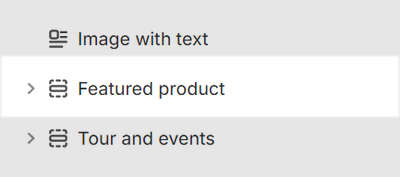
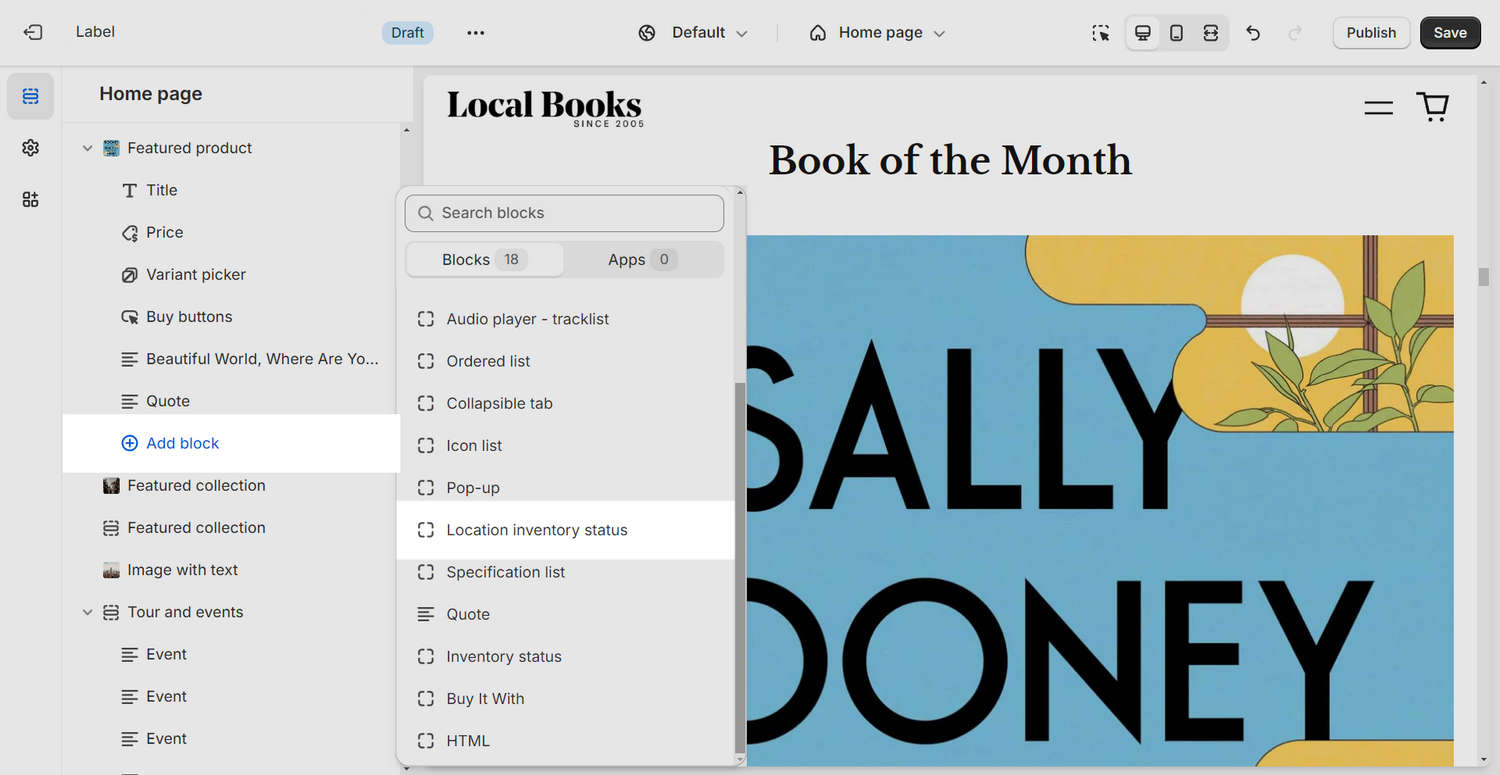
In the section's settings menu, choose Add block, and then select Location inventory status.
Note
By default, the block displays locations where the product is "in stock". To include locations where the product is "out of stock", select the block you added. In the Locations field, enter each location you want the block to display. Enter each location on a new line.
Verify that the inventory status displays correctly for each location you require, and then select Save.
Note
If necessary, return to Theme editor's Sections menu, and then reselect the section where you added the block. In section's settings menu, use the Product selector to pick a product that's listed in multiple inventory locations. Select Save, and then verify that the inventory status displays correctly.