Appearance
Custom liquid
This guide describes setting up your store's Custom liquid section.
Use the section to add Liquid code, like app snippets, to create advanced customizations for your store. Refer to Shopify developers: Liquid reference. We recommend hiring an expert if you're not comfortable editing Liquid code.
In the previous video, Liquid code is entered into a custom Liquid section textbox. The code is rendered on a store's home page as formatted text.
For general guidance with modifying sections, refer to Sections overview.
Set up a Custom liquid section
To set up a Custom liquid section:
Go to Customize theme.
In Theme editor, at the top of the page, use the dropdown to select a page that contains a Custom liquid section.
Note
The section can be added into any page, except Checkout and Giftcard pages. To add the section into the current page, select Add section > Custom liquid. Refer to Shopify help: Add a section.
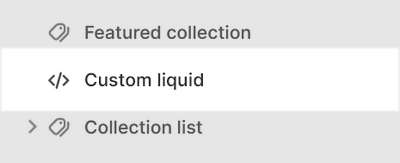
From the side menu, select Custom liquid.

Select a section setting described in the following table.
| Setting name | Description |
|---|---|
| Heading | In the Heading box, enter text to display as a title inside the section. |
| Liquid | In the Liquid box, enter Liquid template language code, like an app snippet, to create advanced customizations on your store page. |
| Full width | Select the Full width checkbox to turn/off spacing between your custom liquid content and the section's edges. With this setting enabled, the full width of the section is used to display your custom liquid content. |
| Color > Color scheme | Use the Color scheme options to select a color scheme for the section. Refer to Colors. |
| Theme settings | If available, select Theme settings to access additional settings for the section. Refer to Section theme settings menu. |
| Custom CSS | Select Custom CSS. In the box, enter custom CSS styles to apply only to the current section. Refer to Shopify help: Add custom CSS. To apply custom styles to your entire online store, refer to Theme settings > Custom CSS. |
| Remove section | Select Remove section to delete the section from the current page. |