Appearance
Blog header
This guide describes setting up your store's Blog header section.
Use the section to set how title text (header) is displayed on blog pages.

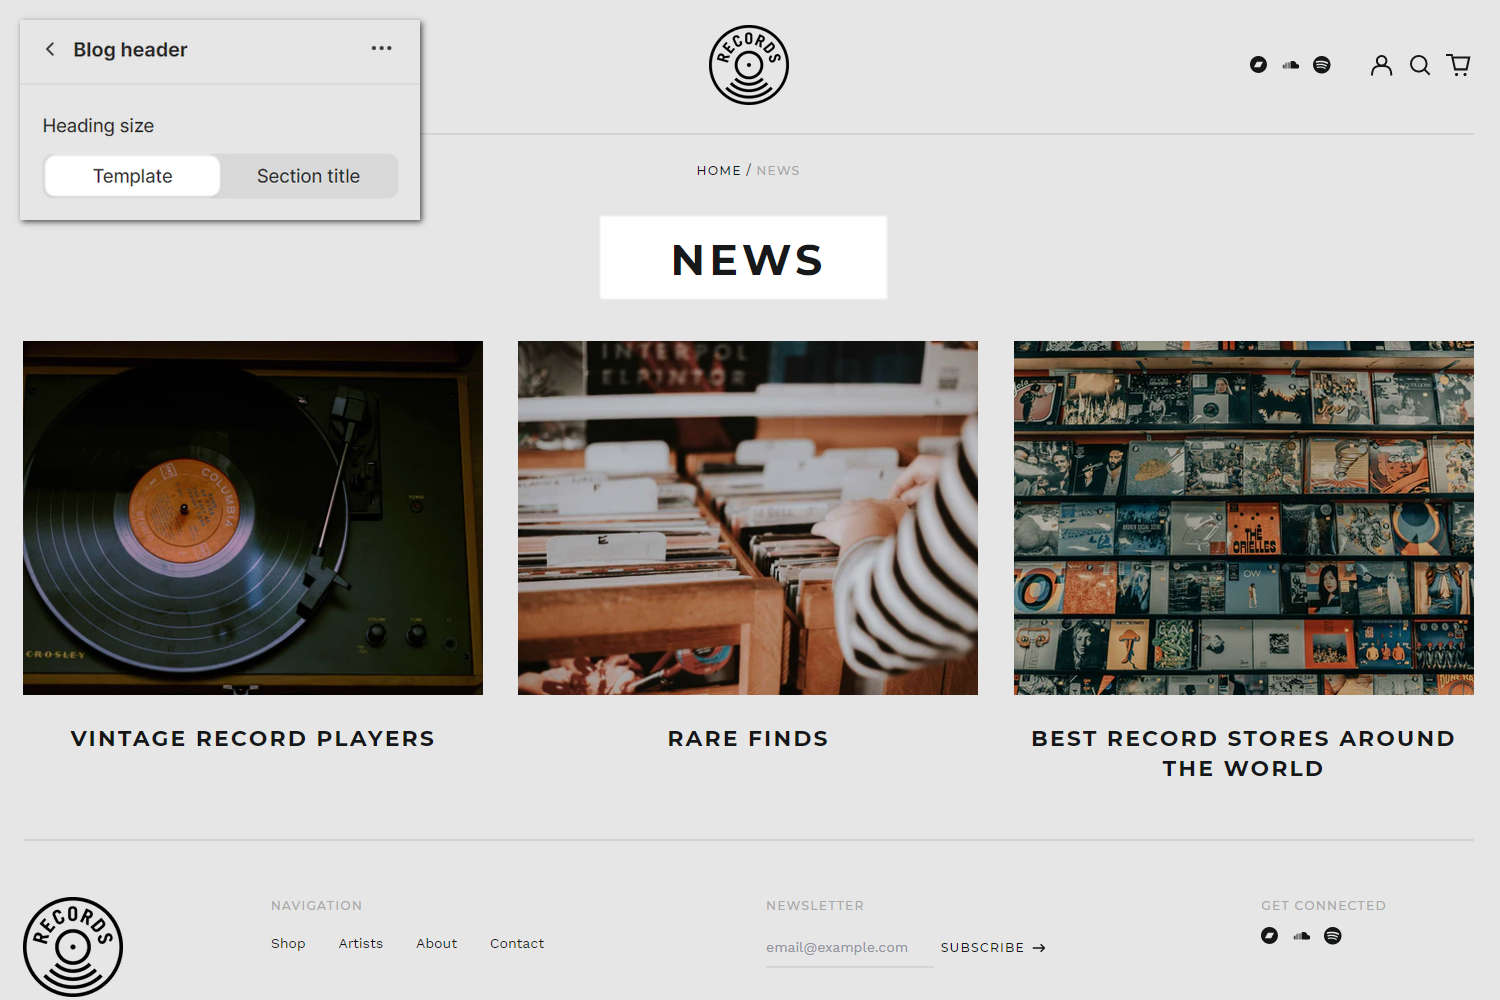
In the previous image, a Blog header section is displayed on a store's default blog page. In the upper left side of the image, part of Theme editor's section menu is displayed. The section menu's Heading size option is set to Template. This option sets a text size for title text inside the section. In the upper center of the image, the Template text size is applied to the section's News title text.
For general guidance with modifying sections, refer to Sections overview.
Set up a Blog header section
To set up a Blog header section:
Go to Customize theme.
In Theme editor, at the top of the page, use the dropdown to select a page that contains a Blog header section. For example, select Blogs > Default blog.
Note
The section is available only on Blogs > Default blog pages.
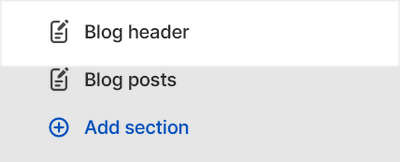
From the side menu, select Blog header.

Select a section setting described in the following table.
| Setting name | Description |
|---|---|
| Heading size | Use the Heading size options to apply the Template or Section title text size to title text, inside the section. |
| Theme settings | If available, select Theme settings to access additional settings for the section. Refer to Section theme settings menu. |
| Custom CSS | Select Custom CSS. In the box, enter custom CSS styles to apply only to the current section. Refer to Shopify help: Add custom CSS. To apply custom styles to your entire online store, refer to Theme settings > Custom CSS. |