Appearance
Promote tours and events
This guide describes how to configure Label theme to display details about your store's tour dates and events.
Use this feature to promote tour dates and events on your store's pages.
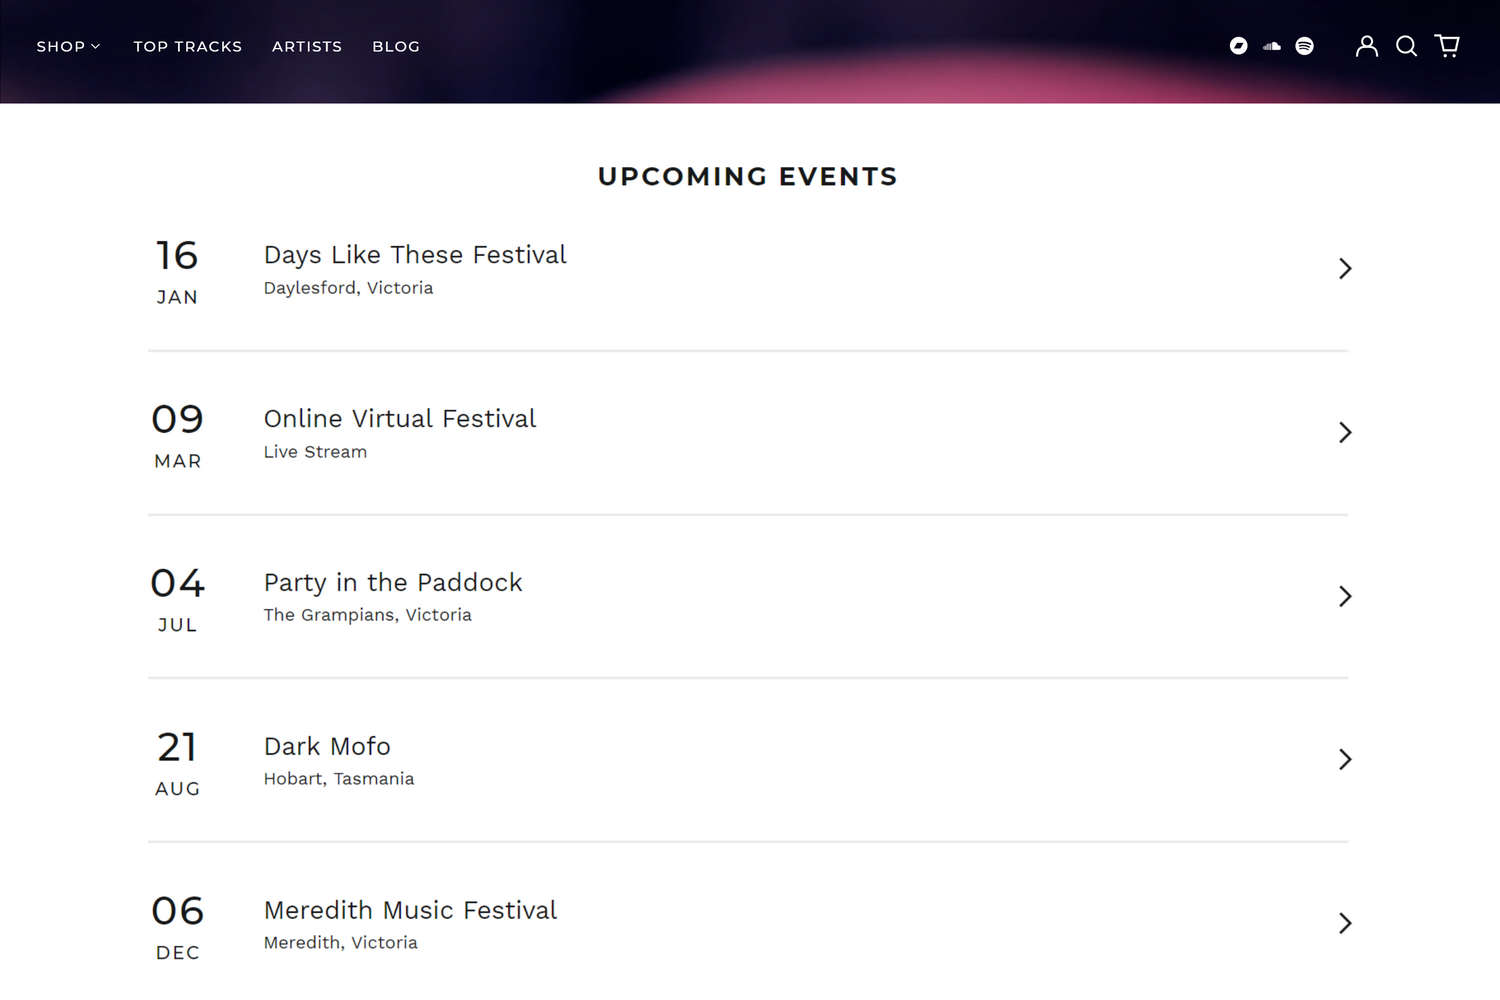
In the previous image, a Tours and events section is displayed on a store's home page. Inside the section, details about the store's upcoming events are displayed.
Page templates, sections and blocks for events
The following describes Label's page templates, sections and blocks that you can use for displaying your store's tour dates and events.
Tour and events section
Label's default home page includes a Tour and events section. The section is also included in Label's "tour-events" page template. For information about the section, refer to Tour and events.
Note
In Theme editor, you can add a Tour and events section to any store page except Checkout and Giftcard pages.
Inside a Tour and events section, you add "Event" blocks. In an Event block, you Enter tour and event details manually. Then, the section displays the event details inside the block.
Alternatively, you configure a Tour and events section to retrieve event details from the Bandsintown or EventBrite external services. Then, the section displays the event details retrieved from an external service.
Note
If you enter event details manually, events from external services are not displayed.
Tour and events from page section
Label theme includes a "Tour and events from page" section. The section displays events that are retrieved from your store's "tour and events" page. For information about the section, refer to Tour and events from page.
To use the section to display events from your store's Tour and events page, refer to Display events from a tour and events page.
Enter event details manually
In a Tour and events section, to add event details into an Event block manually:
On your store's admin page, navigate to Sales channels > Online store > Themes.
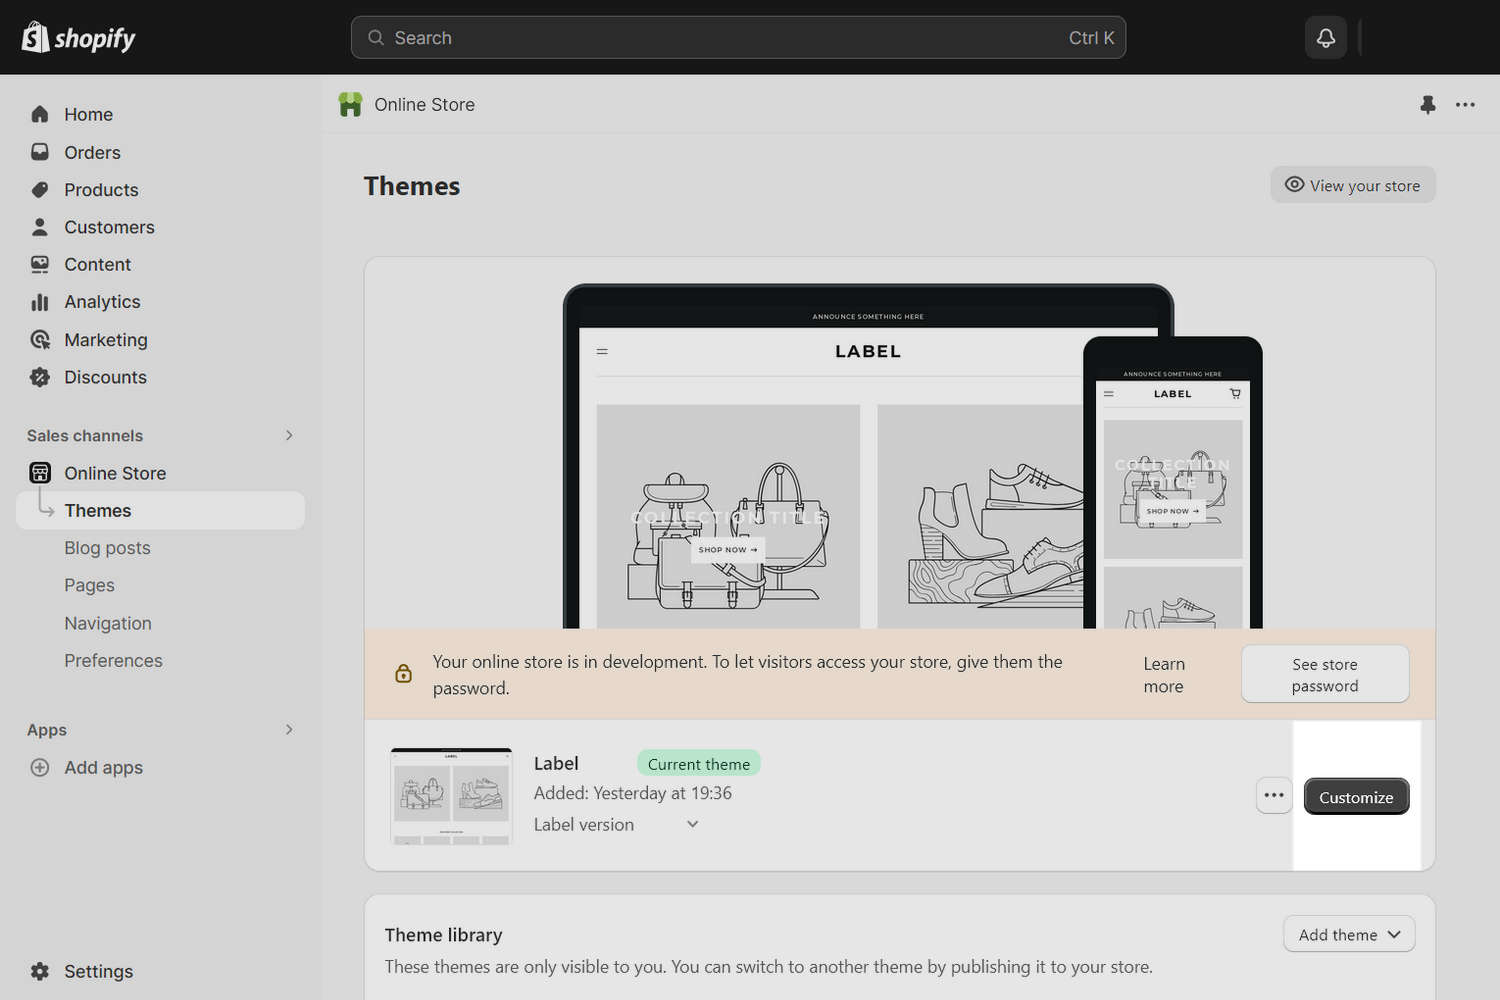
On the Themes page, locate the theme you require, and then select Customize.
From the dropdown at the top of the page, select a page that contains a Tour and events section.
Note
To add the section to the current page, select Add section, and then choose Tour and events. The section is enabled on the home page, and the tour-events page template, by default.
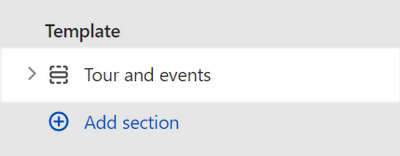
From the side menu, expand the Tour and events section menu
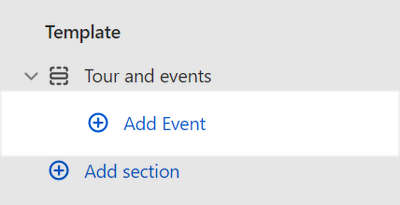
In the section menu, select Add event (block).
Select the Event block you added.
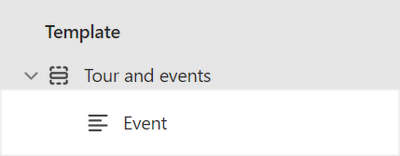
In the Event block menu, adjust the settings described in the following table to provide details about your event.
| Setting name | Description |
|---|---|
| Day | Adjust the Day slider to set a date to display for the event inside the block. The slider values range from 1 to 31. |
| Month | Use the Month dropdown to set a month to display for the event inside the block. The options are from January to December. |
| Location | In the Location box, enter text to display as a location for the event inside the block. |
| Location > Connect dynamic source | To display a location from a dynamic source, select the Connect dynamic source icon beside the Location box, and then choose a metafield to add. Refer to Shopify help: Metafields. |
| Venue | In the Venue box, enter text to display as a venue for the event inside the block. |
| Venue > Connect dynamic source | To display a venue from a dynamic source, select the Connect dynamic source icon beside the Venue box, and then choose a metafield to add. Refer to Shopify help: Metafields. |
| Ticket URL | In the Ticket URL box, enter a URL for purchasing tickets to the event or select a store page to link to. To remove a link, select the X icon inside the text box. |
| Ticket URL > Connect dynamic source | To display a Ticket URL from a dynamic source, select the Connect dynamic source icon beside the Ticket URL box, and then choose a metafield to add. Refer to Shopify help: Metafields. |
| End date > This event has an end date | Select the checkbox This event has an end date to turn on/off using an end date for the block's event. With this option enabled, you can specify a date when the block's event ends. |
| End date > Day | Adjust the Day slider to set a date to display as an end date for the event inside the block. The slider values range from 1 to 31. |
| End date > Month | Use the Month dropdown to set a month to display as an end date for the event inside the block. The options are from January to December. |
| Remove block | Select Remove block to delete the block from the current section. |
Retrieve Bandsintown events
To configure a Tour and events section to retrieve details about events from Bandsintown, you need your Bandsintown artist name. Then, add your Bandsintown artist name into the section.
To get your Bandsintown artist name, and then use it to display Bandsintown events inside the section:
Go to Bandsintown, and then sign into your Bandsintown user account.
In the URL for your artist's page, locate your Bandsintown artist's name.
For example:
- If an artist's page URL is
https://www.bandsintown.com/a/25874-radiohead - The URL suffix
25874-radioheadis the Bandsintown artist name.
- If an artist's page URL is
On your store's admin page, navigate to Sales channels > Online store > Themes.
On the Themes page, locate the theme you require, and then select Customize.

From the dropdown at the top of the page, select a page that contains a Tour and events section.
Note
To add the section to the current page, select Add section, and then choose Tour and events. The section is enabled on the home page, and the tour-events page template, by default.
From the side menu, select the Tour and events section.

In the Tour and events section menu, locate the External source area.
Set the Source to Bandsintown.
In the Bandsintown artist name text box, enter your Bandsintown artist name. For example, enter
25874-radiohead.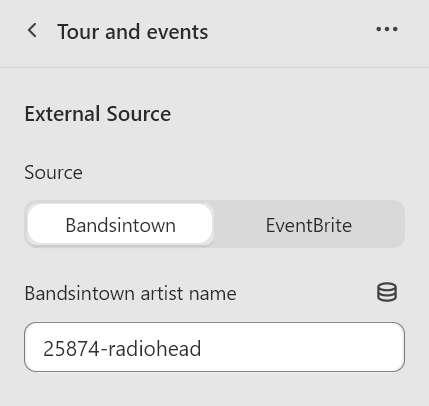
Select Save.
Retrieve EventBrite events
To configure a Tour and events section to retrieve and display details about events from EventBrite, you need an EventBrite token. You add your EventBrite token into the section. The token authorizes Label to connect to your EventBrite user account to retrieve and display details about events from EventBrite.
To find and authorize your EventBrite token, and then add it into the section:
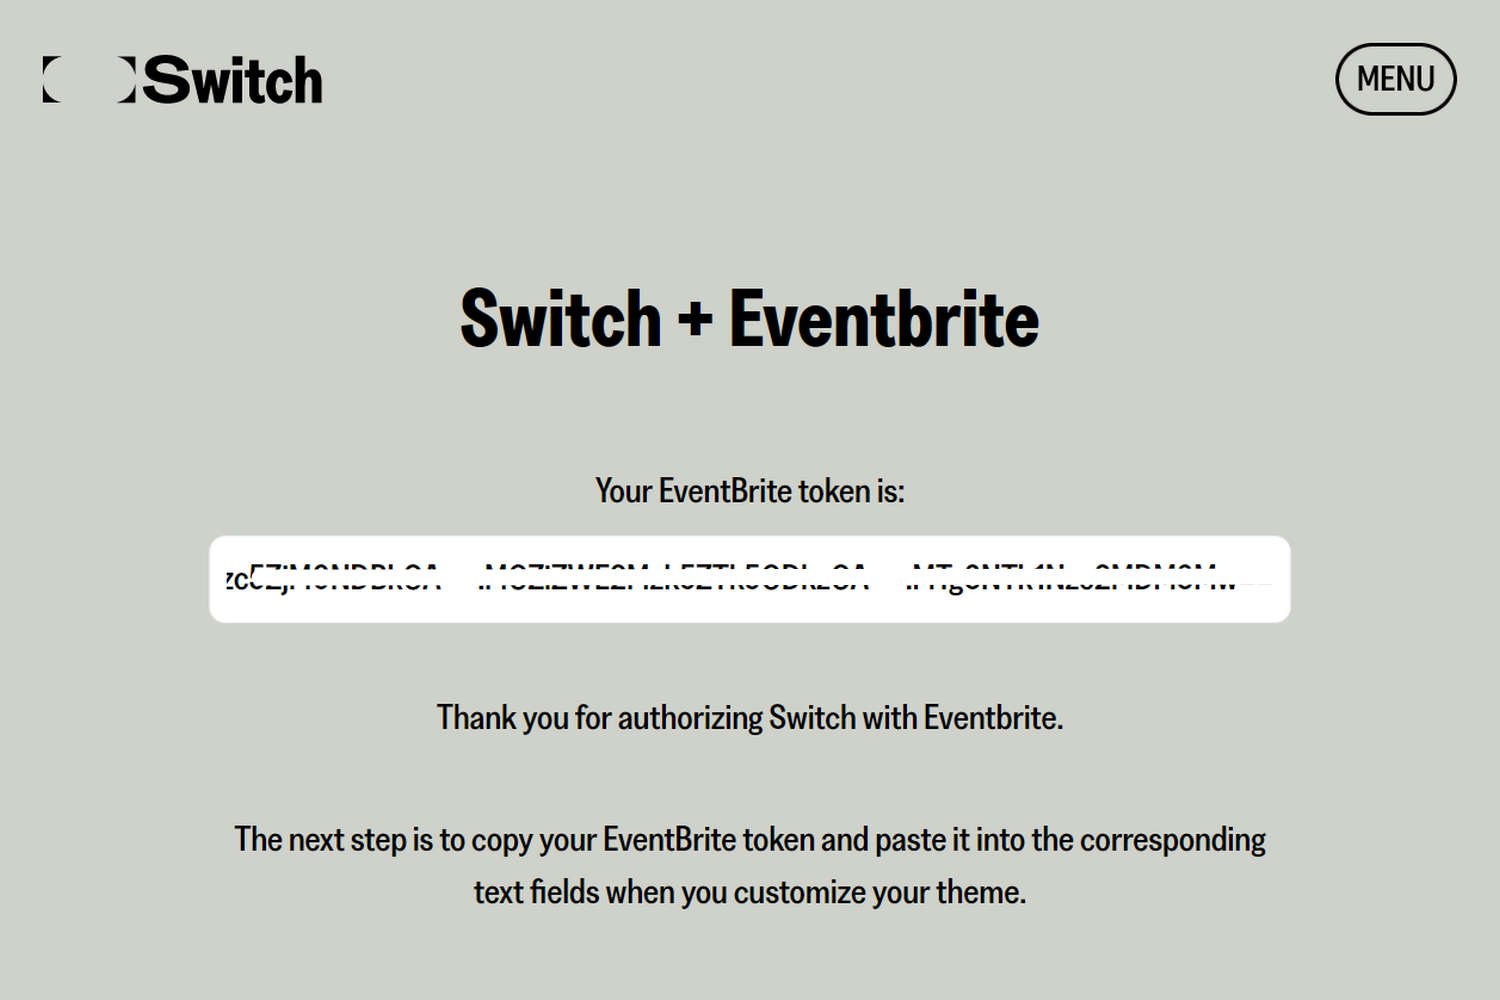
Go to http://www.switchthemes.co/eventbrite, and then select Grab your Access Token.
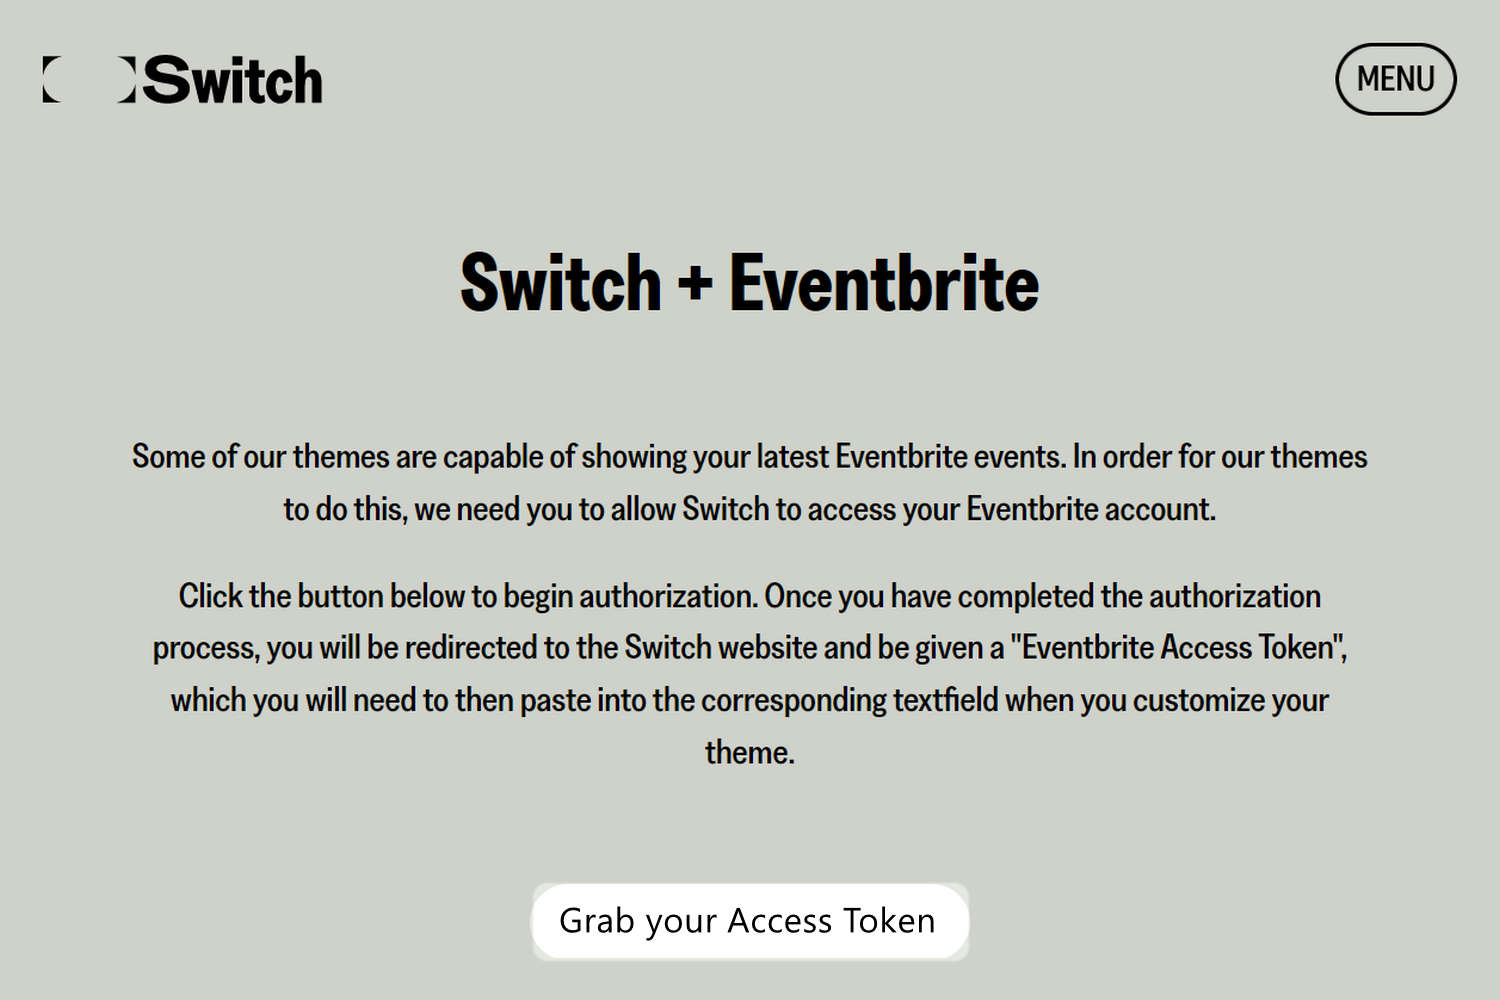
Sign into your EventBrite user account.
When promoted to allow Switch themes to access your EventBrite user account, select Allow.
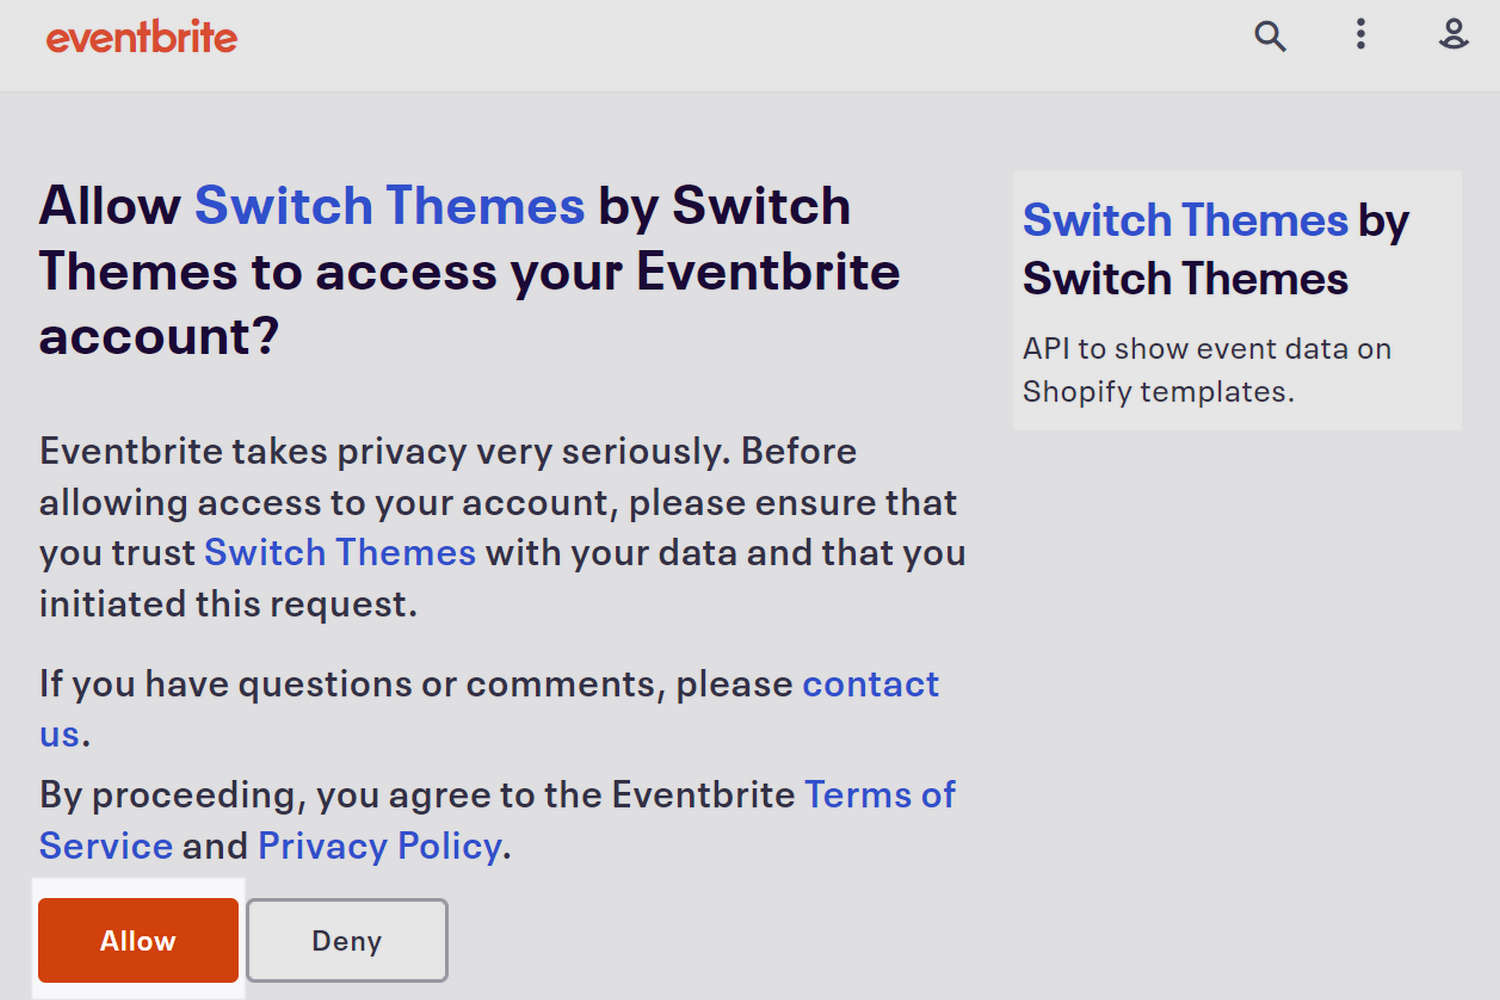
Copy your EventBrite token to your computer's clipboard.
On your store's admin page, navigate to Sales channels > Online store > Themes.
On the Themes page, locate the theme you require, and then select Customize.

From the dropdown at the top of the page, select a page that contains a Tour and events section.
Note
To add the section to the current page, select Add section, and then choose Tour and events. The section is enabled on the home page, and the tour-events page template, by default.
From the side menu, select the Tour and events section.

In the Tour and events section menu, locate the External source area.
Set the Source to EventBrite.
In the Eventbrite token box, paste the token you copied previously.
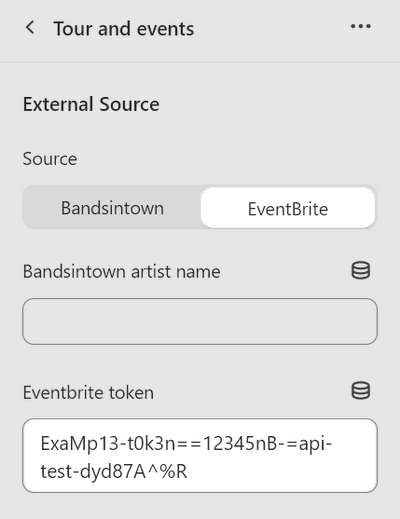
Select Save.
Display events from a tour and events page
Label theme includes a "Tour and events from page" section. Use the section to display events from a Tour and events page. For information about the section, refer to Tour and events from page.
To use the Tour and events from page section, your store requires:
- A "source" page that contains an event you want to display.
- A "target" page to display the event from your source page.
To configure a target page to display events from a source page, refer to Configure your target and source pages.
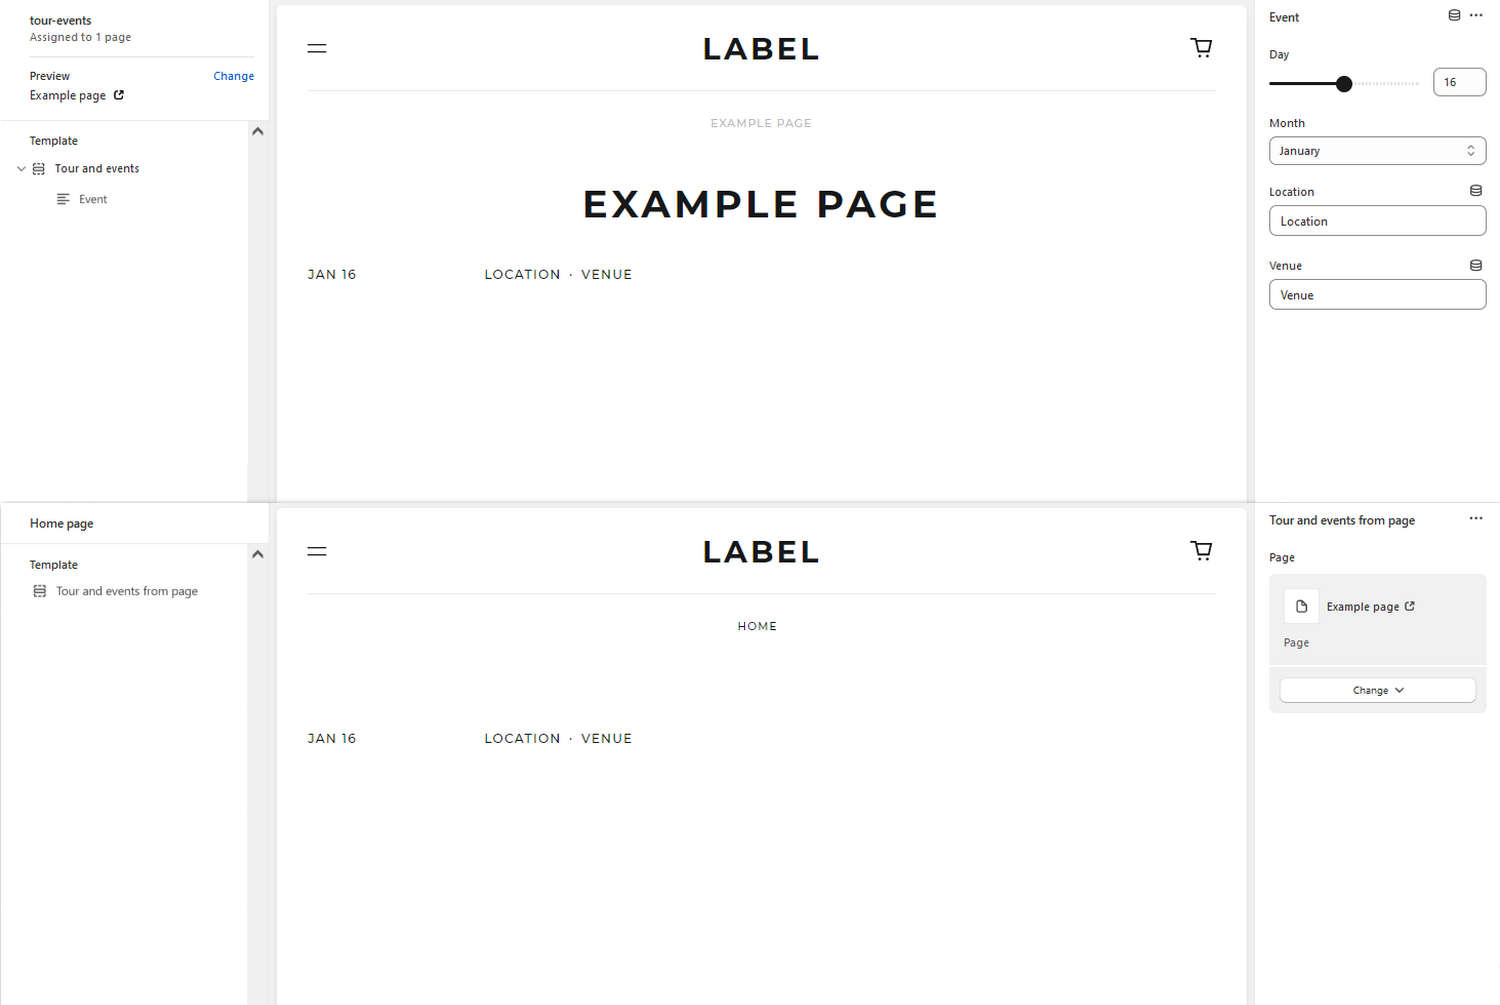
The upper half of the previous image shows a store's Example page in Theme editor. The example page is the store's "source" page. Theme editor's menu, in the upper left, shows the tour-event template assigned to the example page. The page also contains a Tours and events section. In the upper right, the section's Event block settings are configured with details about an upcoming store event.
The lower half of the previous image shows a store's home page in Theme editor. The home page is the store's "target" page. The home page contains a Tours and events from page section. On the right, the section's Page selector is set to the Example page. On the home page, details about an upcoming store event are displayed inside the section. These event details are retrieved from the Example page.
Configure your target and source pages
To display events on the target page from a source page, complete the following steps.
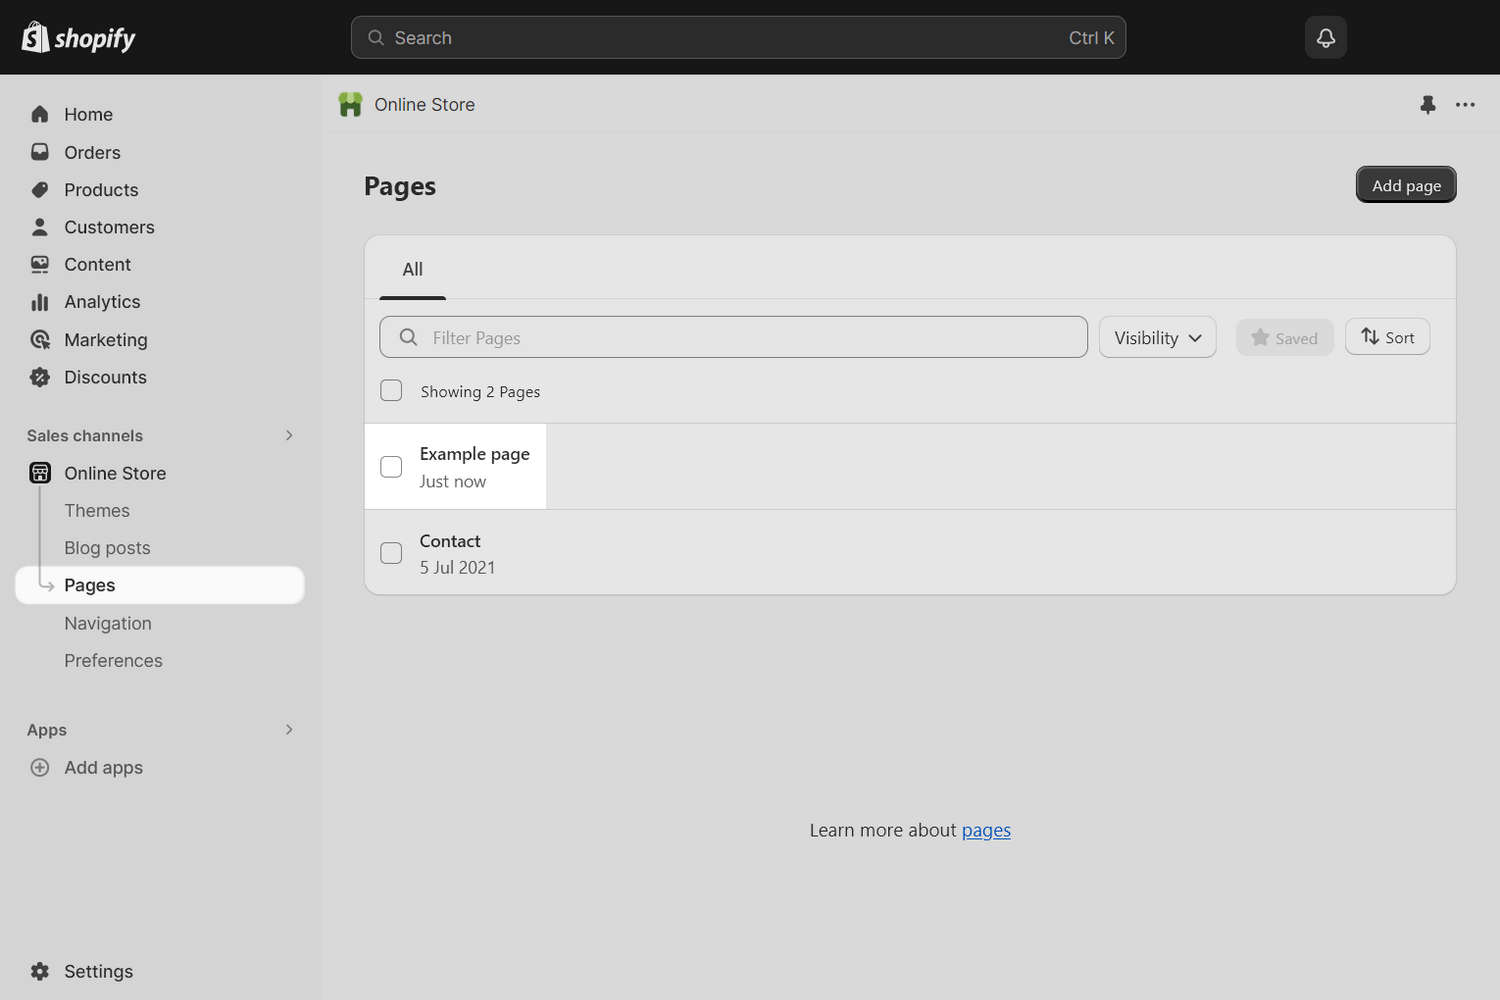
On your store's admin page, select Sales channels > Online store > Pages.
Select your required source page from the Pages list. Alternatively, to create a new page, select Add page, and then select the page you created.
For example, in the following image, the Example page is selected.
Use the Theme template dropdown to select the tour-events template.
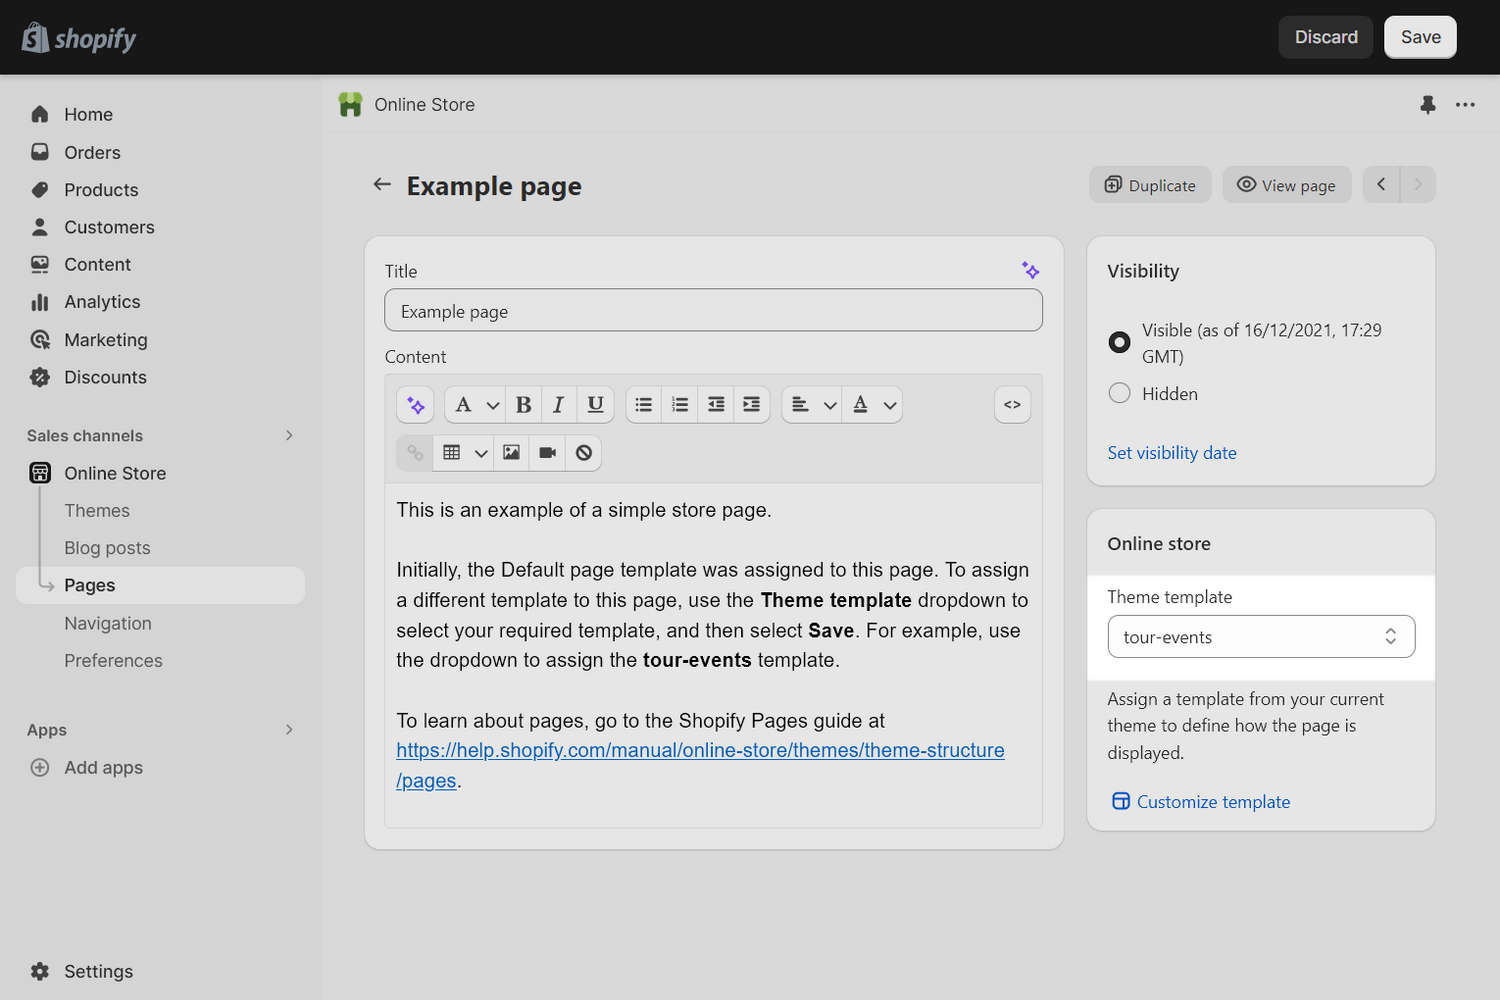
Select Save to assign the tour-events page template to your source page.
Note
To learn about pages, refer to Shopify help: Pages.
In Theme editor, at the top of the page, use the dropdown to select your target page.
From the side menu, select Add section, and then choose Tour and events from page.
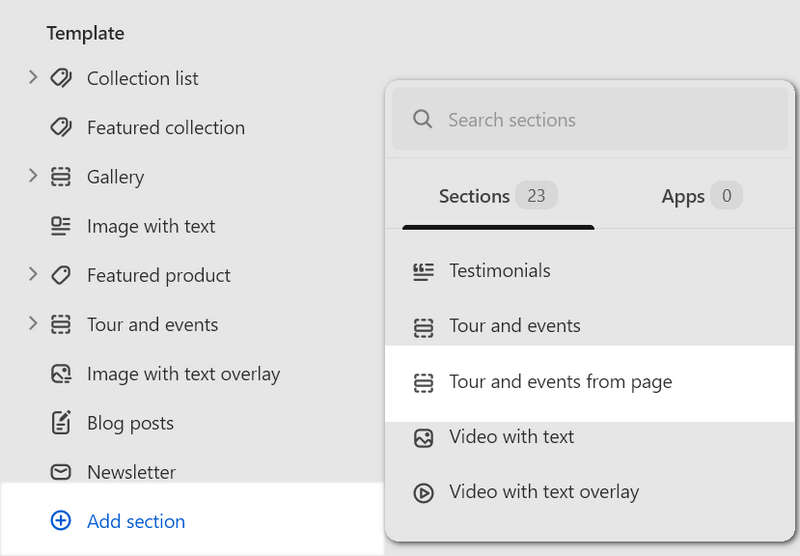
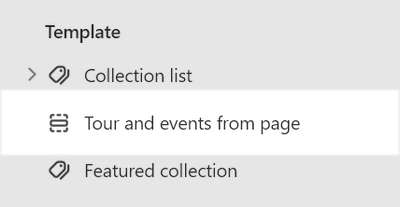
Select the Tour and events from page section you added.
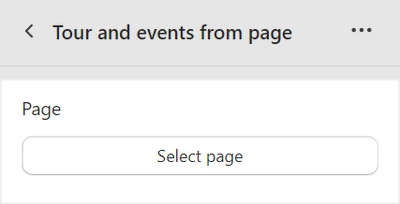
In the section's settings, use the Page selector to choose your source page.
Note
[Optional] In the section setting's, you can also Specify a source Section ID.
Select Save.
Specify a source Section ID
WARNING
The following steps are recommended for expert users only.
Use your browser's Web inspector tool to get a Section ID for your source. Then, in your target page's Tour and events from page section settings, add the Section ID. Refer to Use web inspector.
To find and add a Section ID, complete the following steps:
In Theme editor, preview your source page.
Use your browser's Web inspector tool to locate the
<section>HTML element for the Tour and events section.Locate the element's
data-section-idattribute, and then copy the attribute's value to your computer's clipboard.For example, in the following image, the Web inspector tool shows the
data-section-idattribute's value istemplate--16419464183993__main.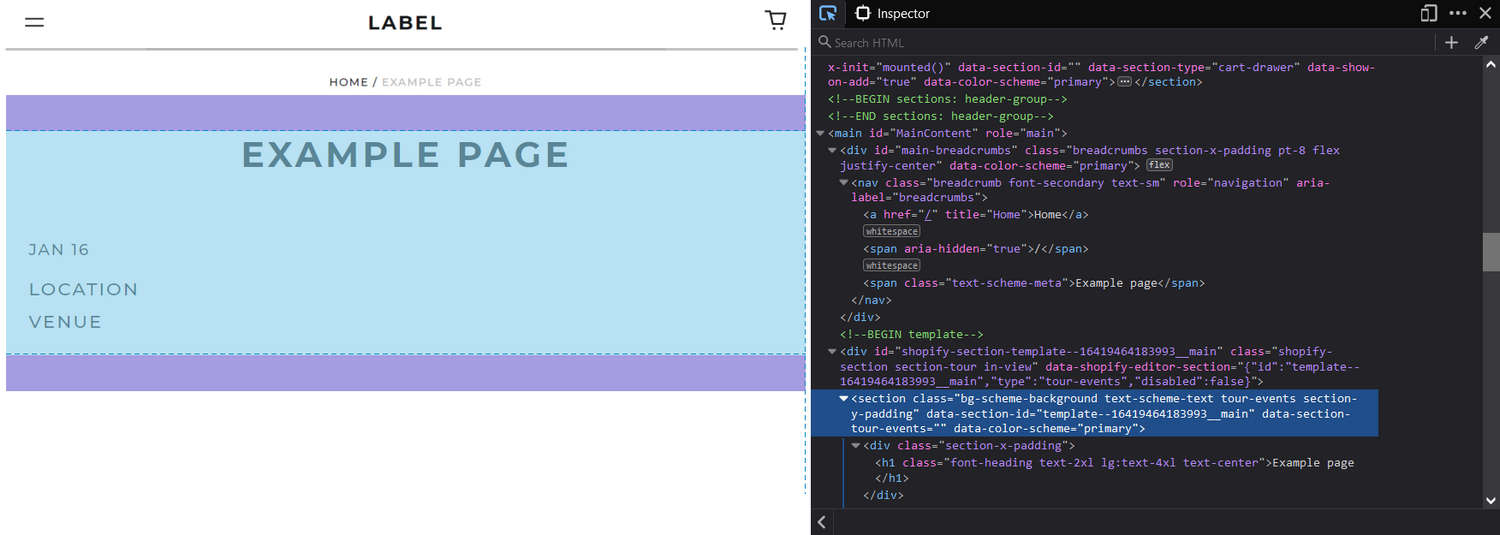
Note
The
<section>element has a parent<div>element with anidattribute. In the<div>, ignore the suffixedshopify-section-portion of the attribute's value.For example:
if the
<div>element'sidattribute has the valueshopify-section-template--16419464183993__mainthe value you copy is
template--16419464183993__main
In Theme editor, open your target page.
From the side menu, select the Tour and events from page section.

In the Tour and events section ID box, paste the value you copied previously.
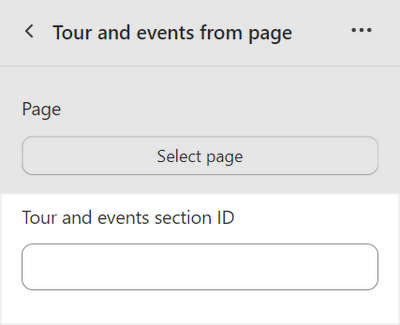
Select Save.
Note
Providing a Section ID is optional, but recommended.
Data for an entire store page includes elements like the header, footer, and other sections. Data for a specific section excludes these elements. This means less data are required to render a section than an entire page.
If you provide a Section ID, Label only requests data for the section that you specify from the Section Rendering API. If you do not provide a Section ID, Label retrieves your entire source page from the API.
Providing a Section ID helps Label render events from your source page more quickly.