Appearance
Tour and events
This guide describes setting up your store's Tour and events section.
The section displays details about your store's tour dates and events. Use the section to promote tour dates and events on a dedicated page, or on the home page. For example, use the section to announce live concert dates, book signings, fashion shows and viewings. Refer to Promote tours and events.
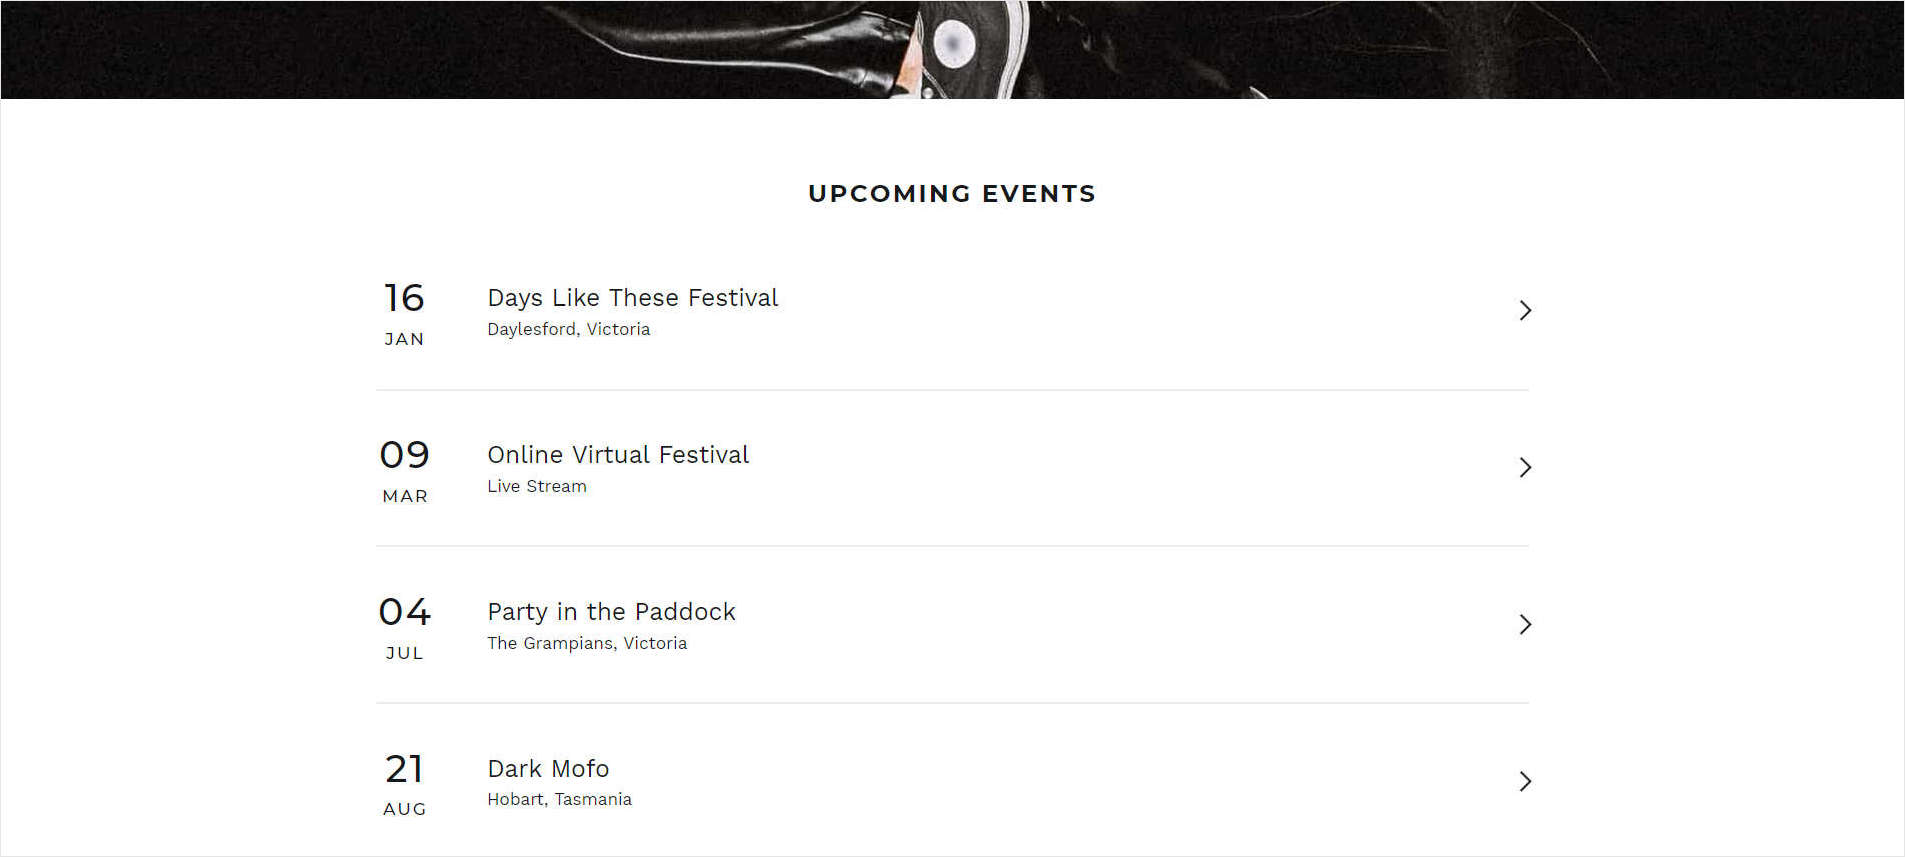
In the previous image, a Tour and events section displays a list of Upcoming events on a store's home page.
For general guidance with modifying sections, refer to Sections overview.
Set up a Tour and events section
To set up a Tour and events section:
Go to Customize theme.
In Theme editor, at the top of the page, use the dropdown to select a page that contains a Tour and events section. For example, select the Home page or select a page your crated from Label's Pages > Tour-events template.
Note
The section can be added into any page, except Checkout and Giftcard pages. To add the section into the current page, select Add section > Tour and events. Refer to Shopify help: Add a section.
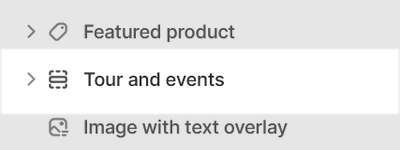
From the side menu, select Tour and events.
Select a setting described in the following table.
| Setting name | Description |
|---|---|
| Heading | Use the Heading box to enter text to display as a title for the section. |
| Enable max number of events | Select the checkbox Enable max number of events to turn on/off limiting the maximum number of events displayed inside the section. The limit is set by the slider option Max number of events. |
| Max number of events | Adjust the slider Max number of events to set a value for the maximum number of events to display inside the section. The slider values range from 5 to 20. |
| Font | Use the Font options to set the section's text to use the same font as Product grid item or Heading text. |
| External Source > Source | Use the Source options to specify an external service for retrieving event details. The section retrieves and displays event details from the Bandsintown or EventBrite external services. Refer to Promote tours and events. |
| External Source > Bandsintown artist name | In the Bandsintown artist name box, enter your Bandsintown artist name. Your artist name is used to retrieve event details from the Bandsintown service. To use this option, set the Source option to Bandsintown. Refer to Refer to Promote tours and events. |
| External Source > Eventbrite token | In the Eventbrite token box, enter your Eventbrite token. Your token is used to retrieve event details from the Eventbrite service. To use this option, set the Source option to Eventbrite. Refer to Refer to Promote tours and events. |
| Color > Color scheme | Use the Color scheme options to select a color scheme for the section. Refer to Colors. |
| Theme settings | If available, select Theme settings to access additional settings for the section. Refer to Section theme settings menu. |
| Custom CSS | Select Custom CSS. In the box, enter custom CSS styles to apply only to the current section. Refer to Shopify help: Add custom CSS. To apply custom styles to your entire online store, refer to Theme settings > Custom CSS. |
| Remove section | Select Remove section to delete the section from the current page. |
Configure an event in a Tour and events section
A default Tour and events section does not contain event blocks. To configure an event block inside a Tour and events section:
Go to Customize theme.
In Theme editor, at the top of the page, use the dropdown to select a page that contains a Tour and events section.
From the side menu, expand the Tour and events section menu.
To configure an existing lock, select the block from the side menu.
To add a new block, select Add event, and then select the Event block you added.

Note
Inside the section, you can add, remove, show, hide, or move blocks. Refer to Configure blocks inside a section, and Shopify help: Sections and blocks.
Apply a block setting described in the following table. Refer to Promote tours and events.
| Setting name | Description |
|---|---|
| Day | Adjust the Day slider to set a date to display for the event inside the block. The slider values range from 1 to 31. |
| Month | Use the Month dropdown to set a month to display for the event inside the block. The options are from January to December. |
| Location | In the Location box, enter text to display as a location for the event inside the block. |
| Venue | In the Venue box, enter text to display as a venue for the event inside the block. |
| Ticket URL | In the Ticket URL box, enter a URL for purchasing tickets to the event or select a store page to link to. To remove a link, select the X icon inside the text box. |
| Ticket URL > Connect dynamic source | To display a Ticket URL from a dynamic source, select the Connect dynamic source icon, beside the Ticket URL box, and then choose a metafield to add. Refer to Shopify help: Metafields. |
| End date > This event has an end date | Select the checkbox This event has an end date to turn on/off using an end date for the block's event. With this option enabled, you can specify a date when the block's event ends. |
| End date > Day | Adjust the Day slider to set a date to display as an end date for the event inside the block. The slider values range from 1 to 31. |
| End date > Month | Use the Month dropdown to set a month to display as an end date for the event inside the block. The options are from January to December. |
| Remove block | Select Remove block to delete the block from the current section. |