Appearance
Collection list
This guide describes setting up a Collection list section.
Use the section to set how collections are displayed on store's pages that you assign to the List page template. The section includes useful features for browsing the products in a collection, like product filtering and sorting.
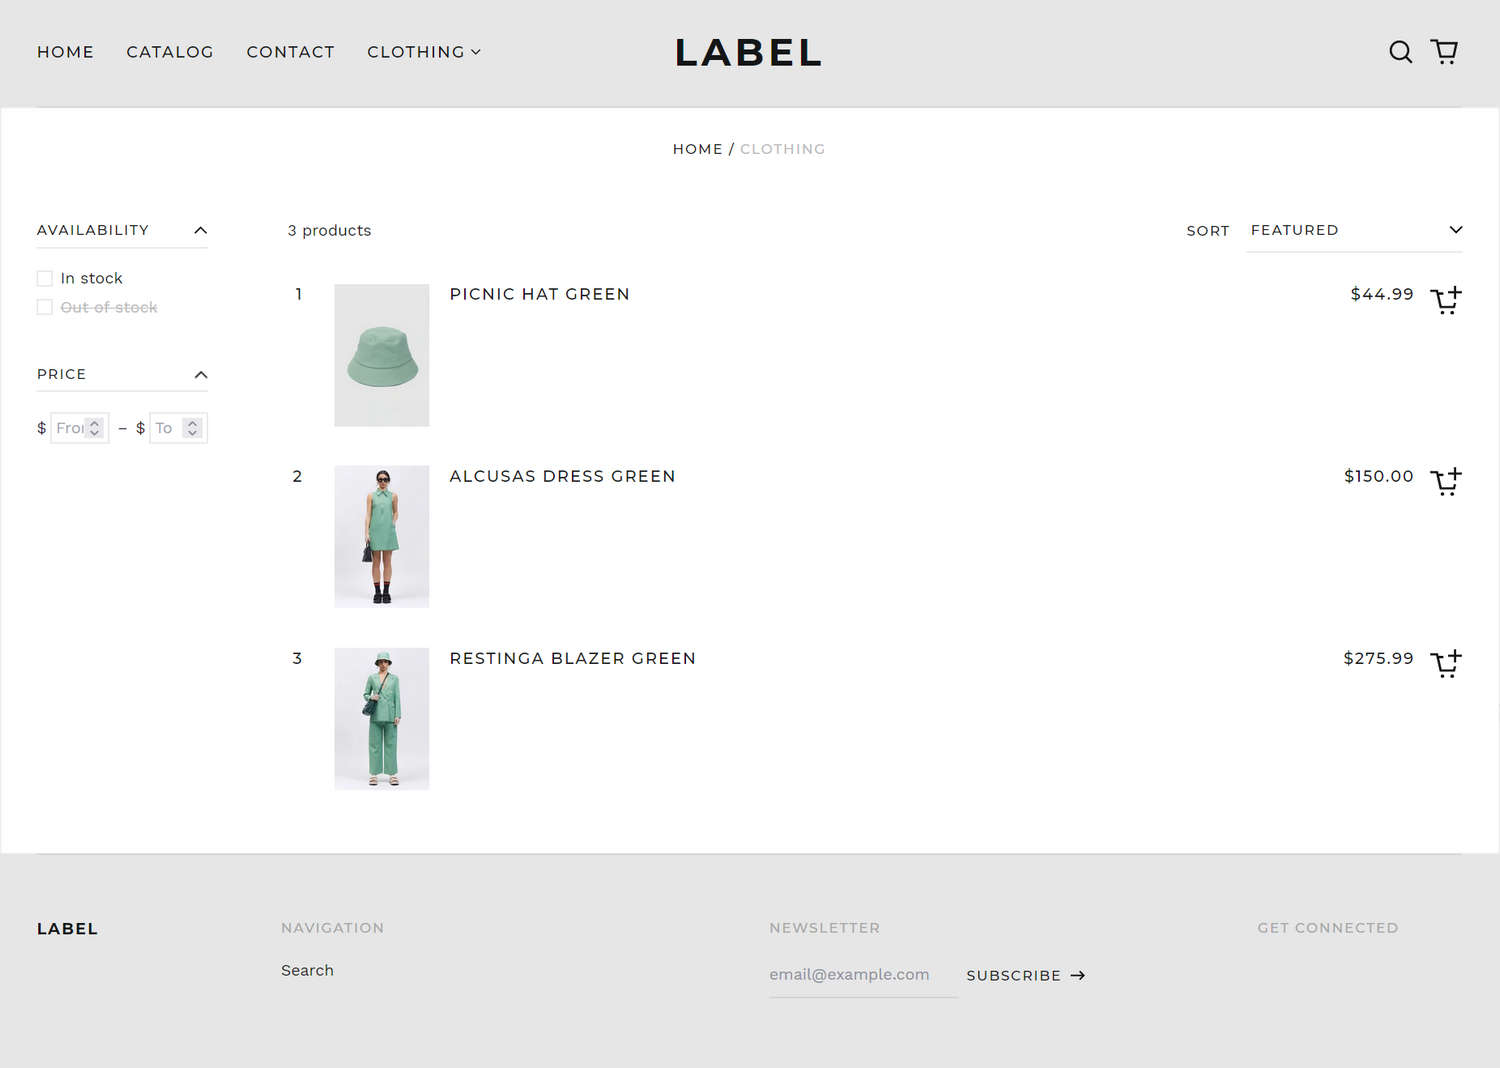
The previous image shows an example store's Collection (list) page. In the upper left, part of Theme editor's Collection list section menu is displayed. The menu's Show swatch labels option is set to on. This option shows/hides text labels for the color swatch icons inside the section's Color filtering and sorting area. For example, in the previous image, the labels are displayed beside the color swatch icons inside the section's Color filtering and sorting area.
Note
To use a Collection list section:
Assign the List template to a collection
To assign the List template to a collection:
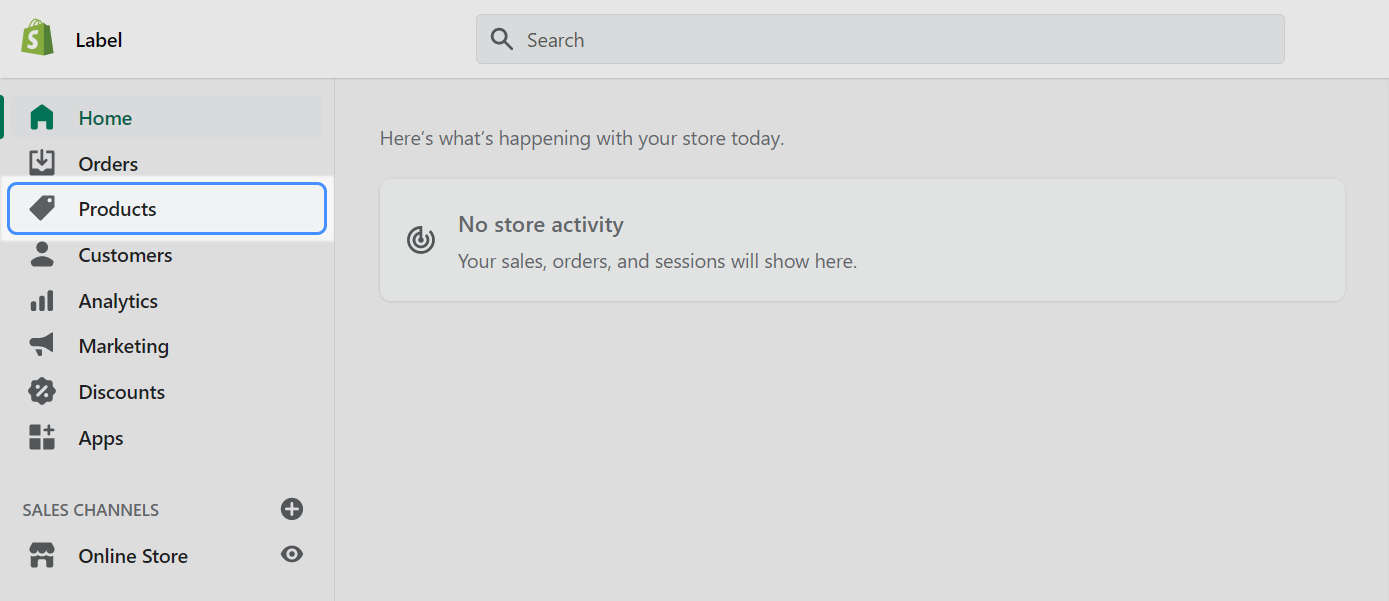
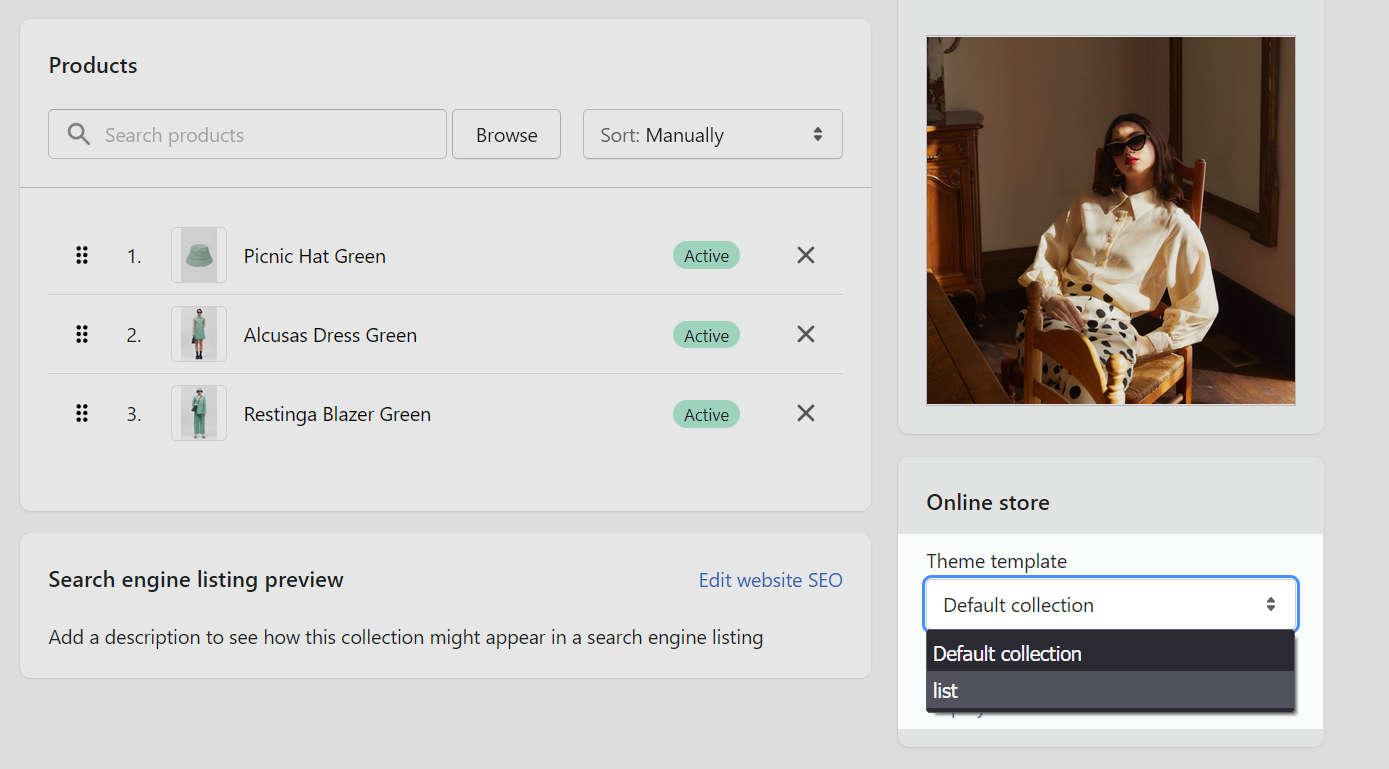
In your Shopify admin, select Products.
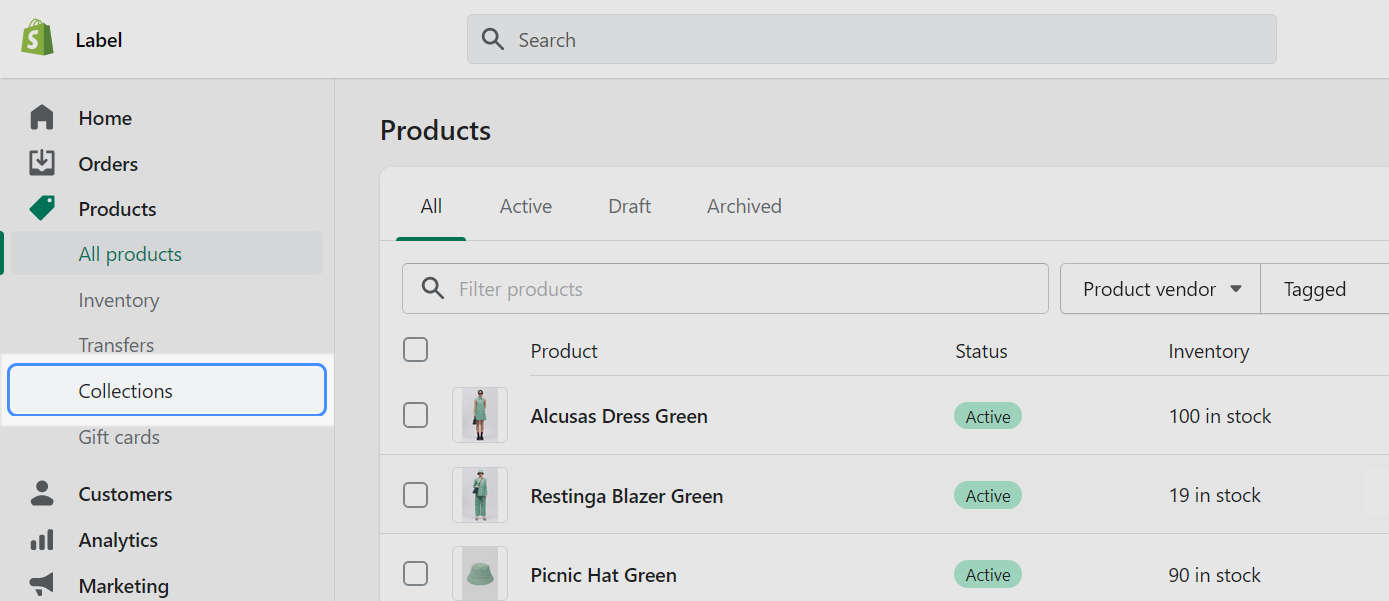
In the Products admin menu, select Collections.
On the Collections admin page, select a collection.
For example, in the following image, a collection named Clothing is selected.
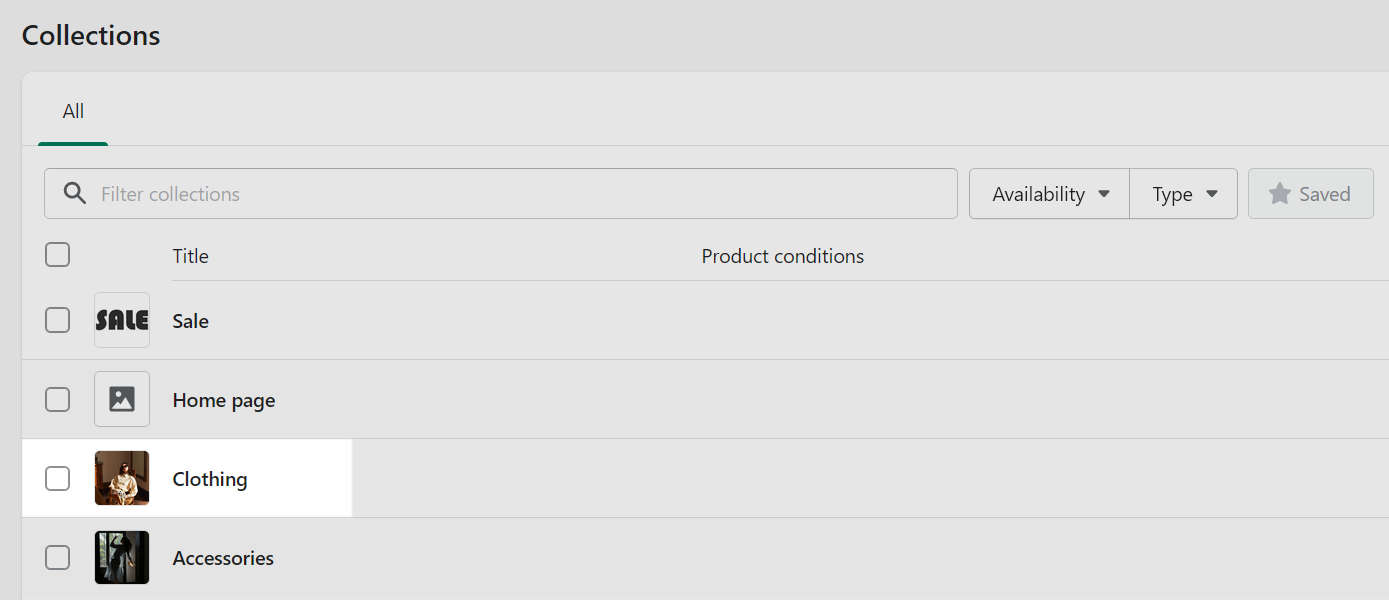
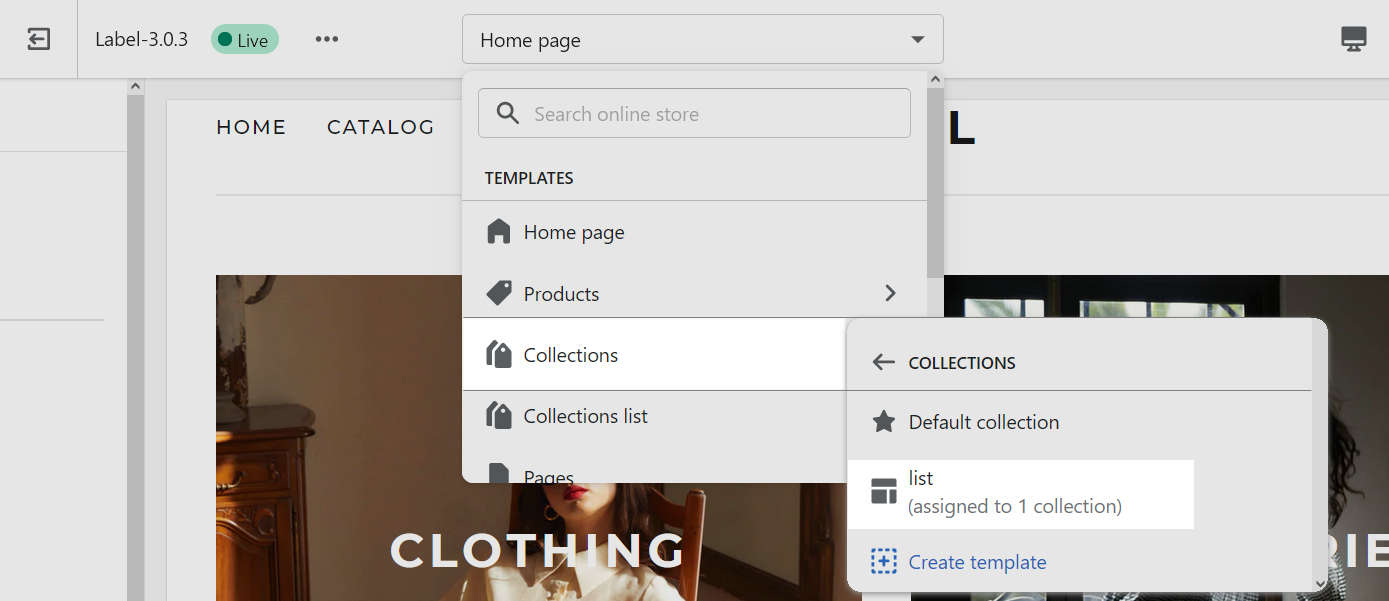
Use the Theme template dropdown to select List.
In the following image, the List template is selected for the Clothing collection.
Select Save to assign the List template to your chosen collection.
Configure the Collection list section
After you Assign the List template to a collection, complete the following steps to configure the Collection list section.
In your Shopify admin, select Online store > Themes > Current theme or Theme library > Customize.
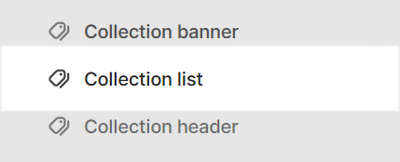
In Theme editor, at the top of the page, use the dropdown to select the Collections > List page.
From the side menu, select Collection list.
Select a section setting described in the following table.
| Setting name | Description |
|---|---|
| Products > Products per page | Adjust the slider Products per page to set the number of products to display inside the section. The minimum number is 2 products and the maximum is 48. |
| Products > Show index | Select the Show index checkbox to show/hide an index number inside the section. The index number is displayed beside each product in the collection, on the left side. The first product has the index number 1, the 2nd product has the index number 2, etc. |
| Products > Desktop row content align | Use the Desktop row content align options to align the text displayed beside each product to the Top or Middle, inside the section. This setting applies to desktop display devices. |
| Image > Show collection image | Select the checkbox Show collection image to show/hide collection images inside the section. |
| Image > Crop image | Select the Crop image dropdown to set the shape for collection images (tiles) inside the section. The options are No crop, Portrait, Square, Landscape, Super wide, and Letterbox. To use this setting, enable the checkbox option to Show collection image. |
| Filtering and sorting > Enable filtering | Select the checkbox Enable filtering to show/hide the product filtering options inside the section. If enabled, visitors can select a range of products within a collection by using filtering criteria like availability and price. Refer to Shopify help: Add storefront filtering. |
| Filtering and sorting > Customize filters (link) | Follow the Customize filters link to open the page Navigation > Collection and search filters on your store's admin. Use the page to set up custom filters for your store's collections. Refer to Shopify help: Custom filters. |
| Filtering and sorting > Expand filters by default | Select the checkbox Expand filters by default to show the filtering options in an expanded/collapsed menu, by default, inside the section. |
| Filtering and sorting > Show filter counts | Select the checkbox Show filter counts to show/hide a count of the number of products in each filter category, inside the section. A count is displayed beside the name of each filter. For example, for a collection containing two products that are in stock, In stock (2) is displayed in the Availability filter area. |
| Filtering and sorting > Enable color swatch filters | For products in a collection that use color variants, select the checkbox Enable color swatch filters to show/hide color variant icons inside the section's filtering and sorting area. The section displays an icon for each color variant that's available for products within the section's collection. Store visitors use the icons to filter products by color. Refer to Set up color swatches, Shopify help: Searching for products and filtering your product list, and Shopify help: Add storefront filtering. |
| Filtering and sorting > Learn how to set up swatches (link) | Follow the link Learn how to set up swatches to open the Set up color swatches guide. |
| Filtering and sorting > Show swatch labels | Set the Show swatch labels checkbox to on or off. Use this option to show/hide text labels for the color swatch icons inside the section's Color filtering and sorting area. The labels describe the color that the icon represents. For example, a "Red" text label is displayed beside the red color swatch icon. To use this option, set the Enable color swatch filters option to on. |
| Filtering and sorting > Enable sorting | Select the checkbox Enable sorting to show/hide the product sorting options inside the section. If enabled, visitors can arrange the products in a collection by using sorting criteria like price and popularity. Refer to Shopify help: Collection layout and appearance. |
| Collection menu | Use the Collection menu selector to set up a menu inside the section. Refer to Set up a menu for a Collection list section. |
| Theme settings | If available, select Theme settings to access additional settings for the section. Refer to Section theme settings menu. |
| Custom CSS | Select Custom CSS. In the box, enter custom CSS styles to apply only to the current section. Refer to Shopify help: Add custom CSS. To apply custom styles to your entire online store, refer to Theme settings > Custom CSS. |
Set up a menu for a Collection list section
To select a menu to display inside the Collection grid section, apply the following settings in Collection list > Collection menu:
If the section has no menu, to select a menu, choose Select menu. Enter the name of a menu into the Search box, or pick a menu from the list, and then choose Select.
To edit the current menu, select the Menu link. The link opens the Navigation menu editor in Shopify admin. Use the editor to modify the menu. Refer to Shopify help: Add, remove, or edit menu items in your online store.
To create a new menu, select Change > Change menu, and then follow the Create menu link. The link opens the Navigation > Add menu page in Shopify admin. Use the menu editor to create a new menu, and then the select the new menu. Refer to Shopify help: Add, remove, or edit menu items in your online store.
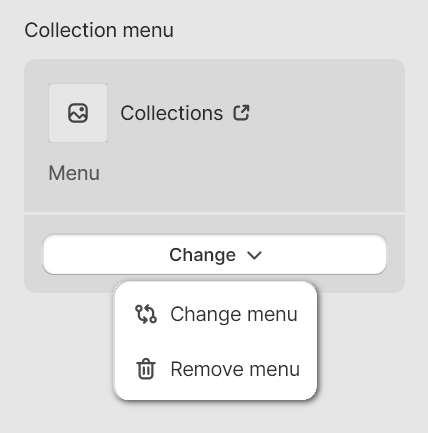
To replace the current menu, select Change > Change menu. Enter the name of the replacement menu into the Search box, or pick a replacement menu from the list, and then choose Select.
To delete the current menu, select Change > Remove menu.