Appearance
Show an audio player with tracklist on products
Label includes an audio player, and an audio tracklisting feature that you can add to your store's Product pages.
When a visitor selects a product with associated audio tracks, the tracks are listed in an audio player tracklist (block) on the product's page. If the visitor selects a track from a tracklist, the track plays in the audio player (block). By having a dedicated block for each feature, the audio player and tracklist can be placed in different areas of the product page.
In the following video, on a store's product page, an audio track is selected from the tracklist, and the track plays in the audio player.
Apply the music template to a product
In your Shopify admin, select Products.
From the Products list, select a product that requires the audio player.
Locate and use the Theme template dropdown to select the Music template.
Select Save.
Video demo: Apply the music template to a product
The following video demonstrates how to apply the music template to a product.
Upload audio files
Visit your store, and then select a product that requires audio files.
In your browser, note the part of the page URL after
/products/. This part of the URL is the product handle.For example, for the product in the following image, the page URL is
https://example.com/products/madonna, so the product handle ismadonna.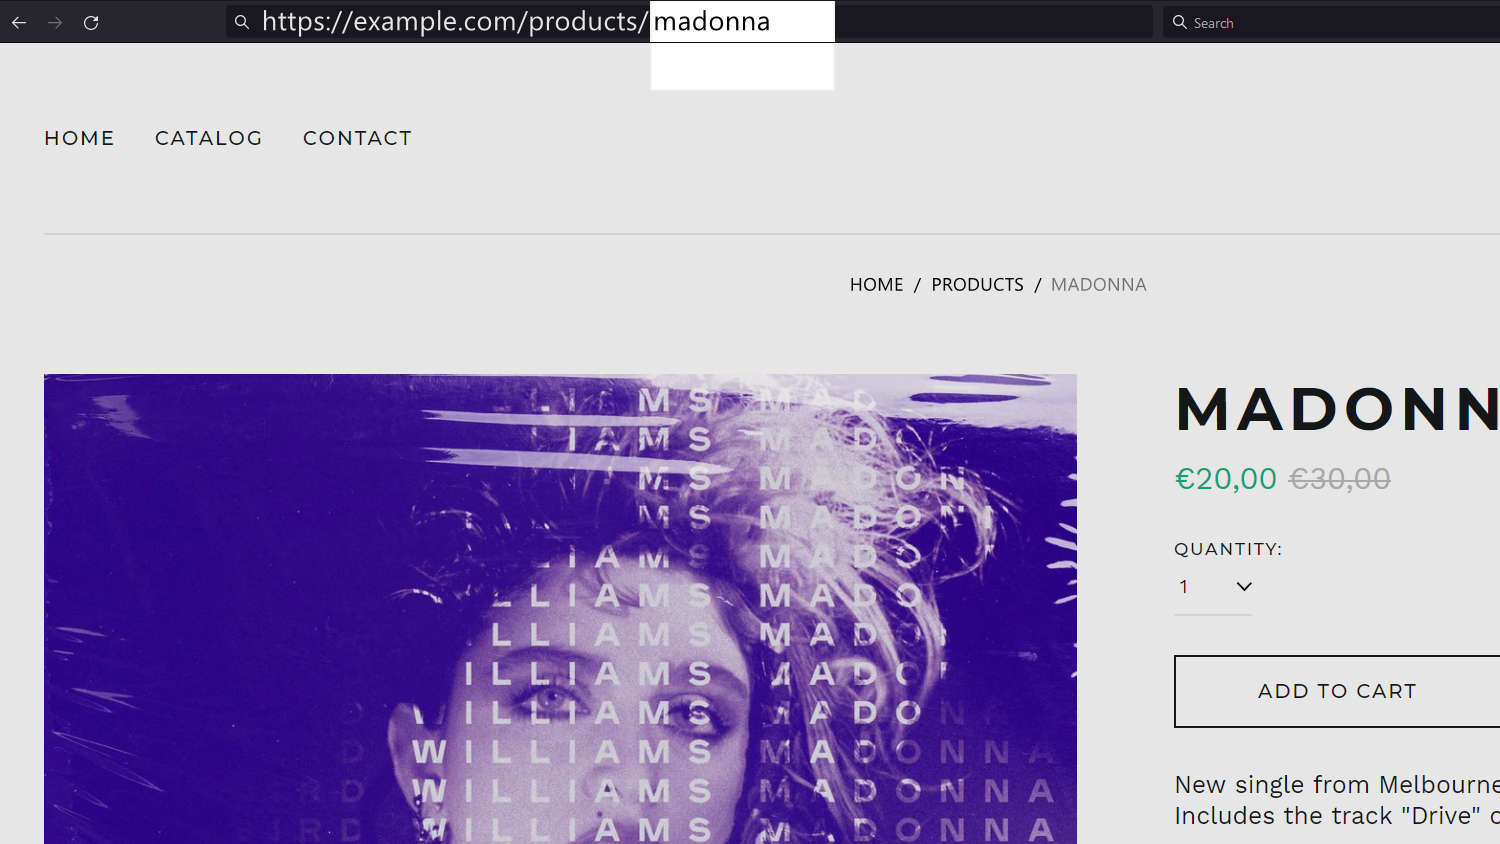
In your store's admin, select Settings > Files.
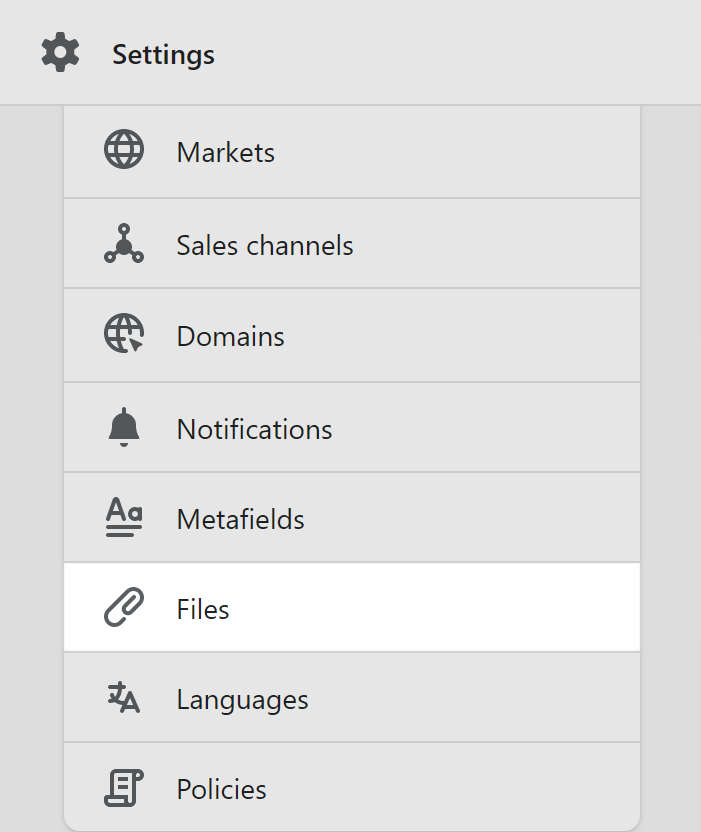
Select Upload files, and then choose an audio file to upload.
Repeat this step to upload audio files for each product that requires them. Files must adhere to the following conventions:
- Filetype. Upload
.mp3audio files only. - Bitrate. To optimize performance, upload audio files with a maximum bitrate of
128kbps. - Filename. Apply the file naming convention
[product-handle]-[track-number].mp3. For example, for a product with the handlemadonna, set the filename tomadonna-1.mp3. To upload multiple files for the same product, name the second filemadonna-2.mp3, name the third filemadonna-3.mp3, etc.
- Filetype. Upload
Video demo: Upload audio files
The following video demonstrates how to upload audio files.
Set up the audio player and tracklist
To set up the audio player block and the audio player tracklist block:
Go to Customize theme. At the top of the page, use the dropdown to select a page that contains a Product pages section. For example, select Products > Music.
From the Product pages section menu, select the Audio player block.
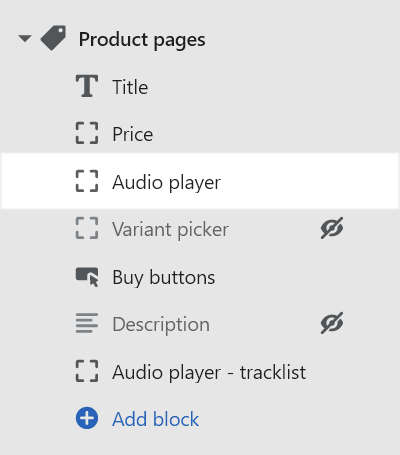
In the Tracklist text box, enter a song title for each track to be added to the tracklist. Place each song title on a separate line.
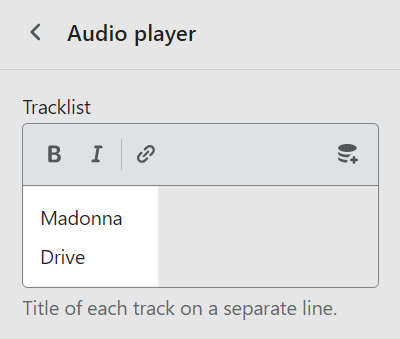
Note
After you set up the audio player block, the audio player tracklist block is displayed automatically.
Video demo: Set up the audio player and tracklist
The following video demonstrates how to set up the audio player and tracklist.
Display vinyl-style track numbers
The default tracklist uses a numbered list style, 1, 2, 3... To use a vinyl record tracklist format:
Select an Audio player block inside a Product pages section.
In the Tracklist text box, prefix each song title with a side letter and track number.
For example, enter the song titles:
A1 MadonnaB1 Drive, etc.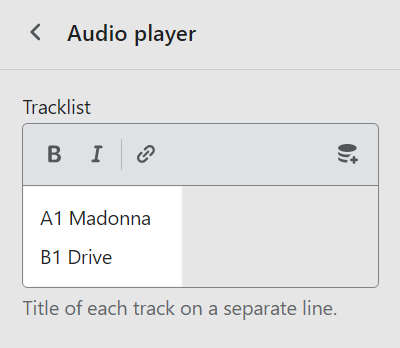
On the product page, confirm that the audio player tracklist block applied the vinyl track numbering automatically.

Video demo: Display vinyl-style track numbers
The following video demonstrates how to display vinyl-style track numbers.
Add tracklists dynamically
In Theme editor, with Shopify's Online Store 2.0, dynamic data can be added into a page template. This means, inside a product template, you can add a dynamic tracklist field into an audio player block. A tracklist can be generated automatically, by using the names of the tracks associated with each product. Then, the tracklist is displayed on the product page for each product automatically.
To create and add tracklists from a dynamic source:
In your store's admin, go to Settings > Metafields.
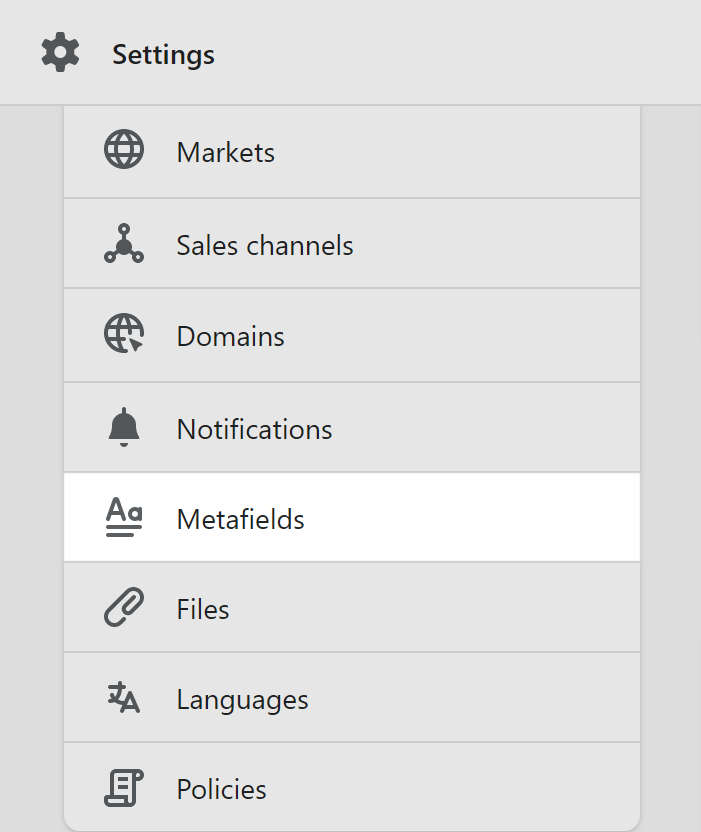
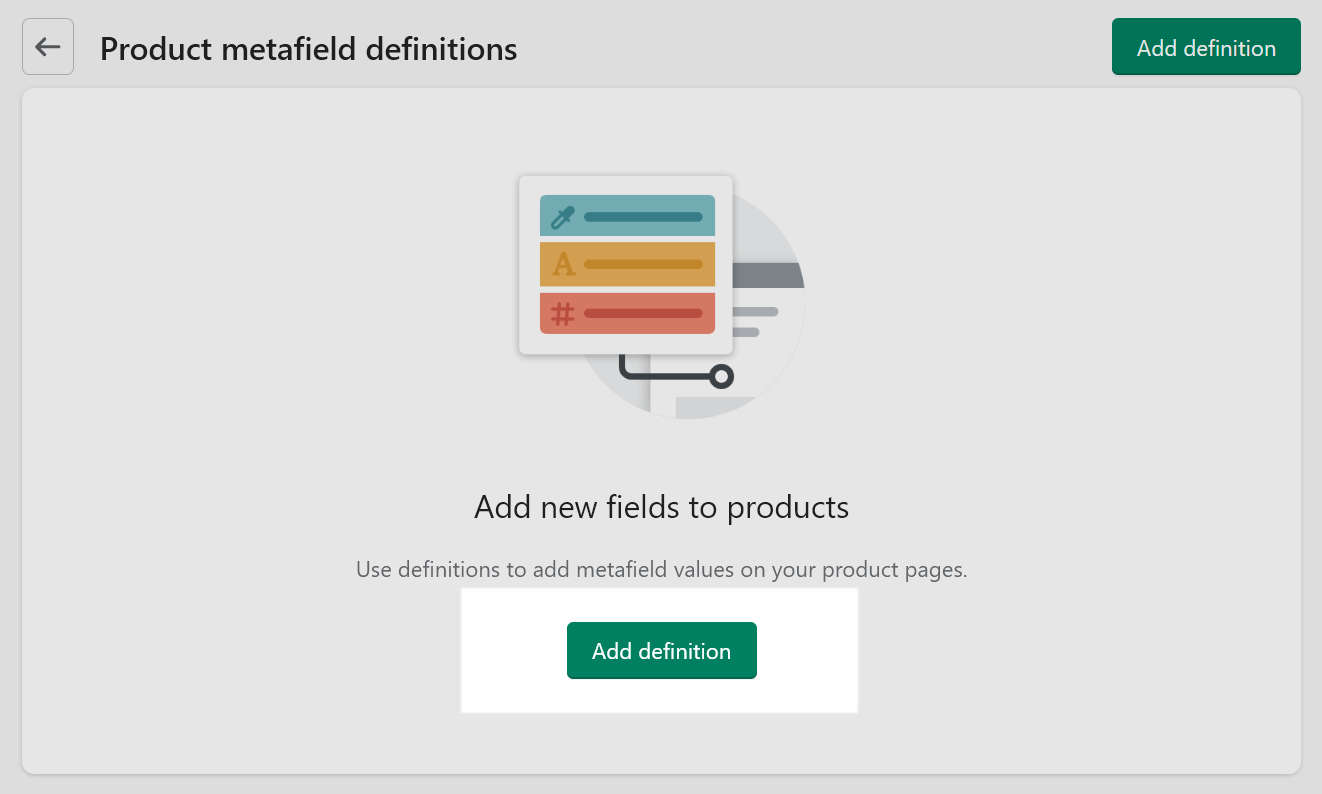
On the Metafields page, select Products, and then choose Add definition.
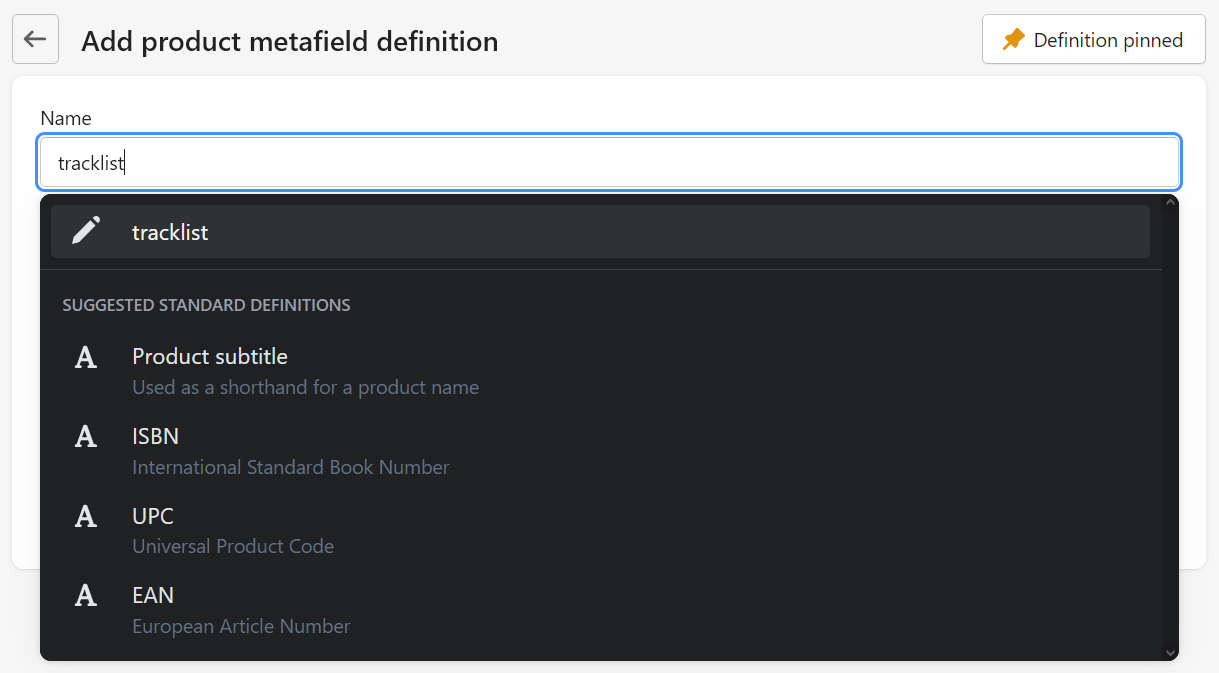
In the Name text box, enter a name for the metafield, and then select the name from the autocomplete text prompt to confirm.
You can enter any name, for example enter the name tracklist.
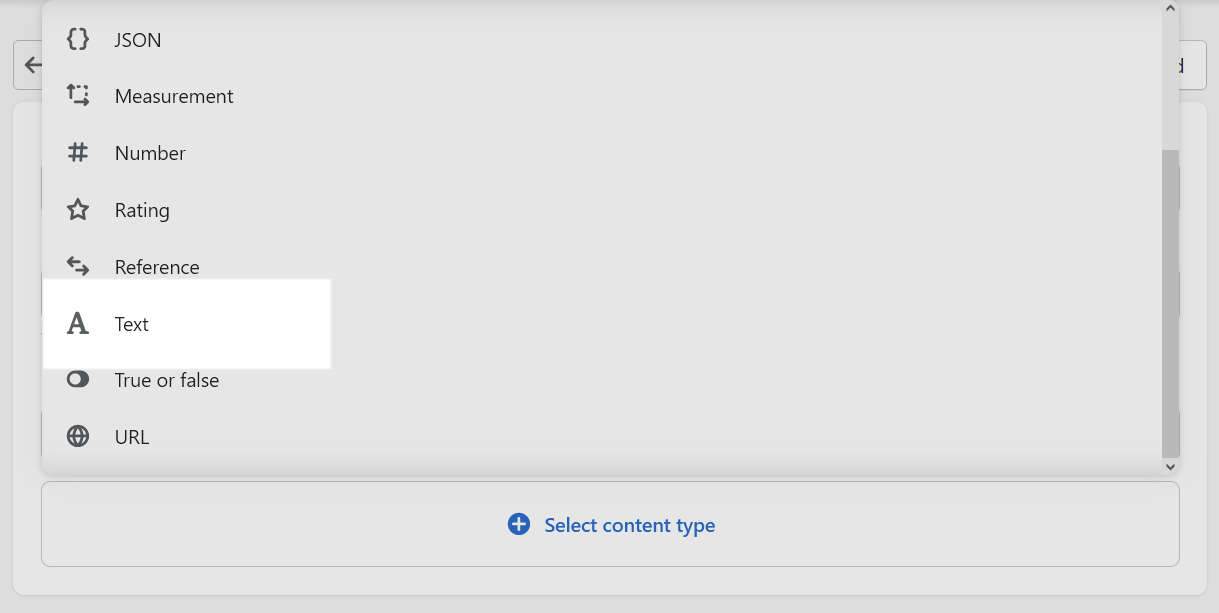
Expand the Select content type dropdown, and then select Text.
Select the checkbox option to enable Multi-line text.
If prompted, select Save from the Unsaved changes menu at the top of the page.

In Theme editor, go to Customize theme.
At the top of the page, use the dropdown to select a page that contains a Product pages section. For example, select Products > Music.
From the Product pages section menu, select the Audio player block.

In the Tracklist text box, remove the song titles you entered manually.

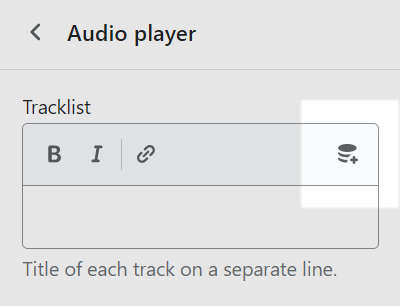
Select the Insert dynamic source icon.
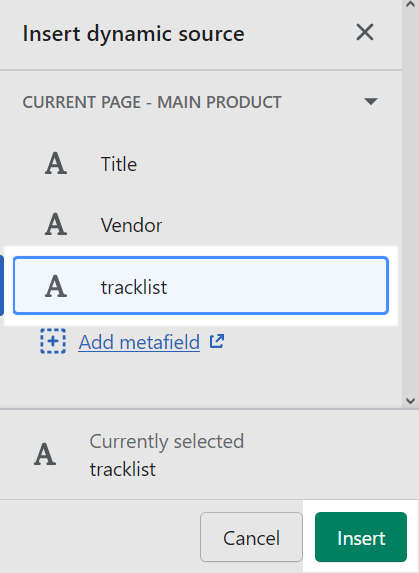
In the Insert dynamic source menu, select the name of the metafield you created in the previous Step 3, and then select Insert. For example, select tracklist.
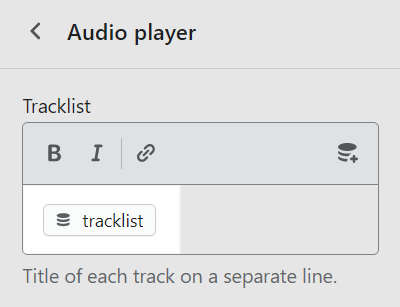
Confirm that the dynamic source is listed inside the Tracklist text box.
Verify that the audio tracks are listed automatically for the relevant products.
Video demo: Add tracklists dynamically
The following video demonstrates how to add tracklists dynamically.