Appearance
Hero logo
This guide describes setting up the Hero logo section.
Use the section to display a custom logo on your store's pages with Scalable Vector Graphics (SVG). Alternatively, display a logo using an image file from Shopify's free library or from your store's media library.

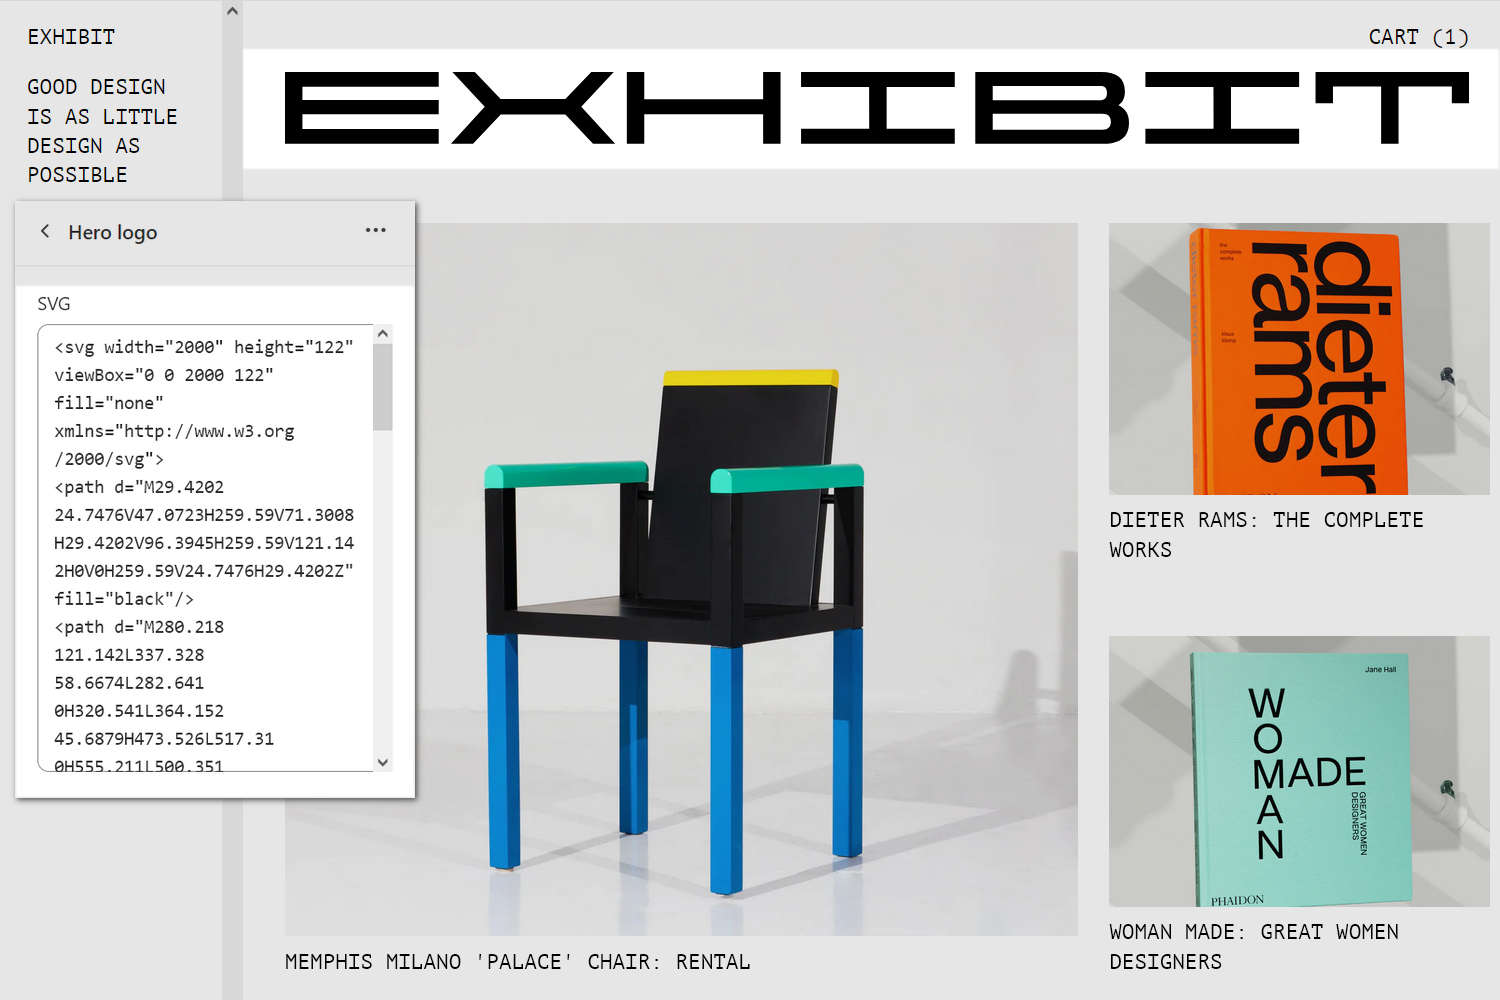
The previous image shows a Hero logo section on a store's Homepage. In the upper left, part of the Theme editor section menu is displayed. In the menu, the SVG box contains SVG code that defines the store's custom logo. The section displays the custom SVG logo at the top of the Homepage.
For general guidance with modifying sections, refer to Sections overview, and Shopify help: Sections and blocks.
Set up a Hero logo section
To set up a Hero logo section:
Set up a default logo or a custom logo for your store.
Refer to Show a hero logo on the homepage.
After you set up your store's logo, go to Customize theme.
In Theme editor, at the top of the page, select a page template that contains a Hero logo section. For example, select the Homepage template.
Note
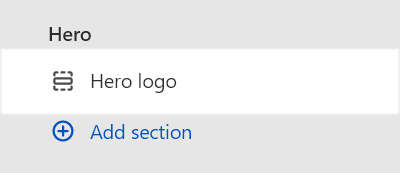
By default, Theme editor displays the Hero logo section in the Hero area of a page. In Theme editor, you can add/remove the Hero logo section to/from:
the Footer area of any page, excluding Checkout, Password, and Gift card pages.
the Hero area at the top of the Homepage. By default, Theme editor contains the Hero logo section in the Hero area of the Homepage.
From the side menu, select Hero logo.

Select a setting described in the following table.
| Setting name | Description |
|---|---|
| Link to home page | Select the Link to home page to turn on/off "linked" mode. With this setting enabled, the home page opens when a store visitor selects the section's logo image. |
| Plain text > Mobile font size scale | Adjust the slider Mobile font size scale to set a font size for the section's text on mobile display devices. The minimum value is -2 and the maximum is 10. |
| Plain text > Desktop font size scale | Adjust the slider Desktop font size scale to set a font size for the section's text on desktop display devices. The minimum value is -2 and the maximum is 10. |
| Logo > Theme settings (link) | Follow the Theme settings link to open your store's Theme settings > Logo menu in Theme editor. Use the Logo menu to set up a default logo for the section. Refer to Show a hero logo on the homepage. |
| Logo > Use default logo | Select the Use default logo checkbox to turn on/off default logo mode. Enable this checkbox setting to set the section to use your store's default logo. To set the section to use a custom logo, set the checkbox to off. Refer to Show a hero logo on the homepage. |
| Custom logo > Logo image | Use the following Logo image selector options to set up a custom logo inside the section. Adding a custom logo overrides your plain text or default logo settings.
|
| Custom logo > Logo image > Connect dynamic source | To display an image from a dynamic source, select the Connect dynamic source icon beside the Logo image selector, and then choose a metafield to add. Refer to Shopify help: Metafields. Adding a custom logo overrides your plain text or default logo settings. |
| Custom logo > SVG | To display SVG, in the SVG box, enter SVG code to use as your store's custom logo. For best results, remove the width and height attributes from the SVG. Adding a custom logo overrides your plain text or default logo settings, and SVG are displayed instead of the logo image or text you provide. |
| Layout > Alignment | Use the Alignment setting to position text inside the section to the Left, Center, or Right. |
| Layout > Logo max width | Adjust the slider Logo max width to set a maximum width for logo images inside the section. The minimum slider value is 10% or percent, and the maximum value is 100%. |
| Overlay > Enable overlay | Select the Enable overlay checkbox to turn on/off overlay mode for the section. Enabling this setting places the Hero logo section on top of the first section on the page. |
| Overlay > Overlay offset | Adjust the Overlay offset slider to specify a size for the section's overlay area. The slider ranges between 0px and 500px or pixels. To use this setting, set the Enable overlay checkbox to on. |
| Color > Color scheme | Use the Change dropdown to set the section's color scheme to Scheme 1 or Scheme 2. Select Edit to configure the current color scheme. Refer to Colors. |
| Color > Theme settings (link) | Follow the Theme settings link to access the Theme settings > Colors menu in Theme editor. Use the Colors menu to set how colors are displayed throughout your store. |
| Spacing > Above | Move the Above slider to adjust the amount of empty (white) space displayed above the section. The slider ranges from 0x (times) to 2x. |
| Spacing > Below | Move the Below slider to adjust the amount of empty (white) space displayed below the section. The slider ranges from 0x (times) to 2x. |
| Theme settings | Select Theme settings to access additional settings for the section. Refer to Section theme settings menu. |
| Custom CSS | Select Custom CSS. In the box, enter custom CSS styles to apply only to the current section. Refer to Shopify help: Add custom CSS. To apply custom styles to your entire online store, refer to Theme settings > Custom CSS. |
| Remove section | Select Remove section to delete the section from the current page. |