Appearance
Show a hero logo on the homepage
This guide describes how to set up a hero logo on your store's Homepage.

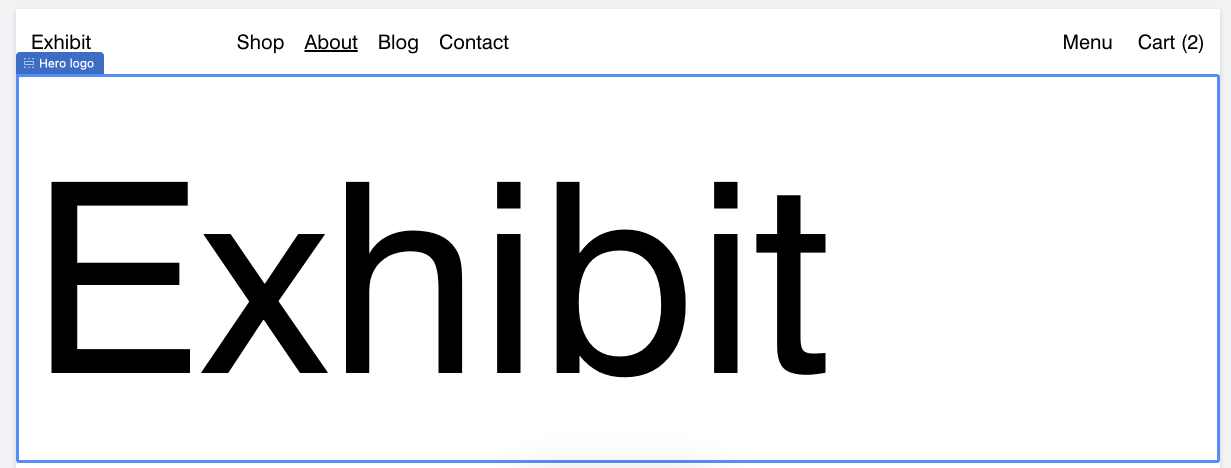
The previous image shows an example Homepage in Theme editor. The Hero logo section that's included with Exhibit theme is displayed on the Homepage. Use the Hero logo section to display:
- Your store's default logo or title.
- A custom logo with Scalable Vector Graphics (SVG).
- An image from Shopify's free library.
- A custom logo using an image from your store's media library.
Note
By default, Theme editor displays the Hero logo section in the Hero area of a page. In Theme editor, you can add/remove the Hero logo section to/from:
the Footer area of any page, excluding Checkout, Password, and Gift card pages.
the Hero area at the top of the Homepage. By default, Theme editor contains the Hero logo section in the Hero area of the Homepage.
For information about the Hero logo section's settings, refer to Hero logo.
Use the default logo
To use your store's default logo inside the Hero logo section, set up a default logo in Theme settings. After you set up a default logo, configure the Hero logo section to use the default logo.
Set up a default logo in Theme settings
To set up a default logo in Theme settings:
On your store's Admin page, select Customize theme.
Select Theme settings > Logo.
To set up your store's default logo, use the following Logo selector actions.
| Action | Description |
|---|---|
| Upload | To upload an image, choose Select image, and then choose an image file to upload. Refer to Shopify help: Uploading and managing files. |
| Add from media library | To add an image from your store's media library, choose Select image, and then select an image file to add. |
| Add from Shopify library | To add an image from Shopify's free image library, choose Explore free images, and then select an image file to add. |
| Use dynamic source | To display an image from a dynamic source, select Change > Connect dynamic source, and then choose a metafield to add. Refer to Shopify help: Metafields. |
| Use SVG | To display SVG, in the SVG box, enter SVG code to use as your store's default logo. For best results, remove the width and height attributes from the SVG. |
Note
To configure more settings for your store's default logo, refer to Theme Settings > Logo.
Configure the Hero logo section to use the default logo
After you set up a default logo, to configure the Hero logo section to use the default logo:
On your store's Admin page, select Customize theme.
At the top of the page, select a page template that contains a Hero logo section. For example, select the Homepage template.
From the side menu, select Sections > Hero logo.
Adjust the setting described in the following table.
| Setting | Description |
|---|---|
| Logo > Use default logo | Set the Use default logo checkbox to on turn on default logo mode. |
Note
To set up more options for the Hero logo section, refer to Sections > Hero logo.
Use a custom logo
To set up the Hero logo section to use a custom logo:
Note
You can use a logo mark or icon as your store's default logo in Theme settings > Logo, and then set up a larger custom logo inside the Hero logo section.
On your store's Admin page, select Customize theme.
At the top of the page, select a page template that contains a Hero logo section. For example, select the Homepage template.
From the side menu, select Sections > Hero logo.
Adjust a setting described in the following table.
| Setting | Description |
|---|---|
| Logo > Use default logo | Set the Use default logo checkbox to off to turn off default logo mode. |
| Custom logo > Logo image | Use the following Logo image selector options to set up a custom logo inside the section.
|
| Custom logo > SVG | To display SVG, in the SVG box, enter SVG code to use as your store's custom logo. For best results, remove the width and height attributes from the SVG. |
Overlay the logo on the Homepage
You can overlay the logo below or above the first section on the Homepage. To overlay the logo on the Homepage:
On your store's Admin page, select Customize theme.
At the top of the page, select the Homepage template.
From the side menu, select Sections > Hero logo.
Adjust the settings described in the following table.
| Setting | Description |
|---|---|
| Overlay > Enable overlay | Set the Enable overlay checkbox option to on. Enabling this setting places the logo over the top of the first section. |
| Overlay > Overlay offset | Adjust the Overlay offset slider to specify a size for the logo's overlay area. The slider ranges between 0px and 500px (pixels). |
In the following image, the Hero logo section's Overlay offset slider is set at 150px.

Add white space above or below the logo
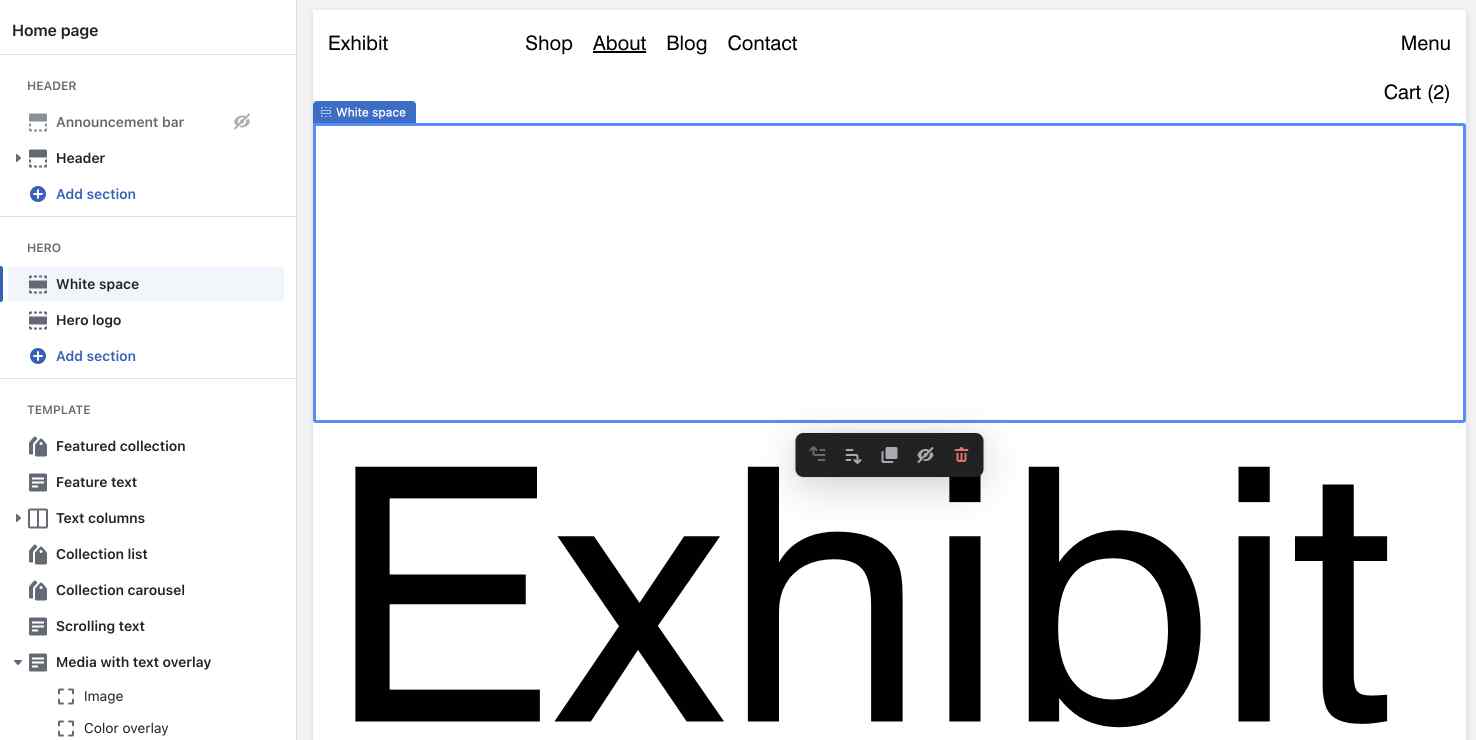
You can create an area of empty space above or below the Hero logo section by adding a White space section in Theme editor.
For example, in the following image, a white space section is added above the Hero logo section.

To add a White space section:
On your store's Admin page, select Customize theme.
At the top of the page, select the Homepage template.
From the side menu, select Sections.
Locate the Hero logo menu area, and then select Add section.
Select White space.
Note
To configure a White space section, refer to White space.
For information about adding sections, refer to Shopify help: Add a section.
Hide the hero logo section
To hide the Hero logo section:
On your store's Admin page, select Customize theme.
At the top of the page, select the Homepage template.
From the side menu, select Sections, and then locate the Hero logo section.
By default, Theme editor displays the Hero logo section in the Hero area of the Homepage.
Select the Eye icon to set the section's Show/hide option to
hidden/off.
Refer to Shopify help: Remove a section or block.