Appearance
Set up multiple variant media
This guide describes how to set up Baseline's "Multiple variant media" feature to display multiple media items for a single product variant.

In the previous image, a store's T-shirt product page displays multiple images for a color variant.
Shopify admin supports adding only a single image for each product variant. Baseline version 3.0.0, and newer, includes a Multiple variant media feature. The feature supports adding multiple images, and other media, for each product variant. The Product pages sections that are included with Baseline's Default and Thumbnails product templates support the multiple variant media feature.
To set up the Multiple variant media feature:
Assign multiple media to a product variant
To set up multiple variant media, you use Shopify admin's Product editor to assign multiple media items to a product variant, and then reorder the product's media items.
To assign multiple media items to a product variant:
In your Shopify admin, select Products.
On the Products page, select a product that has variants.
Selecting a product opens the product in the Product editor. To set up variants, refer to Shopify help: Adding variants.
In the Product editor, locate the Variants pane.
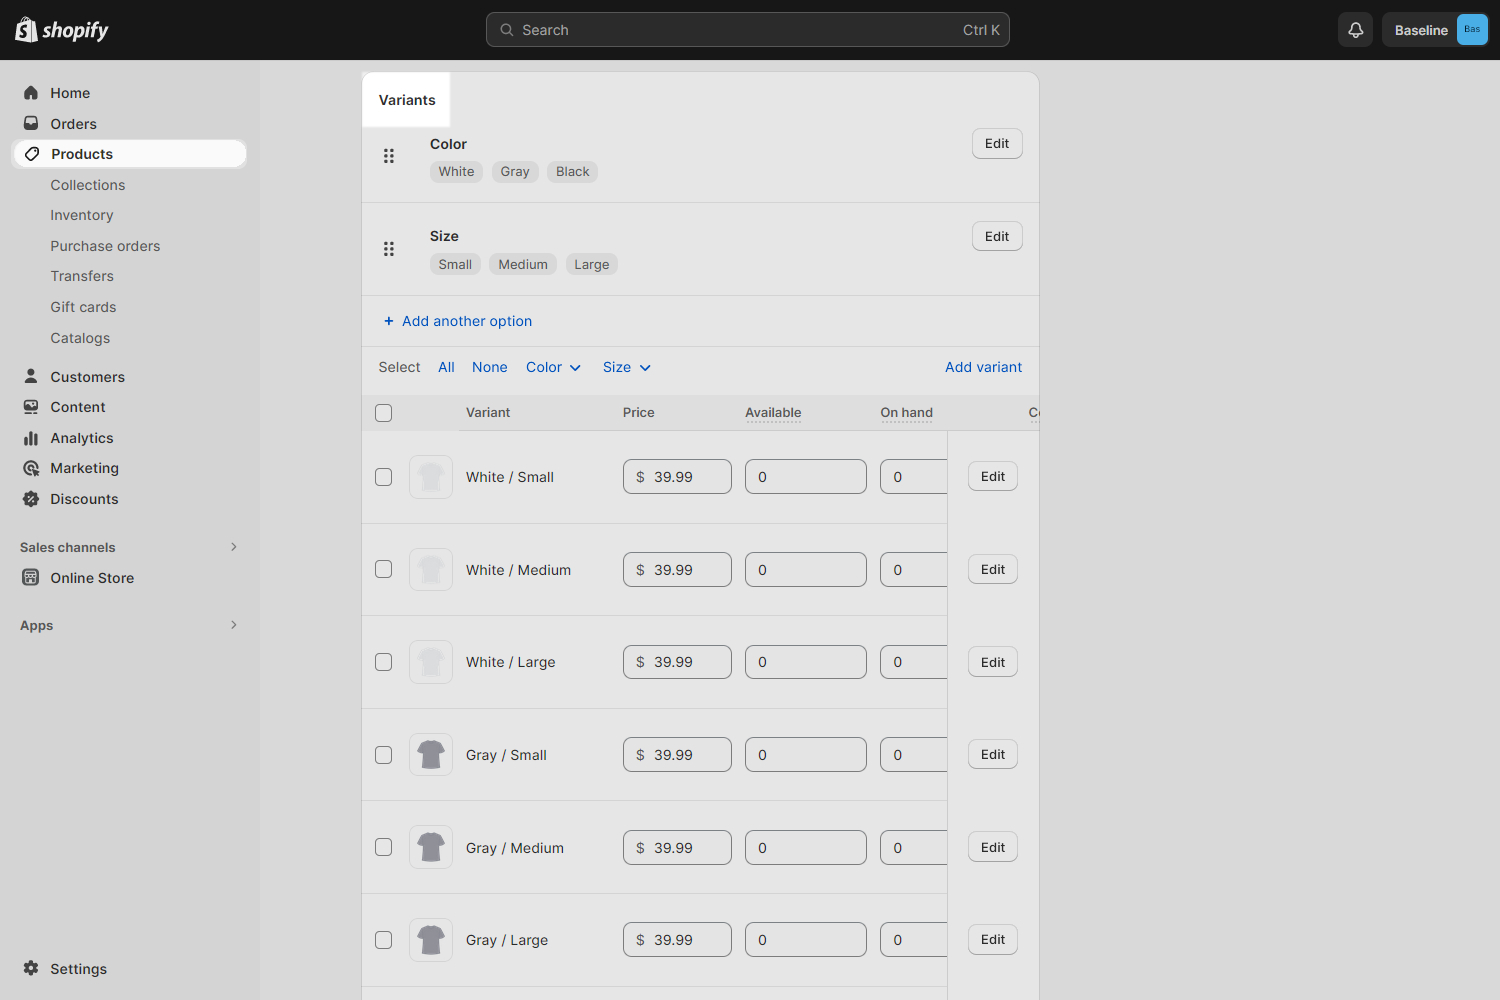
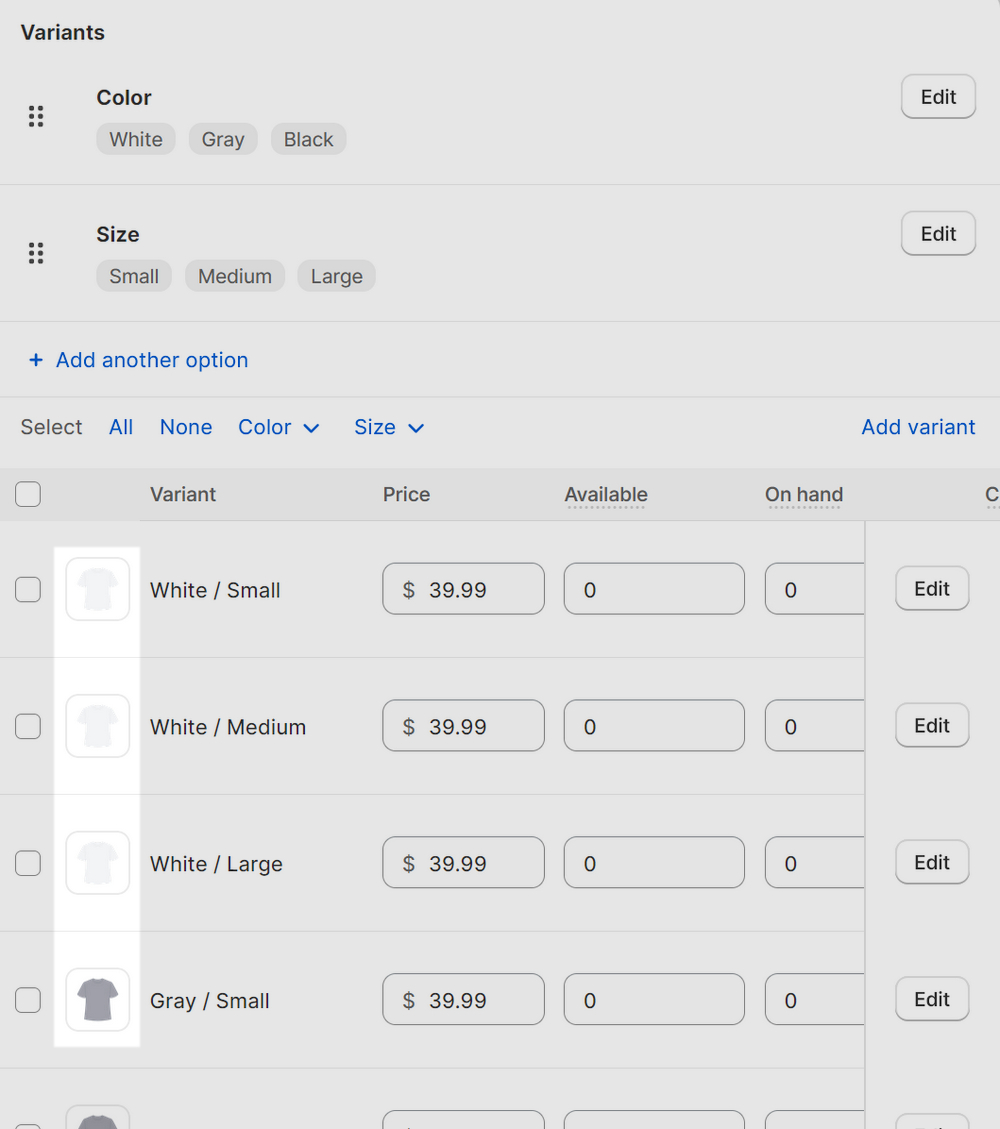
In the Variants pane, assign one media item to each variant.
In the Product editor, locate the Media pane.
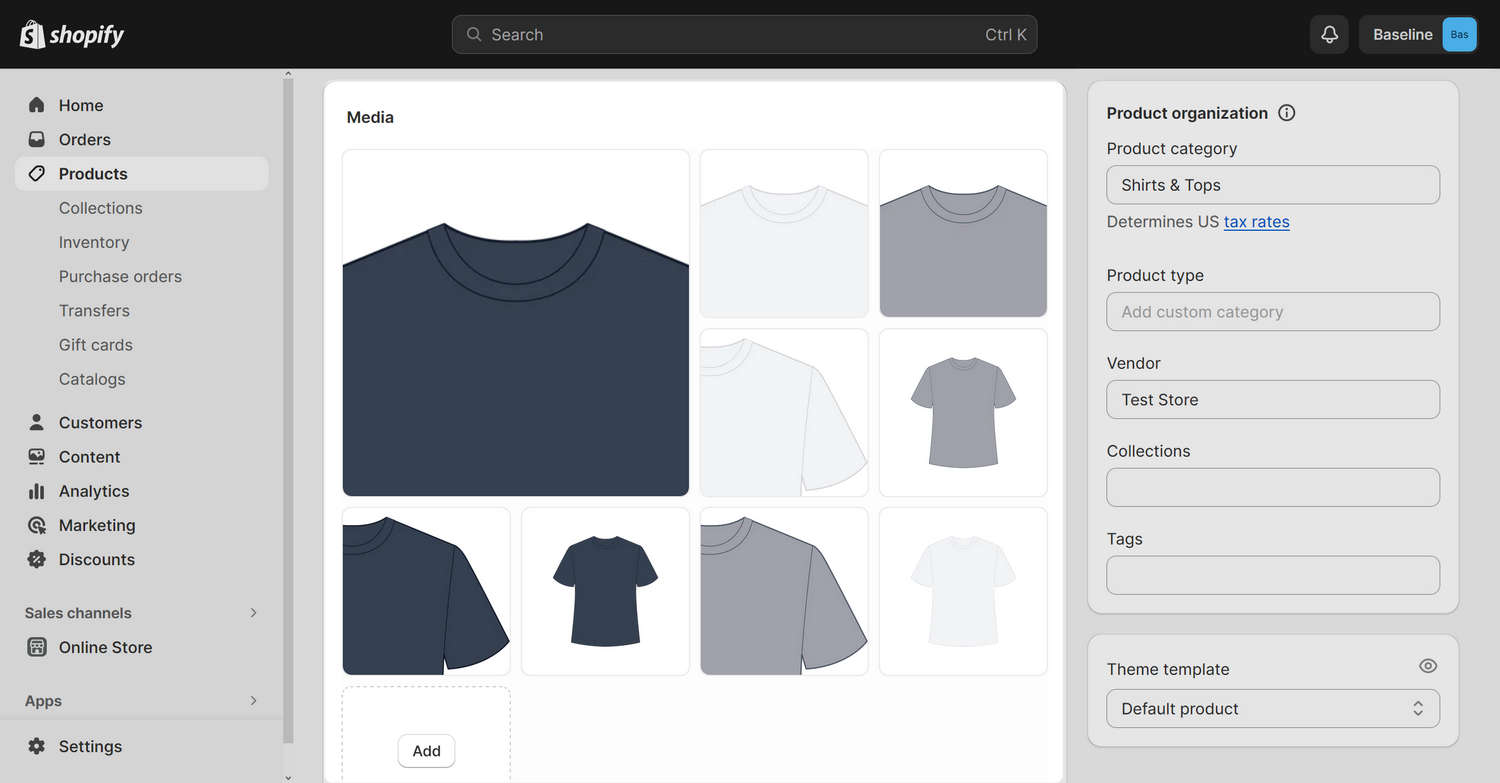
In the Media pane, use "drag and drop" to create a sequence of product media items.
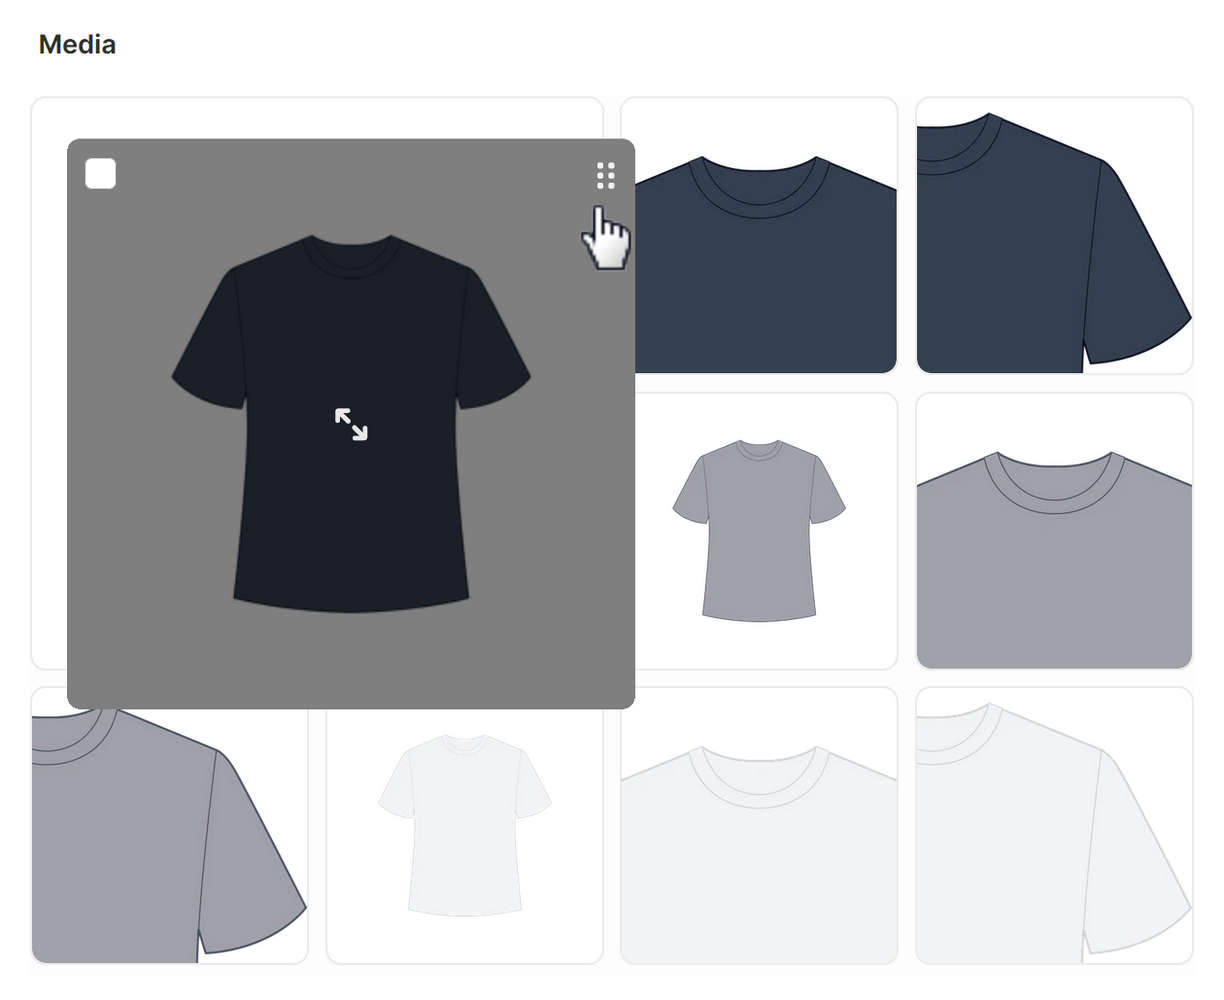
Reorder the media items so that each media item you assigned in the previous step is followed by a media item for different variant. Then, insert each variant's remaining media in between, so that all of the remaining media for a particular variant follows after the media you assigned to the variant in the previous step.
When you're finished reordering your media, your sequence of media items should be similar to the sequence in the following image.
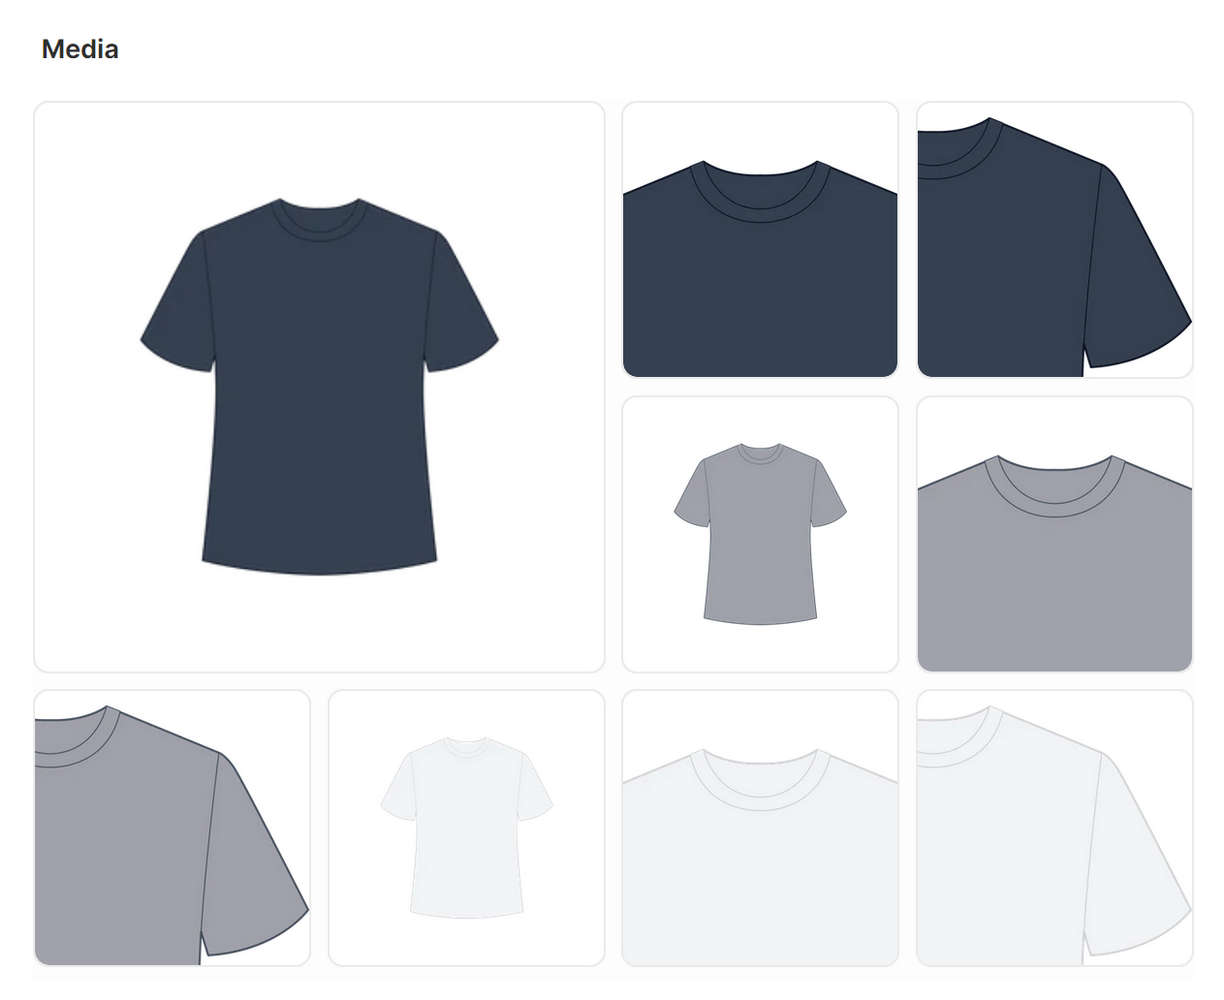
Select Save.
Note
Sometimes the media sequence you specify is not saved correctly in the Shopify admin Product editor. After you reorder your media, refresh the page to ensure your sequence is saved correctly.
In the following steps, you Configure the feature for a product section in Theme editor. The section displays the media items associated with each variant.
The sequence you specify for media items in the previous steps determines the variants associated with each media item. The media that you set to follow a variant media item are considered part of that variant's "Media group". Media items in the same media group are always displayed together. A media group ends at the first media item for the next variant.
Media you place before the first variant media item are not assigned to any variant. Use this "non-variant" media group for displaying media items that aren't specific to a single variant - for example, for lifestyle product media or media that show multiple variants. Inside an appropriate product section's settings, if you enable the section's Show product media first option, items from the "non-variant" media group are displayed until a store visitor selects a different variant. This behavior contrasts with the typical behavior on Shopify. Typically, the media that Shopify displays always correspond to a selected variant.
Configure the feature for a product section
The Product pages sections that are included with Baseline's Default and Thumbnails product templates support the multiple variant media feature. For more information about the Product pages sections, refer to (default) Product pages, and Product pages - thumbnails.
To use the feature, complete the following steps to configure a Product pages section.
In your Shopify admin, go to Sales channels > Online store > Themes.
In the Themes pane, select Customize to open Theme editor.
In Theme editor, at the top of the page, use the dropdown to select the Products > Default product page, or select th Products > Thumbnails page.
From the side menu, select Product pages.
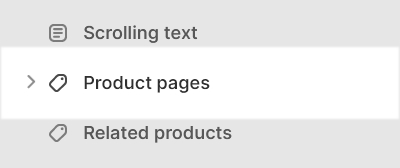
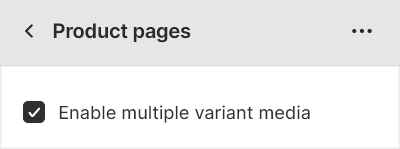
In the section's setting menu, set the Enable multiple variant media checkbox to
on.With this option enabled, multiple media items are displayed inside the section for products with variants. Variant media items are grouped together on desktop display devices.
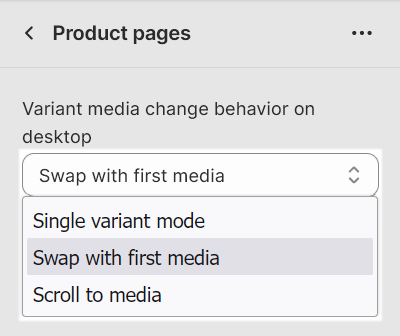
In the section's setting menu, use the Variant media change behavior on desktop setting to specify a behavior for media items inside the section's media area.
The behavior option you choose determines how the section displays media items. Select a behavior option described in the Table: Variant media change behavior options.
Note
For a Thumbnail product pages section, if you enable the section's Single variant mode option, and then set the section's Thumbnails on desktop option to Grid, the section only displays media item thumbnails for the current variant - on desktop display devices.
Table: Variant media change behavior options
The Product pages sections for Baseline's Default and Thumbnails product templates include the Variant media change behavior on desktop setting. The sections also include the Single variant mode checkbox to turn on/off "Single variant mode".
Use the settings to specify a behavior for items inside the section's media area. The behavior option you choose determines how the section displays media items. The behavior applies when a store visitor selects a product variant inside the section. The "Variant media change behavior" setting applies to desktop display devices, and the "Single variant mode" setting applies to both mobile and desktop displays. The settings provide the options described in the following table.
| Option name | Description |
|---|---|
| Single variant mode (checkbox) | With this setting enabled, only media for the current variant are displayed. The section's media area displays a single (product) media item only. The item that's displayed is the first product media item associated with the currently selected product variant. When a store visitor selects a different product variant, the item that's displayed changes to match the newly selected variant. By default, Single variant mode applies to products with no variants. |
| Variant media change behavior on desktop > Swap with first media | In this mode, all of the variant's media are swapped to display at the top. The section's media area displays (product) media items for all variants - arranged in a column layout. The item displayed at the top of the column is the first product media item that's associated with the currently selected product variant. When a store visitor selects a different product variant, the item displayed at the top of the column changes to match the newly selected variant. |
| Variant media change behavior on desktop > Scroll to media | In this mode, all of the variant's media items are grouped together so that scrolling to the first media item displays the remaining variant media items. The section's media area displays (product) media items for all variants - arranged in a column layout. The item displayed at the top of the column is the first product media item that's associated with the currently selected product variant. When a store visitor selects a different product variant, a scroll animation effect moves to display the first media item that's associated with the newly selected variant. |