

Appearance
Blog posts
This guide describes setting up the Blog posts section.
Use this section to display a selection of blog posts on a store page. In your blog posts, write about new products, collections, promotions, or other news. Refer to Shopify help: Blogs.
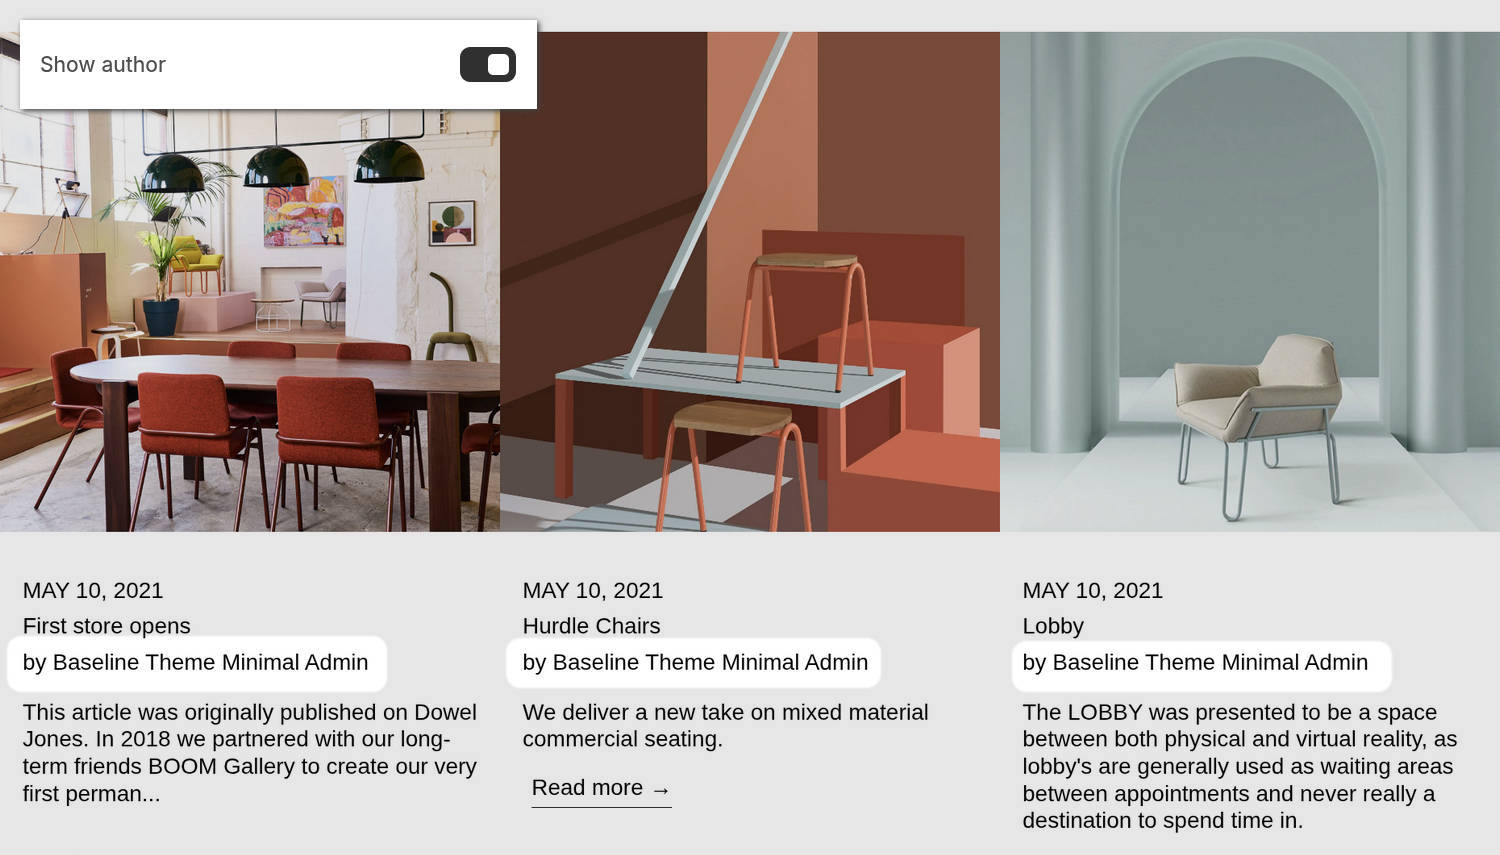
The previous image shows a Blog posts section on a store's home page. In the upper left, part of the Theme editor's section menu is displayed. The menu's Show author option is enabled. With this setting enabled, the name of a post's author is displayed in the section.
For general guidance with modifying sections, refer to Sections overview and Shopify help: Sections and blocks.
Set up a Blog posts section
To set up a Blog posts section:
In the Theme editor, at the top of the page, use the theme templates dropdown menu to select a page that contains a Blog posts section.
Note
The section can be added to any page except Checkout and Gift card pages. To add the section to the current page, select Add section > Blog posts. Refer to Shopify help: Add a section.
From the side menu, select Blog posts.
Select a setting described in the following table.
| Setting name | Description |
|---|---|
| Blog | Use the Blog picker to select a blog to display in the section. Refer to Shopify help: Blogs. |
| Posts | Adjust the Posts slider to set the number of blog posts to display in the section. The minimum number of posts is 2 and the maximum is 4. Each post is displayed in its own tile. |
| Show post images | Use the Show post images option to show or hide images for posts in the section. |
| Show author | Use the Show author option to show or hide the name of a post's author in the section. |
| Show date | Use the Show date option to show or hide the publish date for posts in the section. |
| Crop images | Use the Crop images option to choose how images are cropped in the section. The options are No crop, Landscape, Square, and Portrait. |
| Header > Subheading | In the Subheading field, enter text to display as a subheading for the section. Note that the Subheading field is hidden in the Theme editor when the Heading field is empty. |
| Header > Heading | In the Heading field, enter text to display as a heading for the section. |
| Show "View all" link | Use the Show "View all" link option to show or hide a More blog button in the section. The button links to the full blog. |
| Color > Color scheme | Use the Color scheme picker to select a color scheme for the section. Refer to Colors. |
| Theme settings | If available, select Theme settings to access additional settings for the section. Refer to Section theme settings menu. |
| Custom CSS | Select Custom CSS. In the CSS field, enter custom CSS styles to apply only to the current section. Refer to Shopify help: Add custom CSS. To apply custom styles to your entire online store, refer to Theme settings > Custom CSS. |
| Remove section | Select Remove section to delete the section from the current page. |
Note
To connect a metafield to a setting that supports metafields, select the Connect dynamic source icon displayed beside the setting in the Theme editor.
To learn how to connect a metafield to a supported setting, refer to Shopify help: Connecting metafields to your theme by using the Theme editor.