Appearance
Create collapsible tabs
This guide describes how to use the Collapsible tabs to add areas of text that expand and collapse on your store's product pages.
Add text to collapsible tabs to reduce clutter on your storefront for smaller screens, like mobile devices, and to apply a professional and contemporary design to your store.
The previous video shows a Product pages section on a store's (default) Product page. The section contains a Collapsible tab area. The text area expands and collapses below the Details title.
Baseline provides the following methods for creating collapsible tabs:
| Method name | Description |
|---|---|
| Collapsible tab blocks | Baseline's Product sections include the option to add convenient Collapsible tab blocks. The blocks add areas of text that expand and collapse on your store's product pages. To set up Collapsible tab blocks, refer to Set up a Collapsible tab block. |
| Convert Heading 2 titles to collapsible tabs | The Description blocks inside Baseline's Product sections include the option to enable collapsible tabs. With collapsible tabs enabled, titles with a Heading 2 style in a product's description text are "converted" to collapsible tabs. Product description text that follows the Heading 2 displays inside the tab's text area - with the heading displayed at the top of the tab. To convert Heading 2 title text to collapsible tabs, refer to Convert Heading 2 titles to collapsible tabs. |
Set up a Collapsible tab block
To set up a Collapsible tab block on a Product page:
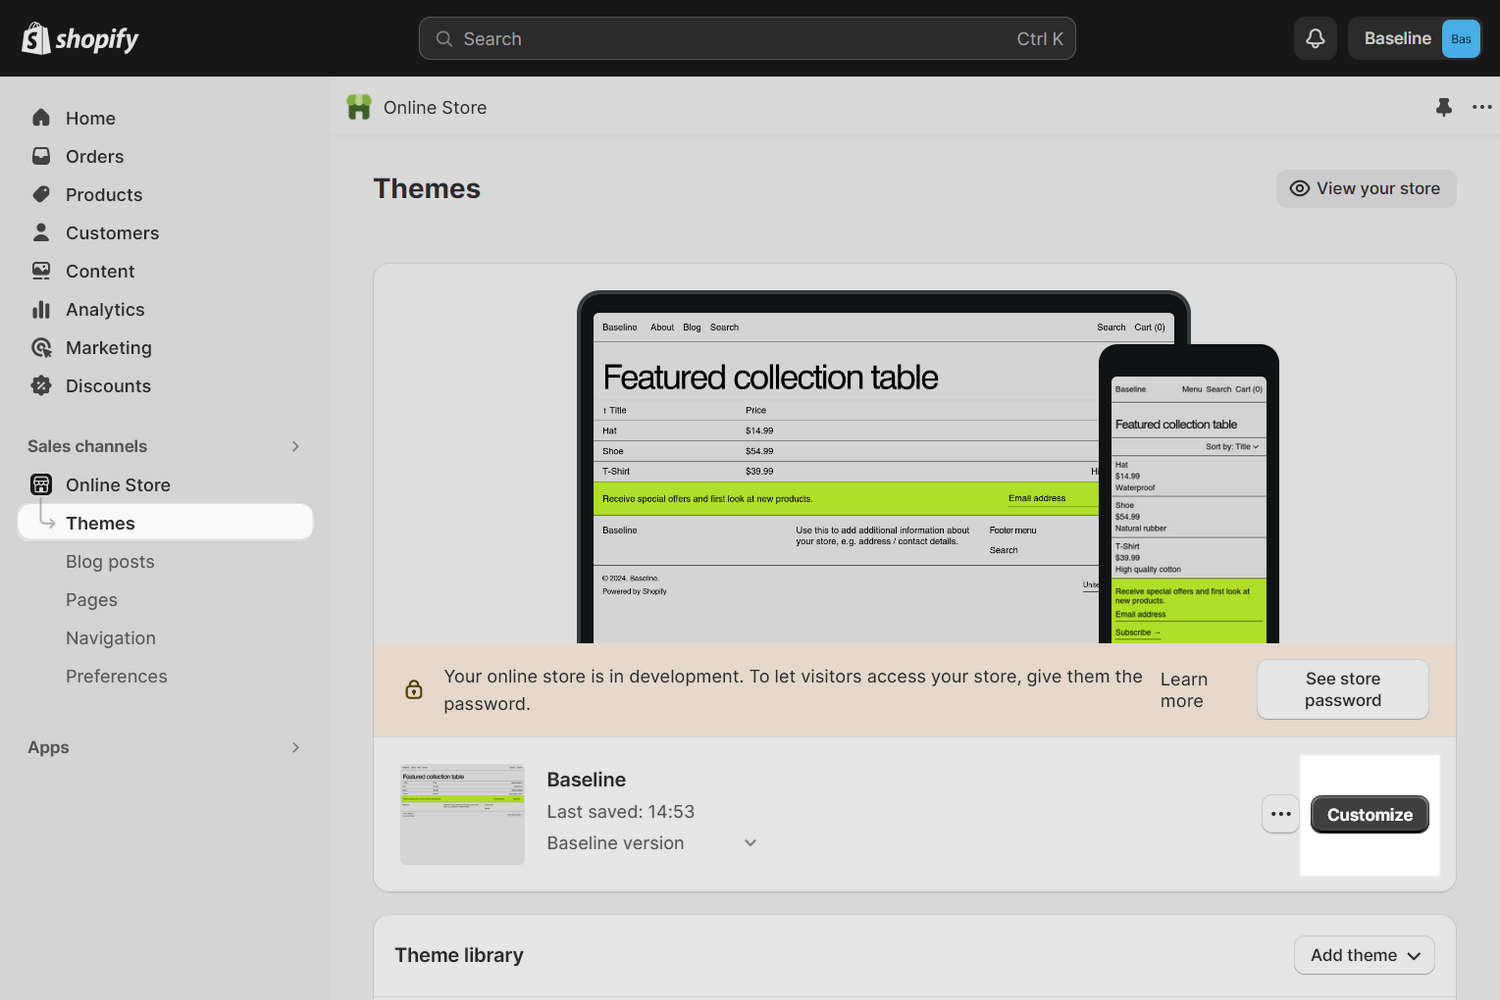
In your store's Shopify admin, select Sales channels > Online store > Themes.
In the Themes pane, locate the version of Baseline you want to modify.
Beside the theme's name, select Customize to open Theme editor.
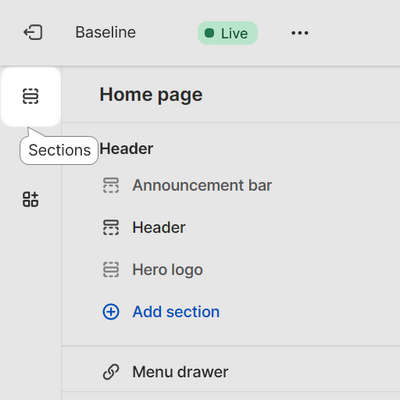
In Theme editor, select Sections.
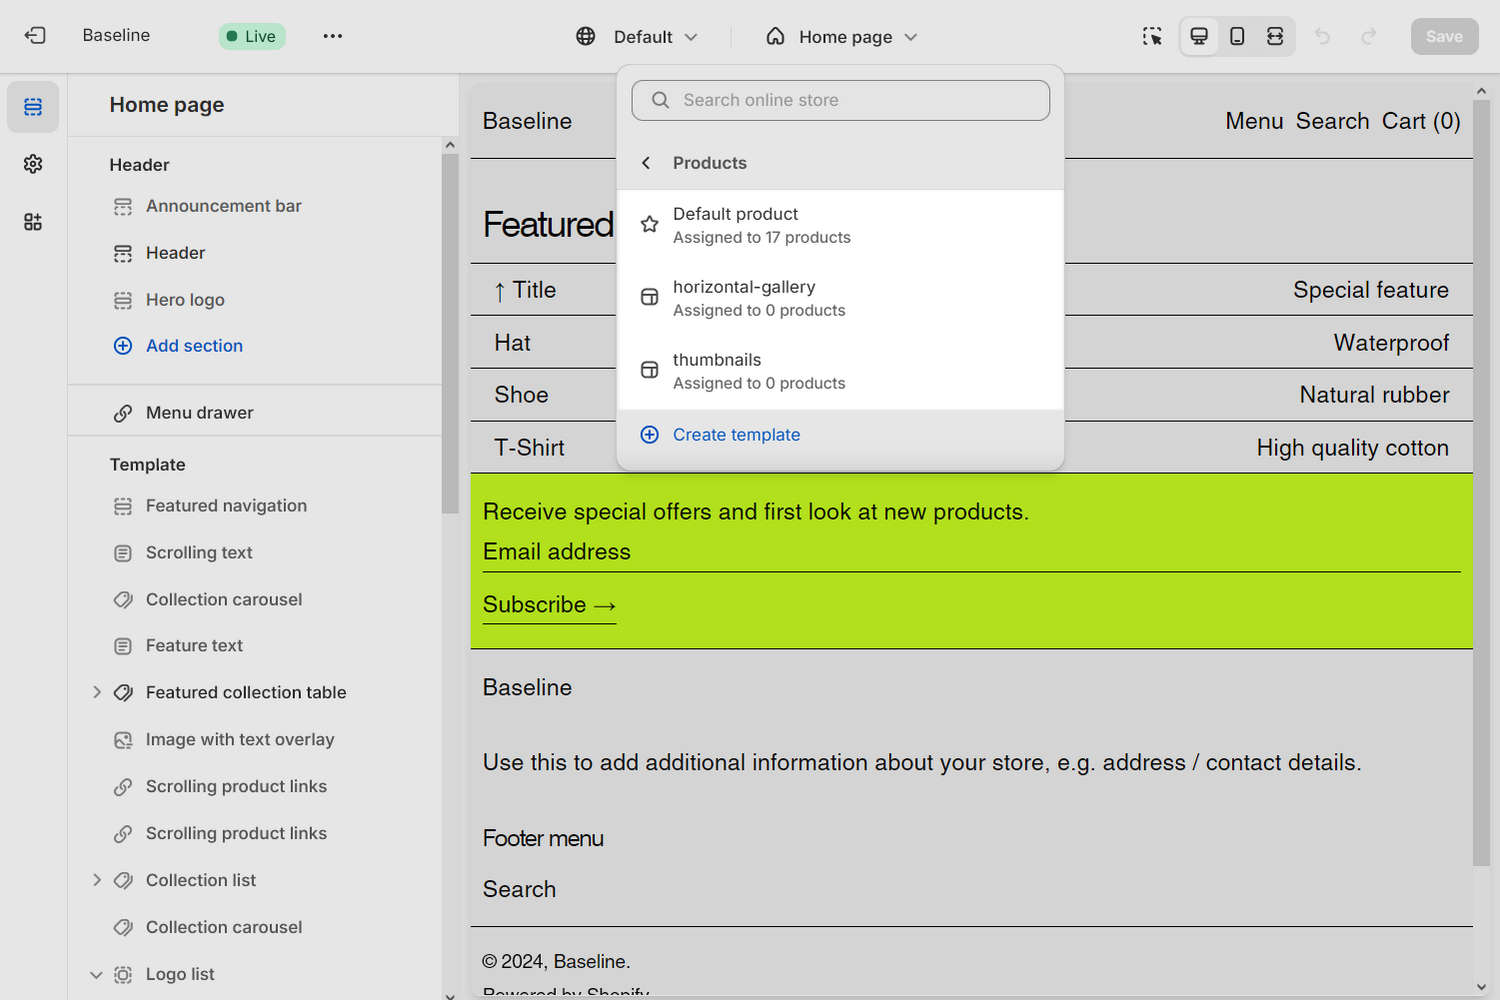
In Theme editor, at the top of the page, use the dropdown to select a Product page.
For example, select Products > Default product.
Note
Add the block to the Product (pages) section on the following pages.
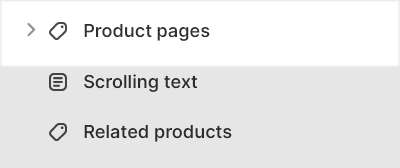
In the side menu, expand the Product pages or Product - horizontal section menu.
In the expanded section menu, select Add block.
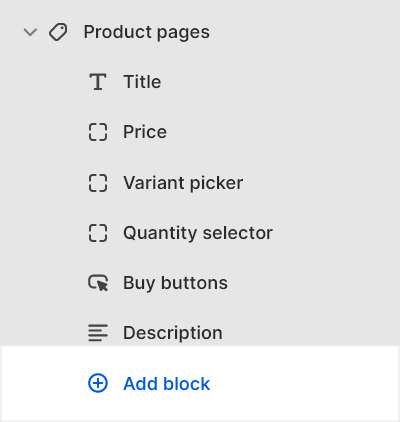
Select Collapsible tab, and then select the block you added.
In the block settings menu, select a setting described in the following table.
Note
When you're finished adjusting the theme, to avoid losing unsaved changes, select Save at the top of the Theme settings menu.

| Setting name | Description |
|---|---|
| Heading | In the Heading box, enter text to display as the block's title text. The heading displays above the block's text area that expands and collapses. |
| Heading > Insert dynamic source | To display heading text from a dynamic source, select the Insert dynamic source icon beside the Heading box, and then choose a metafield to add. Refer to Shopify help: Metafields. |
| Heading text style | Use the Heading text style setting to specify text a style for the block's title text. Set titles to use the same font as Heading or Body text. |
| Tab content | In the Tab content box, enter text to display inside the block's text area that expands and collapses. Format the text and add links using the Text editor pane. |
| Tab content > Insert dynamic source | To display tab content from a dynamic source, select the Insert dynamic source icon beside the Tab content box, and then choose a metafield to add. Refer to Shopify help: Metafields. |
| Tab content from page | Use the selector Tab content from page > Select page to add content from another store page into the block. |
| Tab content from page > Connect dynamic source | To display page content from a dynamic source, select the Connect dynamic source icon beside the selector, and then choose a dynamic source to add. You must define sources of dynamic content. Refer to Shopify help: Metafields |
| Icon | Select the Icon options to choose a graphical icon to display beside the block's title text. For example, select the Box, Check mark, Map pin, Price tag, or Star icon. For no icon, select None (default). |
| Remove block | Select Remove block to delete the block from the section. |
Convert Heading 2 titles to collapsible tabs
To convert Heading 2 style product description text to collapsible tabs:
Enable collapsible tabs
To enable collapsible tabs:
In your store's Shopify admin, select Sales channels > Online store > Themes.
In the Themes pane, locate the version of Baseline you want to modify.
Beside the theme's name, select Customize to open Theme editor.

In Theme editor, select Sections.

In Theme editor, at the top of the page, use the dropdown to select a Product page.
For example, select Products > Default product.
Note
Select a Product (pages) section on the following pages.

In the side menu, expand the Product pages or Product - horizontal section menu.
From the section menu, select the Description block.
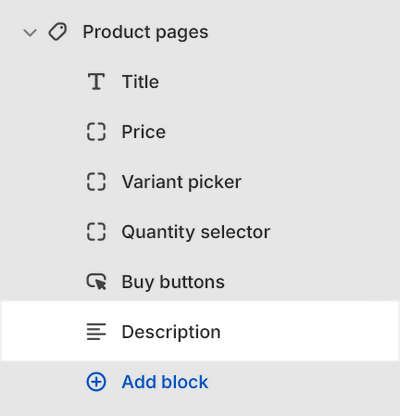
In the block's settings menu, set the Enable collapsible tabs checkbox to
on(checked).
To avoid losing unsaved changes, select Save.

Set a product title to the Heading 2 style
To set a title to the Heading 2 style:
On your store's Shopify admin page, select Products.
Select a product from the Products list.
For example, in the following image, a product named T-Shirt is selected.

In the product Description text editor, add or select a title, and then use the Formatting options to set the title's text style to
Heading 2.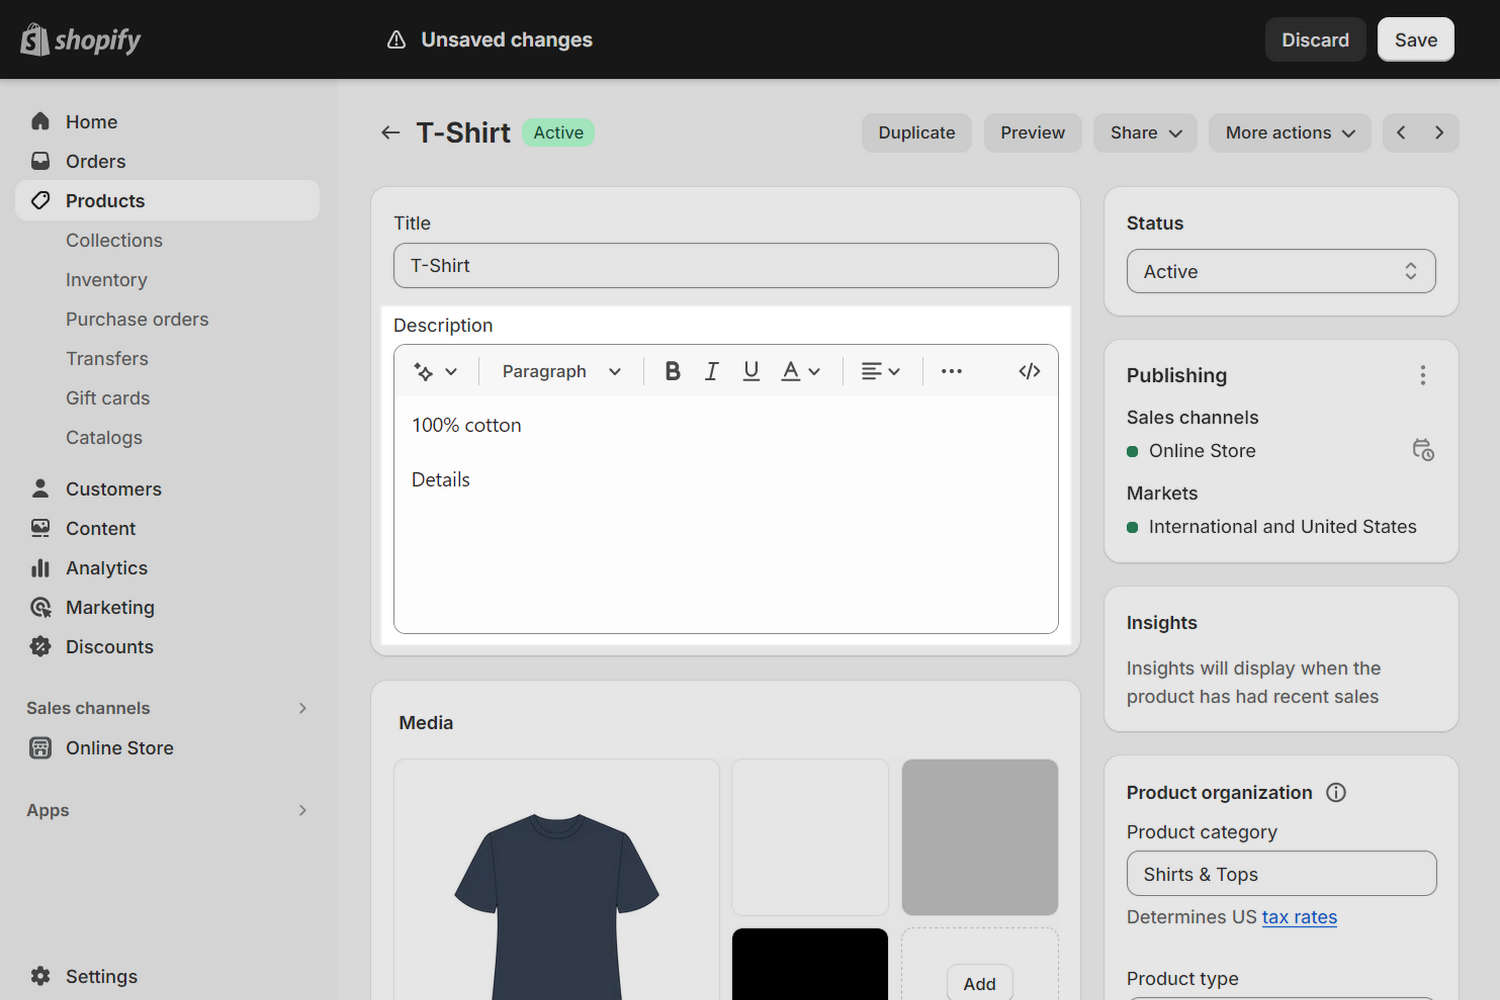
For example, in the following image, the "Details" title is set to the
Heading 2style. Now, on the corresponding product page, the Details title will use the collapsible tabs feature. When collapsible tabs are enabled, every title on your product pages with aHeading 2style will use the collapsible tabs feature.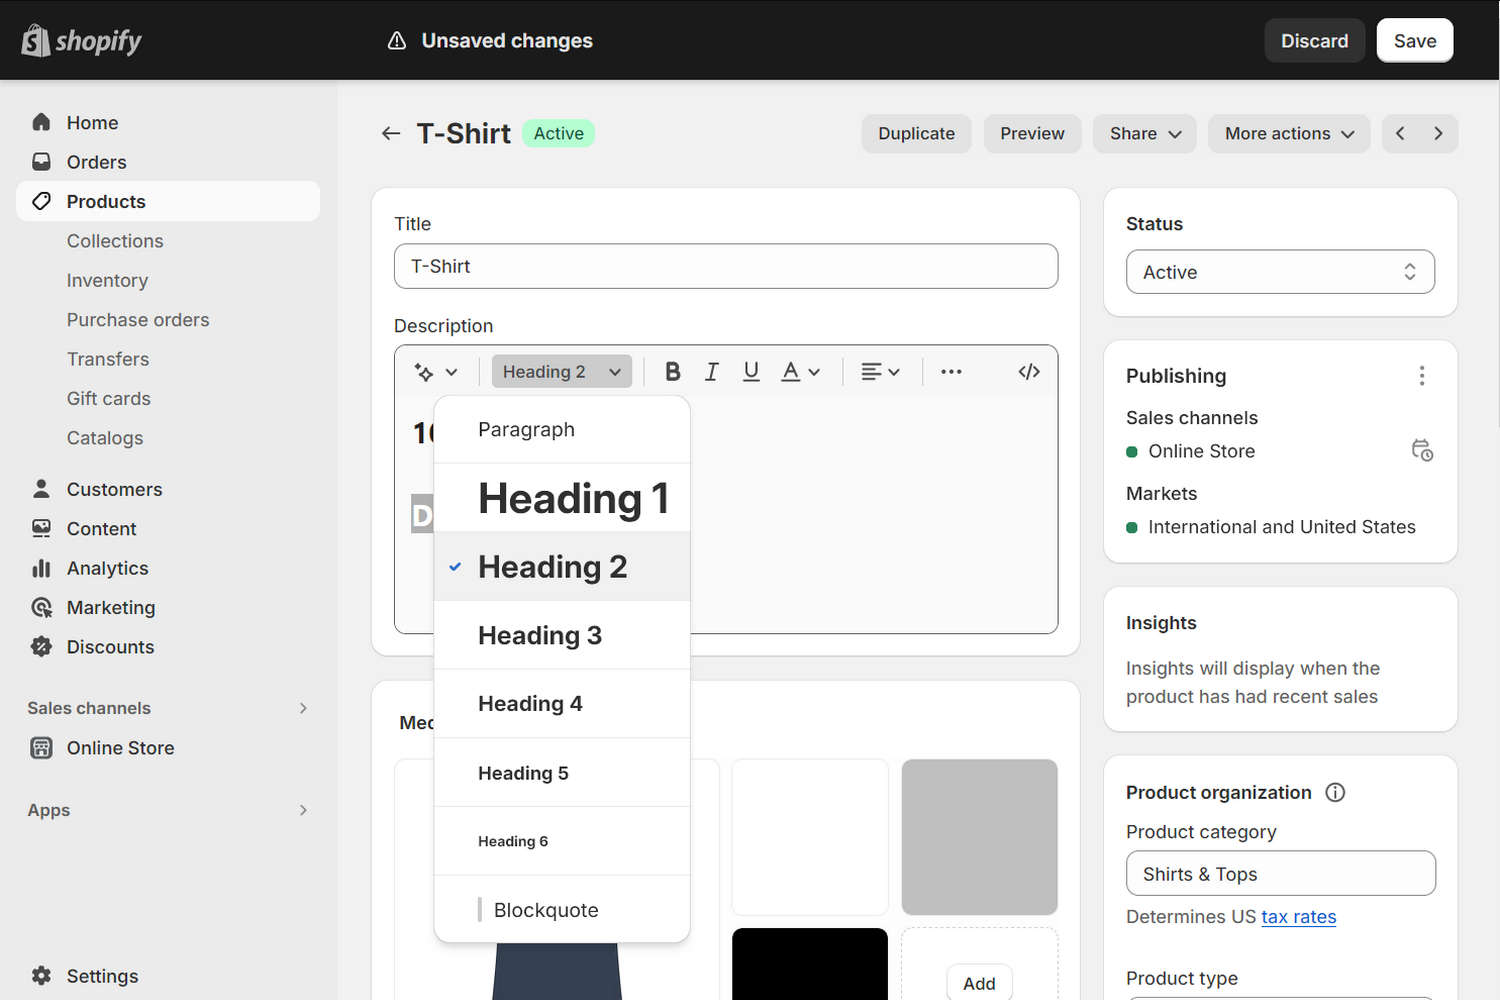
Repeat step 2 and 3 for each product and title that will use collapsible tabs.
To avoid losing unsaved changes, select Save.
