Appearance
Add images to header dropdown menus
On desktop devices, the Header section lets you add images to header dropdown menus.
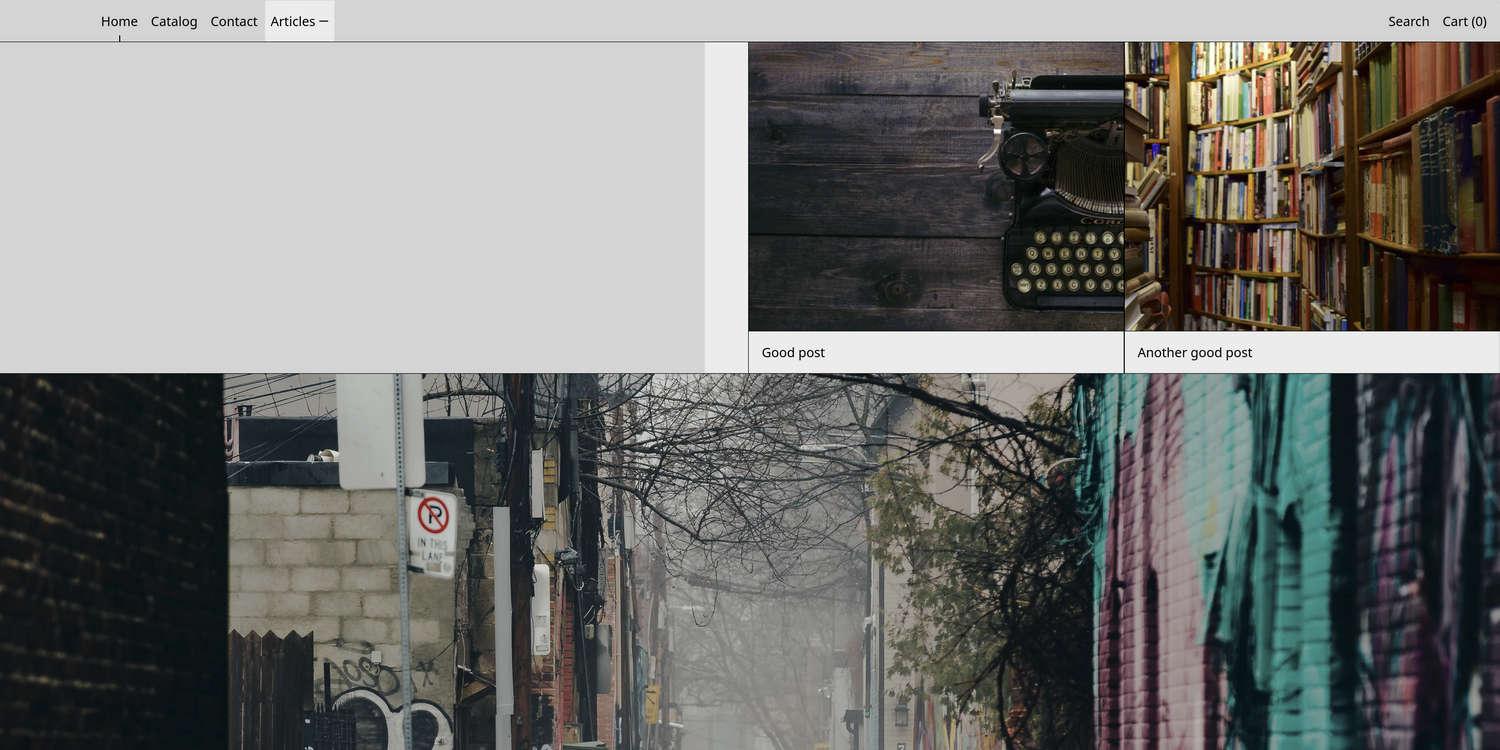
In the previous image, the Articles menu item is selected in the header menu. In the top right, corresponding images are displayed in the header dropdown menu.
Note
To add an image to a header dropdown menu, ensure the Header section's top-level menu contains nested menu items.
For information about setting up dropdown menus, refer to Shopify help: Set up dropdown menus in your online store.
Add an image to a header dropdown menu
To add an image to a header dropdown menu:
Open your theme in the Theme editor.
From the Theme editor's sidebar, select Sections, and then choose Header.
Select Add Drop-down featured images to add a new block.
Select the block you added.
In the block's Menu item name field, enter the name of an item from your Header section's top-level menu.
Note
The name you enter must match the name of an item from the Header section's top-level menu. For information about setting up a menu inside the Header section, refer to Header.
For example, in the following image:
- The Header section is set to display the store's Main menu.
- The store's Main menu is open in the Menu editor.
- The Main menu has an Articles menu item with nested items.
- In the lower right, to display images for the Articles item inside the block, Articles is entered into the block's Menu item name field in the Theme editor.

Optional: Use the block's Crop images setting to set the image crop to Landscape, Square, or Portrait.
In the block settings, use the Image 1 > Image picker to choose an image to display inside the block.
- Optional: To display corresponding text with your image inside the block, enter your required text in the Image 1 > Text field.
- Optional: To add a hyperlink to your image and text inside the block, in the Image 1 > Link field, enter a URL or select a link to a store page.
- Optional: Repeat the previous steps to add a second and third image to the block by enabling the corresponding Show image options.
Note
Each block supports a maximum of three images per dropdown.
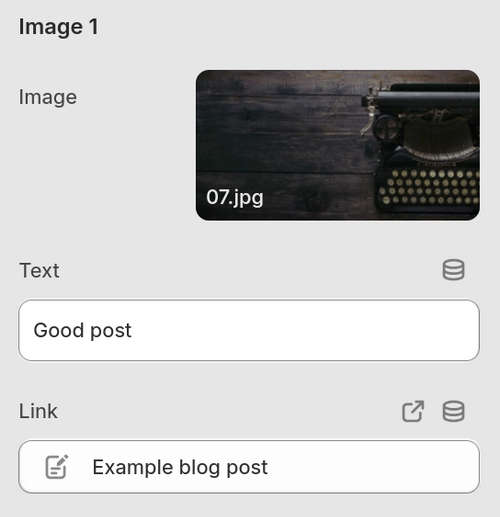
For example, in the following image, the Drop-down featured images block is configured to display an image with corresponding text that links to the store's Good post blog article.
Select Save to save your changes.
To configure how header dropdown menus display images, in the Theme editor, select Sections > Header, and then adjust the section's Drop-down menus settings as needed.
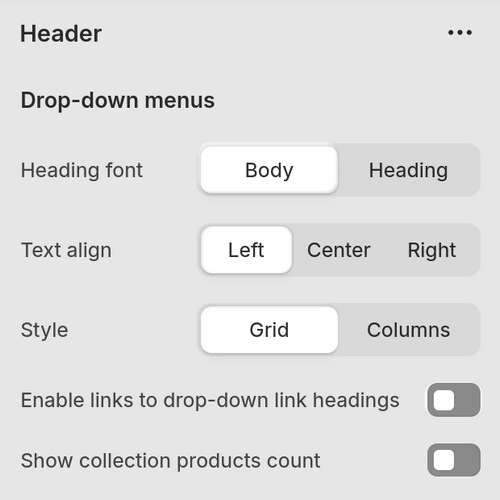
For information about the available Header section settings, refer to Header.