Appearance
Add custom icons
This guide describes how to add custom icons to your store in the Scalable Vector Graphics (SVG) format.
Note
This is an advanced customization guide that requires editing theme code. These actions are not supported by Switch Themes or Shopify. We recommend hiring an expert if you are not comfortable editing Liquid, HTML, CSS, and JavaScript.
Before you customize a theme, make a backup. Refer to Shopify help: Duplicating themes.
This guide covers vector (SVG) icons. You can use vector icons in the Icon list section and in supported product blocks such as the Icon row, Text, Pop-up, and Collapsible tab blocks.
For raster formats (PNG/JPG), use the Theme editor directly instead. Open a section that supports icon images, and then upload your icon image files.
Add a custom SVG icon
The following example uses Figma. The steps are similar for other graphics editors.
To add a custom SVG icon:
Ensure your icon size is inside a
48x48pixel square.The
48x48square provides the icon's boundaries and icons must be this size.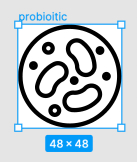
For consistency with other Shapes theme icons, verify that the height and width of the icon itself do not exceed
46pixels.Do not expand the stroke of your icon if you want your icon to use the theme's Icon thickness setting.
Export the SVG and then open the SVG inside a code editor, text editor, or notepad.
Confirm that the SVG code is similar to the following.
html<svg width="48" height="48" viewBox="0 0 48 48" fill="none" xmlns="http://www.w3.org/2000/svg"> <path d="M24 47C36.7025 47 47 36.7025 47 24C47 11.2975 36.7025 1 24 1C11.2975 1 1 11.2975 1 24C1 36.7025 11.2975 47 24 47Z" stroke="black" stroke-width="2" stroke-linecap="round" stroke-linejoin="round"/> <path d="M8 40L17 31" stroke="black" stroke-width="2" stroke-linecap="round" stroke-linejoin="round"/> <path d="M40 8L31 17" stroke="black" stroke-width="2" stroke-linecap="round" stroke-linejoin="round"/> <path d="M14.9777 11.7655L20.8176 17.6053C21.2056 18.1384 21.7303 18.5569 22.3363 18.8166C22.9424 19.0763 23.6073 19.1677 24.2609 19.081C25.3274 18.983 26.4026 19.1072 27.4186 19.4459C28.4346 19.7846 29.3693 20.3303 30.1637 21.0486L39.0179 29.9028C39.2788 30.1637 39.4254 30.5176 39.4254 30.8866C39.4254 31.2556 39.2788 31.6095 39.0179 31.8704L32.1313 38.757C31.8704 39.0179 31.5165 39.1645 31.1475 39.1645C30.7785 39.1645 30.4246 39.0179 30.1637 38.757L21.3095 29.9028C20.5912 29.1085 20.0454 28.1737 19.7068 27.1577C19.3681 26.1417 19.2438 25.0665 19.3419 24C19.4285 23.3464 19.3372 22.6815 19.0775 22.0755C18.8177 21.4694 18.3993 20.9447 17.8662 20.5567L12.0263 14.7169" stroke="black" stroke-width="2" stroke-linecap="round" stroke-linejoin="round"/> <path d="M22.2933 30.8866L31.1475 22.0324L36.0665 26.9514L27.2123 35.8056L22.2933 30.8866Z" stroke="black" stroke-width="2" stroke-linecap="round" stroke-linejoin="round"/> <path d="M17.3743 14.162L14.4229 17.1134L11.9634 14.6539C11.8329 14.5234 11.7596 14.3465 11.7596 14.162C11.7596 13.9775 11.8329 13.8006 11.9634 13.6701L13.931 11.7025C14.0614 11.572 14.2384 11.4987 14.4229 11.4987C14.6074 11.4987 14.7843 11.572 14.9148 11.7025L17.3743 14.162Z" stroke="black" stroke-width="2" stroke-linecap="round" stroke-linejoin="round"/> </svg>Copy all of the code between the
<svg>and</svg>element tags.Exclude the
<svg>tags and contents.Your copied code should be similar to the following.
html<path d="M24 47C36.7025 47 47 36.7025 47 24C47 11.2975 36.7025 1 24 1C11.2975 1 1 11.2975 1 24C1 36.7025 11.2975 47 24 47Z" stroke="black" stroke-width="2" stroke-linecap="round" stroke-linejoin="round"/> <path d="M8 40L17 31" stroke="black" stroke-width="2" stroke-linecap="round" stroke-linejoin="round"/> <path d="M40 8L31 17" stroke="black" stroke-width="2" stroke-linecap="round" stroke-linejoin="round"/> <path d="M14.9777 11.7655L20.8176 17.6053C21.2056 18.1384 21.7303 18.5569 22.3363 18.8166C22.9424 19.0763 23.6073 19.1677 24.2609 19.081C25.3274 18.983 26.4026 19.1072 27.4186 19.4459C28.4346 19.7846 29.3693 20.3303 30.1637 21.0486L39.0179 29.9028C39.2788 30.1637 39.4254 30.5176 39.4254 30.8866C39.4254 31.2556 39.2788 31.6095 39.0179 31.8704L32.1313 38.757C31.8704 39.0179 31.5165 39.1645 31.1475 39.1645C30.7785 39.1645 30.4246 39.0179 30.1637 38.757L21.3095 29.9028C20.5912 29.1085 20.0454 28.1737 19.7068 27.1577C19.3681 26.1417 19.2438 25.0665 19.3419 24C19.4285 23.3464 19.3372 22.6815 19.0775 22.0755C18.8177 21.4694 18.3993 20.9447 17.8662 20.5567L12.0263 14.7169" stroke="black" stroke-width="2" stroke-linecap="round" stroke-linejoin="round"/> <path d="M22.2933 30.8866L31.1475 22.0324L36.0665 26.9514L27.2123 35.8056L22.2933 30.8866Z" stroke="black" stroke-width="2" stroke-linecap="round" stroke-linejoin="round"/> <path d="M17.3743 14.162L14.4229 17.1134L11.9634 14.6539C11.8329 14.5234 11.7596 14.3465 11.7596 14.162C11.7596 13.9775 11.8329 13.8006 11.9634 13.6701L13.931 11.7025C14.0614 11.572 14.2384 11.4987 14.4229 11.4987C14.6074 11.4987 14.7843 11.572 14.9148 11.7025L17.3743 14.162Z" stroke="black" stroke-width="2" stroke-linecap="round" stroke-linejoin="round"/>In the Code editor, expand the snippets directory for your theme.
Open the
theme-icon.liquidsnippet file.Note that this file contains the paths for every icon, similar to the code you copied previously.
In the
theme-icon.liquidfile, after the line containing{%- case icon -%}, enter a new line containing{%- when 'icon_name' -%}.Replace
icon_namewith the actual name of your custom icon. Ensure the icon name is lowercase and contains underscores instead of spaces.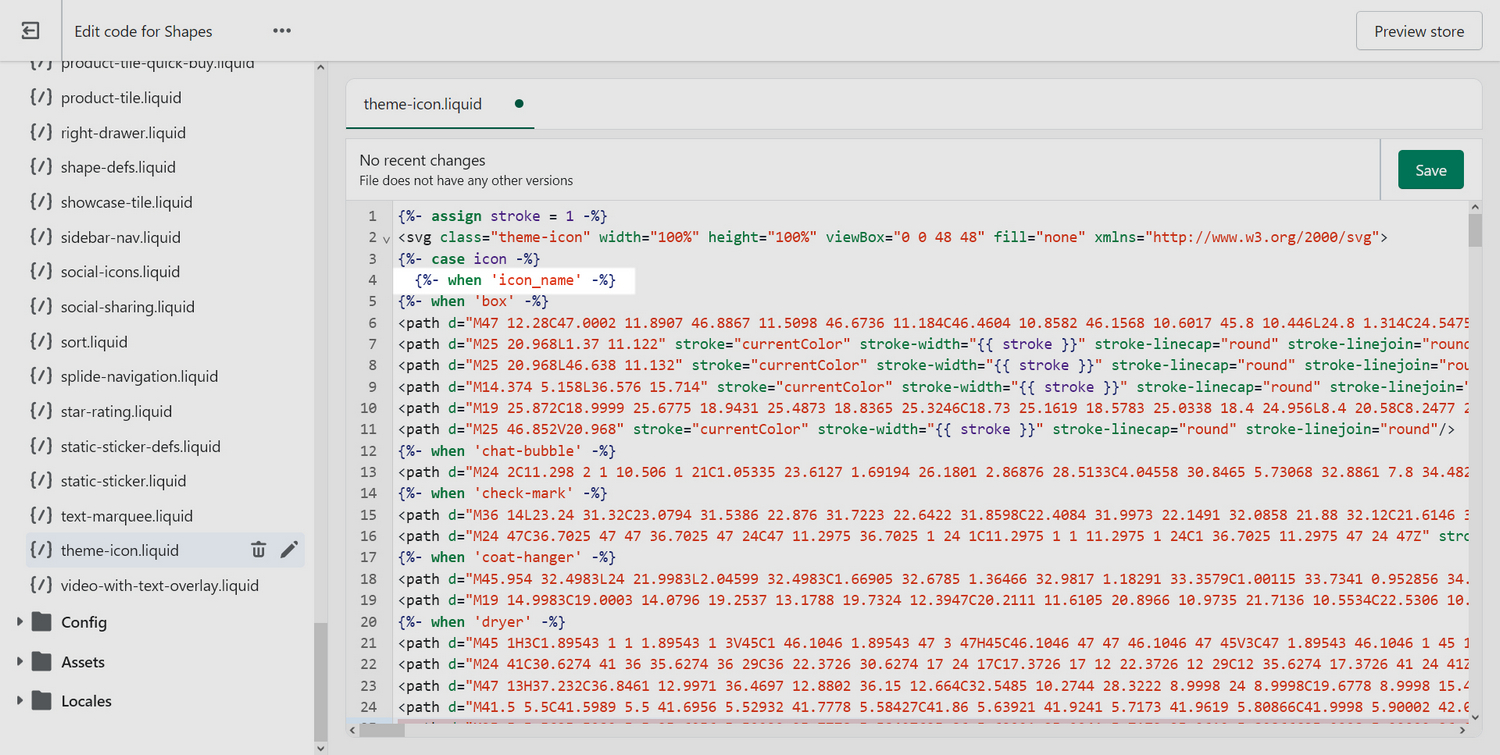
After the new line you entered, paste the code you copied previously.
The pasted code should be similar to the code in the following image.
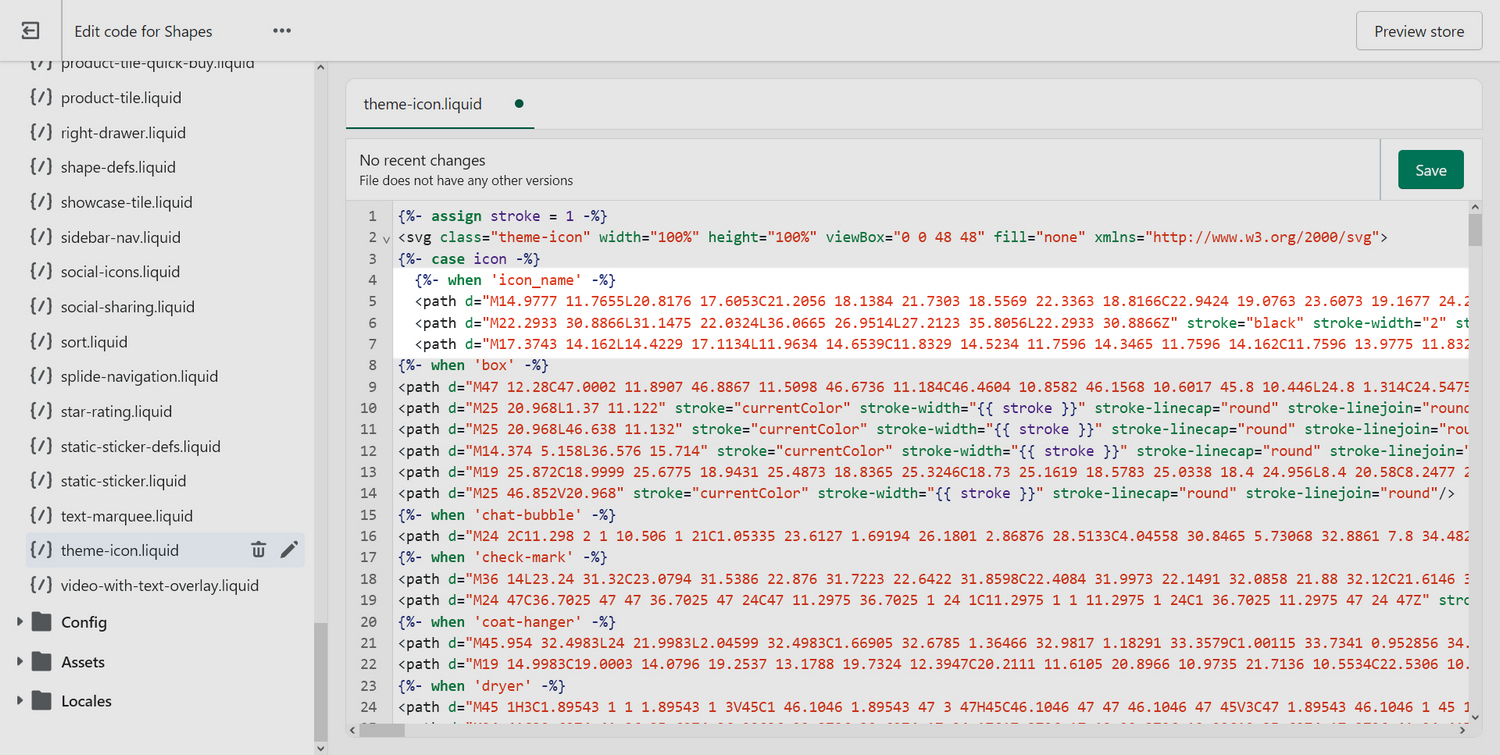
Select Save to save your file changes.
Make your custom icon available for use
You must add the new custom icon as a setting wherever you want to use the icon. To make the new icon available everywhere, edit the file in every section and block that has this setting.
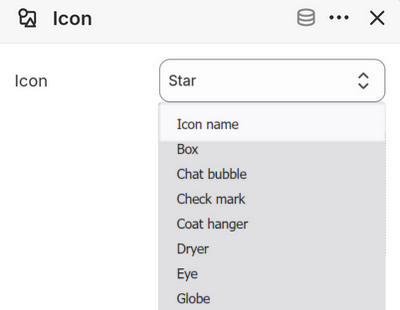
As an example, the following steps add a new custom icon named Icon name, as a selectable option, in the Icon block settings menu for an Icon list section. Repeat these steps for each custom icon and .liquid theme file that has a corresponding setting.
In the Code editor, in the sidebar, expand the sections directory, and then open the
icon-list.liquidfile.In the
blocksarea of the schema, inside theoptionslist, enter key/value data for your custom icon.For example, the following key/value data adds a custom icon named
Icon nameto the setting options.json... "blocks": [ { "type": "icon", "name": "Icon", "settings": [ { "type": "select", "id": "icon", "label": "Icon", "options": [ { "value": "icon_name", "label": "Icon name" }, ...The
valuemust match theicon_nameyou used intheme-icon.liquid; thelabelis the display name shown in the Theme editor.In the following image, the previous key/value data are added into the
icon-list.liquidfile in the Code editor for the customIcon nameicon.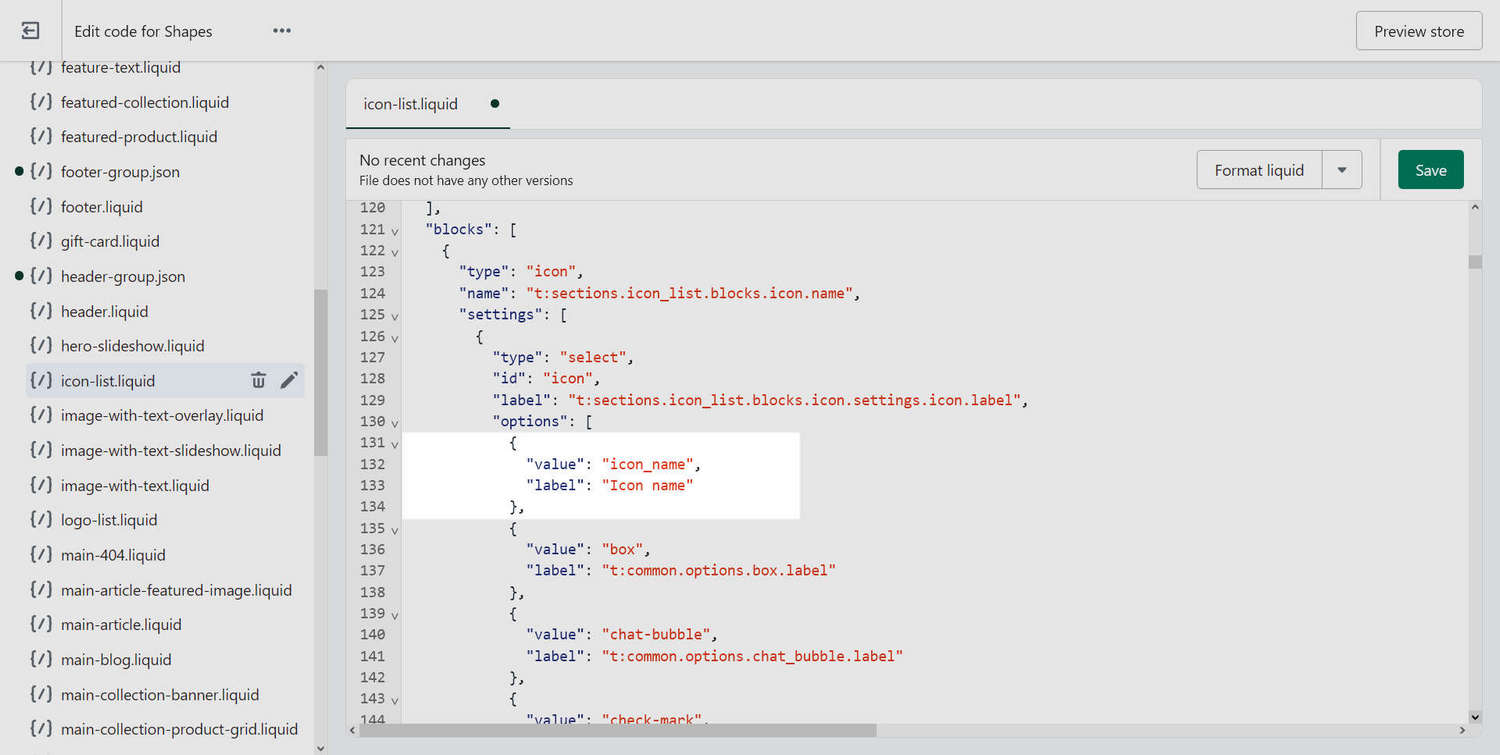
Select Save to save your file changes.
In the Theme editor, confirm you can select your new custom icon from the appropriate settings menu.
For example, in the following image, the new custom icon Icon name is listed as a selectable option in the Icon block settings menu for the Icon list section.